

Microsoft Forms
In this section, we will cover an overview of Microsoft Forms. Microsoft Forms can be used as a corporate survey solution. The solution allows users to customize questions, with options such as getting the user's opinion on a product the organization is working on, HR-based surveys, and a lot more. It can also be used for creating corporate quizzes. Microsoft Forms is a free tool that does not require any licenses.
Accessing Forms
- Log in to Microsoft Online Services at https://login.microsoftonline.com using your corporate email address and password.
- Select All app launcher in the top-left corner of the web browser and click Forms.

Figure 1.79 – Accessing Microsoft Forms
- You will be redirected to the Forms welcome page, where you can start customizing the survey questions or quiz.
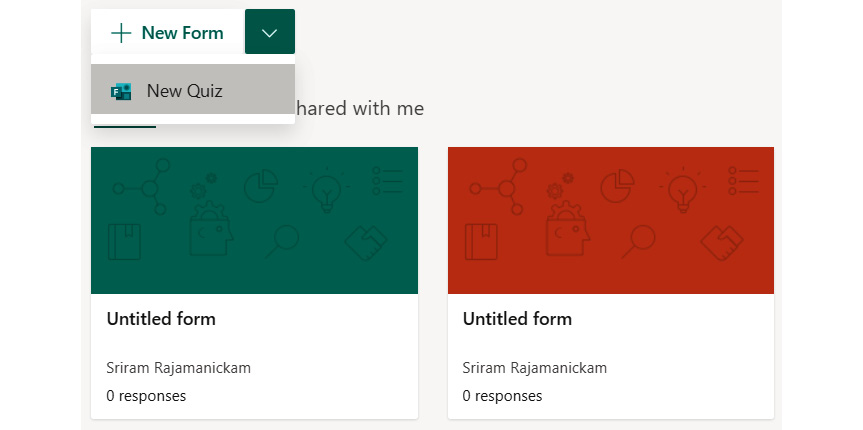
Figure 1.80 – Forms welcome page
Customizing Forms
- Click on New Form, which will allow you to create your own form. The first thing to do here is to set up a suitable title for your survey:

Figure 1.81 – Title for the survey
- In the top-right corner of this page, click on the three dots to go to the Forms Settings console.

Figure 1.82 – Forms Settings
- Select the targeted audience who can fill in the survey:
- Anyone can respond will be an anonymous survey where anyone with the link can fill in the survey.
- Only people in my organization can respond will allow only people who have signed in using their corporate identities to fill in the survey. Optionally, you can record a participant's name and allow only one response per person. Based on the requirement, these options should be carefully selected.
- Specific people in my organization can respond is targeted at a particular set of people who can fill in the survey.

Figure 1.83 – Survey audience options
- We can customize survey response options:
- Accept responses: This can be unchecked when the survey requires tweaking questions. Once checked, the intended recipients can start filling in the survey.
- Start date and End date: You can set up a start date and end date to lock down the survey start and end date. This allows you to close the survey or start the survey at the intended time.
- Shuffle questions: This can be turned on when you want to have the questions shuffled by the Forms engine automatically. By default, shuffling is turned off and a question order will be in place.
- Customize thank you message: You can send a customized message when the audience takes the survey.
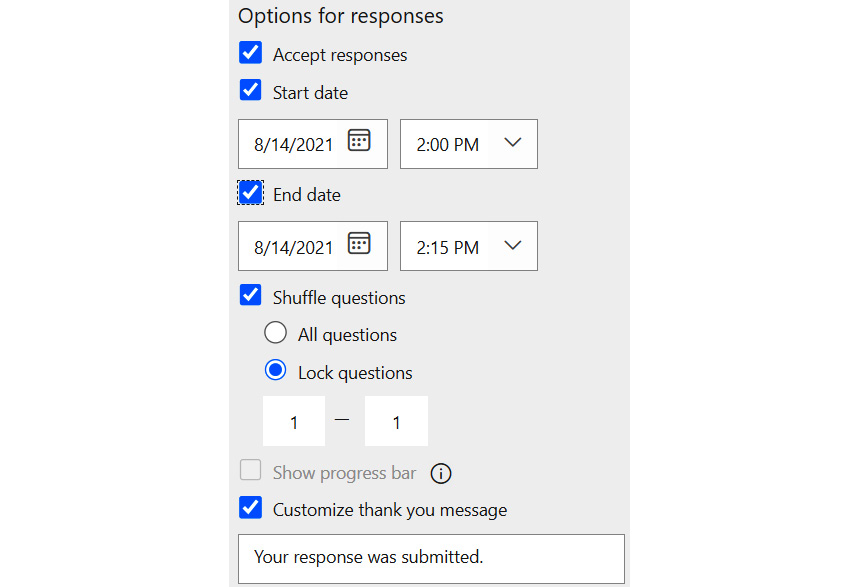
Figure 1.84 – Survey response options
- Response receipts: This allows you to inform the audience that their response has been recorded.

Figure 1.85 – Survey Response receipts options
- Microsoft Forms allows you to add survey questions in other languages. From the settings, you have an option to select Multilingual and add a primary language.
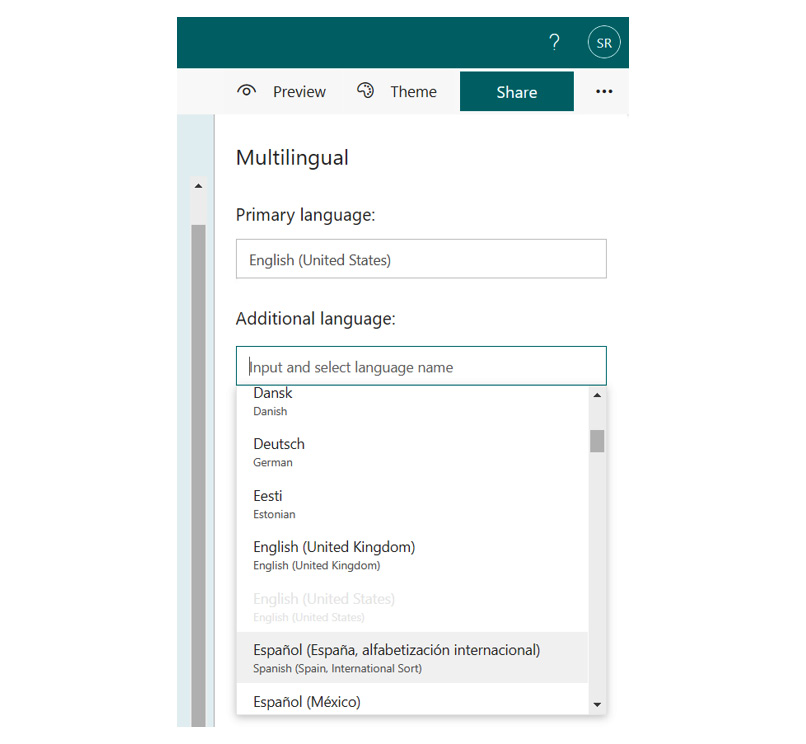
Figure 1.86 – Adding other languages
Configuring themes
Forms allows you to choose from the inbuilt theme which is built on this product by default. It does not restrict you to using the inbuilt themes. You can search Bing, upload your own theme, or search from your OneDrive location:
- In the top-right corner, you will see Theme, which will allow you to configure the theme for the survey.

Figure 1.87 – Configuring a theme

Figure 1.88 – Inbuilt themes
- Click on the (+) symbol to upload a customized theme from the following location:
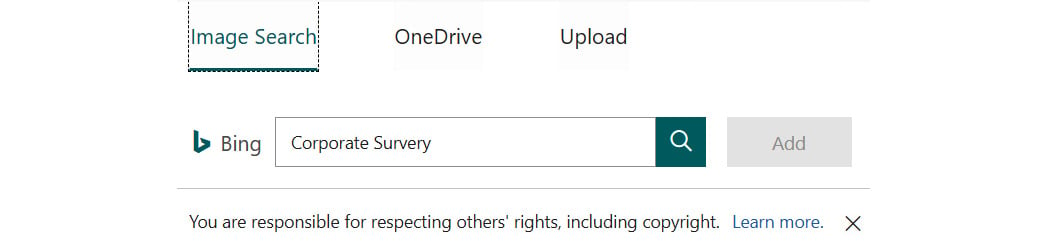
Figure 1.89 – Uploading custom themes
Configuring questions for a survey
Forms allow you to add multiple question types based on the business needs and the variety of answering options allowed.
- Click on the + symbol and add a question type.

Figure 1.90 – Adding survey questions
- Click on the + symbol, add a question type, and type in the question. The Forms engine will give suggestions based on the question you type. You can discard them and use your own.
- Multiple answers allows you to select multiple options for a question.
- Required makes the question mandatory, so the user cannot skip it and move on to the next question.

Figure 1.91 – Customizing a survey question
- Similarly, you can create multiple question types within a single survey. The following are some examples of this.

Figure 1.92 – Customizing a survey question
- You can add a subtitle to each question to provide a description of the question.
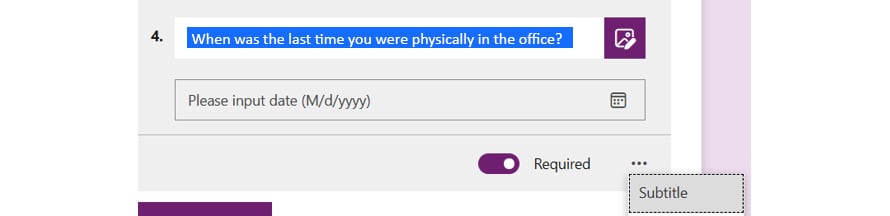
Figure 1.93 – Adding a subtitle
Configuring branching
In this section, we will cover the branching options of Forms, which allow you to directly bypass a question and go to the next section. One of the real use cases we recently came across was that our organization planned to provide Microsoft training for all cloud technologies. The list of technologies was from basic to expert level, so we used the branching logic to allow users to select their preferred training session and to book their training slots. Let's see branching in action:
- To create branching, go to questions and select Add branching.

Figure 1.94 – Adding branching
- As you can see in the following screenshot, you can configure a question so that you can directly bypass it and go to another question based on the selection.

Figure 1.95 – Configuring branching
- You can reset the branching if you have challenges with grouping by clicking in the top-right corner of the branching page.

Figure 1.96 – Reset branching
- Finally, you can preview the survey form and publish it.
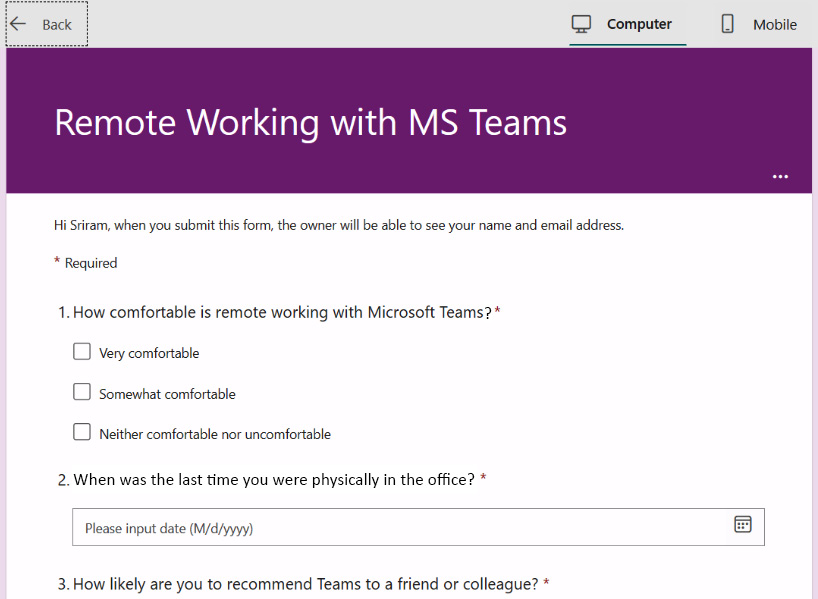
Figure 1.97 – Preview survey
Tracking responses
Once the survey is filled in, the survey creator will be notified of the responses and can log in to their portal and track the responses and export them into Excel to collect the required data.
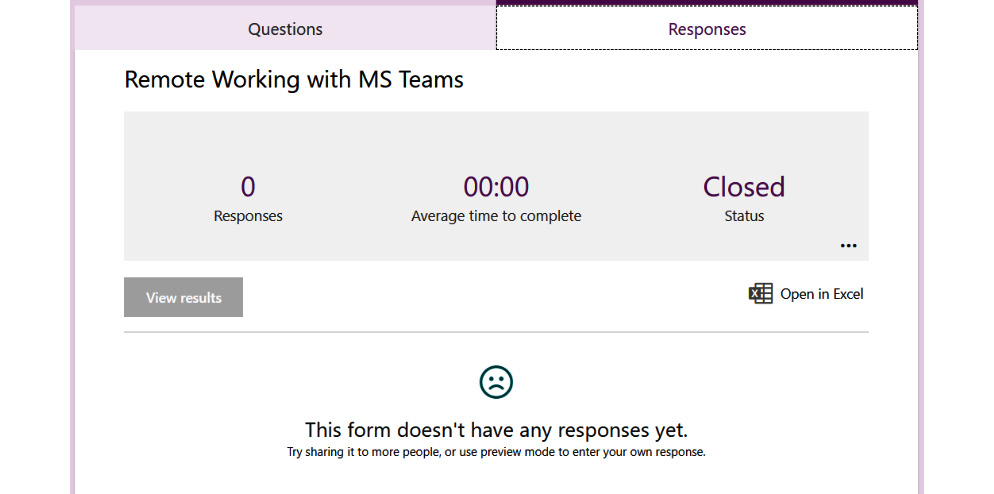
Figure 1.98 – Reviewing responses
You now have a better understanding of, and are familiar with, how to configure Microsoft Forms for your corporate surveys.