
Configuring the Route Server peering
- Go to the Azure Route Server you created earlier.
- Under Settings, select Peers and select + Add to add a new peer:
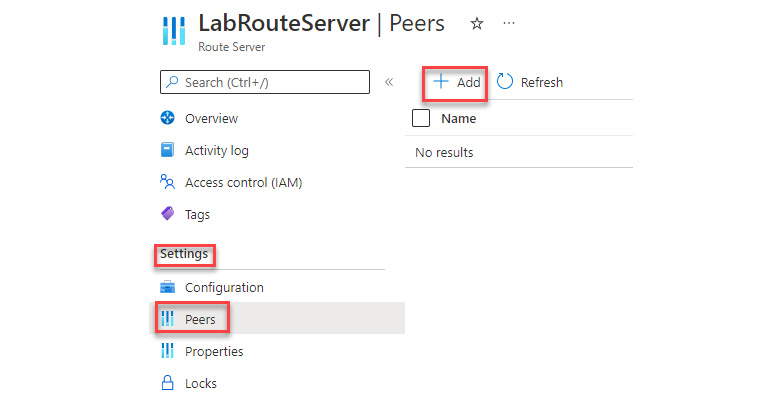
Figure 8.13 – Adding a Route Server peer
- On the Add Peer page, enter the following information, and then click on Add to save the changes:
Setting
Value
Name
Use Quagga as the name.
ASN
Enter the ASN of the Quagga NVA. It is 65001.
Ipv4 Address
Enter the private IP address of the Quagga NVA virtual machine.
Table 8.5 – Adding a peer to the Route Server for the NVA VM
The screenshot for reference is as follows:
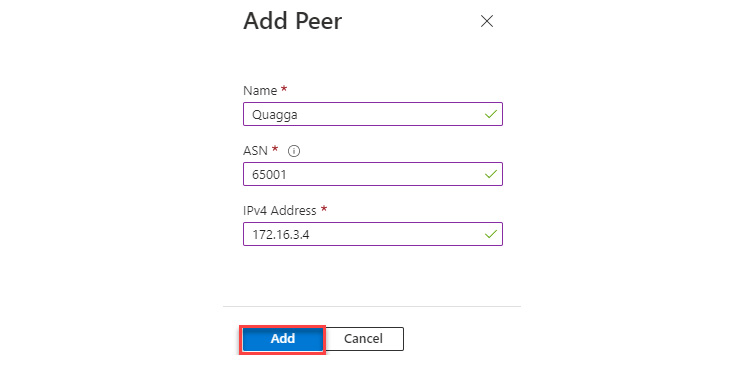
Figure 8.14 – Route Server peering information
After the peering has been added to the Route Server, you should see it in the Peers section of the Router Server:
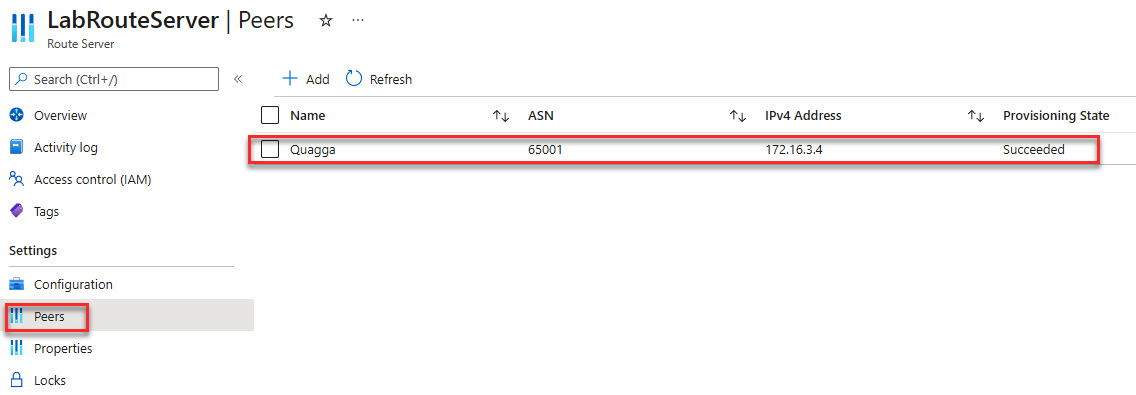
Figure 8.15 – Route Server new peering information
Now that the Route Server is in place and peering...