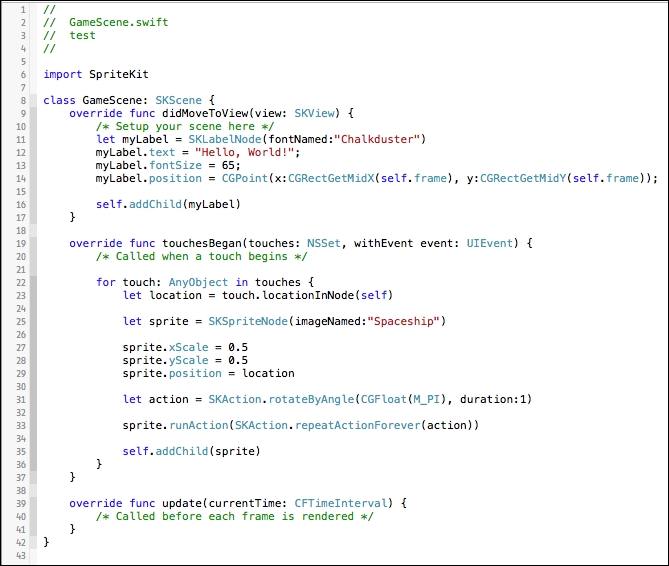
Let's take a brief look at how the scene was created in this project. Open the GameViewController.swift file. To create a scene in SceneKit, you have a separate scene creator, here is it called SCNScene, to create 3D scenes.
The GameViewController.swift file is responsible for the views. Any app that is created must contain at least one view so that it can be displayed on the screen. Whenever you open a new application, a view is created. Once the view is created, the first function that gets called is the viewDidLoad function, which starts executing whatever code is written in it:

We create a new scene of the SCNScene type and load the ship.dae object. There's no need to load the material for the plane separately; it will automatically be assigned to the plane. As every scene first needs a camera, we create a new camera node and add it to the scene. Then the camera is positioned in the 3D space. So unlike SpriteKit, in which positions are specified in x and y coordinates, SceneKit needs its coordinates to be defined in terms of x, y, and z.
The origin is at the center of the scene. In one of the previous screenshots (the one which shows the world space), the red arrow shows the positive x axis, the green arrow denotes the positive y axis, and the yellow arrow shows the positive z axis. So, the camera—denoted by the red cube—is placed 15 pixels away from the object in the positive z direction. The jet object is placed at the origin.
Next, we create two light sources. First we create an omni light, and then we create an ambient light to illuminate the scene. If you don't add any light sources, nothing will be visible in the scene. You can try commenting out the lines, but due to this being where the light sources are added to the scene; you will see a black screen. The jet is still there, but due to the absence of light, you are just not able to see it.
Then we get the ship object from the scene and apply the rotation action to it, similarly to how it was done in SpriteKit. It is just that now, it is called SCNAction instead of SKAction. Also, you are providing the angle in all three axes, keeping the value for the x and z axes zero, and rotating the object in the y axis every second.
Then, a new sceneView variable is created, assigned with the current view and then, the current scene is assigned to the scene of sceneView. Then sceneView is allowed to control the camera, and show the debug information, such as FPS. You should also set the background color to black.
A new function is created, called handleTap, where resetting of the view on double tapping is handled.
The GameViewControllerclass class has other functions such as shouldAutoRotate, prefersStatusBarHidden, supportInterfaceOrientation, and didReceieveMemoryWarning. Let us look at each of them in detail:
shouldAutoRotate: This function is set totrueorfalsedepending on whether you want to rotate the view if the device is flipped. If it istrue, the view will be rotated.prefersStatusBarHidden: Enable this function if you want the status bar hidden. If you want it to be shown for some reason, you should disable this option.supportInterfaceOrientation: The device will automatically check which types of orientation are allowed. In this case, if it is an iPhone, it accepts all but the upside down orientation.didReceiveMemoryWarning: If there are images and other data that you haven't released, and if they are putting stress on the memory, this function will automatically issue a warning saying that there is not enough memory and will close the app.
All of this would have been fairly complex, but don't worry. We will break this down to its basics when we cover SceneKit later in the book.


