

Playground is a new Xcode 6 feature that allows the programmer to see the Swift code result before it is added to the project. This way, you can test your code separately from the project, receive real-time execution and feedback, and apply it when you are really convinced.
You can use Playground as if it were a separate project by navigating to File | New | Playground…. This way, you can do your tests without saving it with the rest of the project.
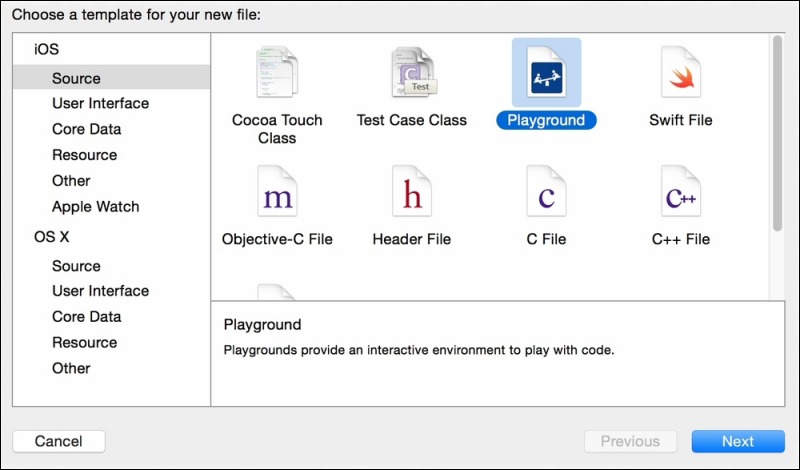
The other use of Playground is to add it to your project, so you can save your tests with your project. To do this, just add a new file with command + N, select the iOS Source section, and select Playground, as shown in the following screenshot:
Even if Playground is inside your project or workspace, it won't be able to use your project classes. It means that you might have to copy some files into your Playground and be aware of the modifications, as they are considered to be different containers with their own dependencies.
Let's make a sample to create a customized view with Playground. We will create a class called CustomView, which inherits from UIView. Add a yellow background and a red border. Place the following code to start testing with Playground:
class CustomView: UIView {
    override init(frame: CGRect) {
        super.init(frame: frame)
        self.layer.borderColor = UIColor.redColor().CGColor
        self.backgroundColor = UIColor.yellowColor()
    }

    required init(coder aDecoder: NSCoder) {
        fatalError("init(coder:) has not been implemented")
    }
}
Just below the code, you can create a frame and instantiate it:
var frame = CGRectMake(0, 0, 100, 100)
var myView = CustomView(frame: frame)
On the right-hand side, you will see the word CustomView appear. Move the mouse over this word and you will see two small icons appear. One of them is an eye called Quick Look. If you click on it, an image of your view will be displayed, as you can see in the following screenshot:
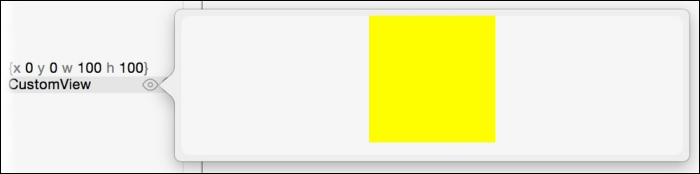
Here, for example, we can see that something is missing: the red border! The reason is that we are yet to set its width. Let's return to the initializer and add a border to our view:
        super.init(frame: frame)
        self.layer.borderWidth = 2
        self.layer.borderColor = UIColor.redColor().CGColor
Tip
Downloading the example code
You can download the example code files from your account at http://www.packtpub.com for all the Packt Publishing books you have purchased. If you purchased this book elsewhere, you can visit http://www.packtpub.com/support and register to have the files e-mailed directly to you.
Now, you can check your view again using Quick Look. But if you want to get faster results, you can click on the circle icon that is to the right of the Quick Look icon. You will see your square under its declaration. Have a look at the following screenshot to see the expected result:

Let's make another change and see how fast Playground gives us results. Add a round corner to your view with the following code:
self.layer.cornerRadius = 15
As you could see, the Playground took approximately 1 second, as it needs to recompile the code, execute it, and retrieve the result. Don't think about what the sample does by itself. What you do have to think about is how much time you expend testing it on an app every time you have a change and how much time you expend testing it on Playground.