

Starting with the option to add supplies, we create a new file in the project called AddSuppliesViewController.swift. Start importing UIKit and creating a class that inherits from UIViewController with the same name as the file. This class will also work with UIPickerView, which implies that we have to implement the UIPickerViewDataSource and UIPickerViewDelegate protocols. We will also need to implement UITextFieldDelegate. Leave this class empty for now; don't worry about the compiler errors:
class AddSupplyViewController: UIViewController, UIPickerViewDataSource, UIPickerViewDelegate, UITextFieldDelegate
{
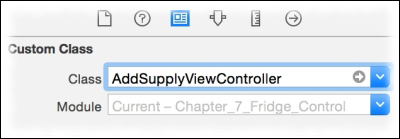
}Return to the storyboard and add a new view controller to it. Connect the AddSupply button from the first scene to this new view controller by control-dragging it from the button to the new scene. Update the scene class in its Identity inspector to AddSupplyViewController as shown in the following screenshot:
In this scene, we need to set the product name, the...