
For 15 years, .NET programmers have been targeting the .NET Framework, so there are many projects that may need to move from Windows-only to cross-platform by retargeting to the .NET Core.
To ensure that a project will work cross-platform, we can install and run the Visual Studio 2015 extension named .NET Portability Analyzer.
It allows you to choose multiple platforms that you would like to target and then scans your compiled assemblies, passes a list of the types and methods that you use to a web service, and produces a report that lists which ones are not supported on each platform along with recommendations for fixes.
In Visual Studio, go to the Tools menu and choose Extensions and Updates….
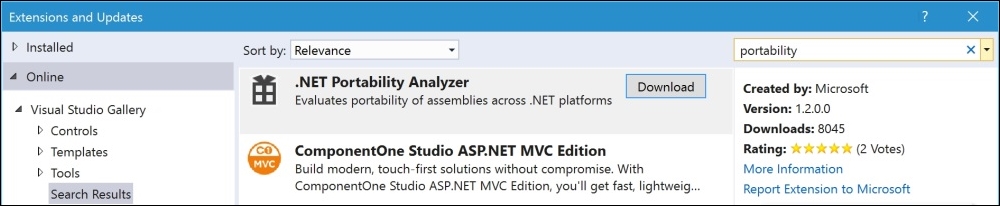
On the left-hand side of the dialog, click on Online. In the Search Visual Studio Gallery box, type portability and press Enter.
Click on the .NET Portability Analyzer entry and then click on the Download button. Once the extension is installed, restart Visual Studio:
In Visual Studio, go to the Tools menu and choose Options.
In the Options dialog box, scroll down through the left-hand side list and choose .NET Portability Analyzer. In the Target Platforms section, deselect everything except for the following:
.NET Core (Cross-platform) 1.0 (shown as 5.0 in the following screenshot)
.NET Framework 4.5
.NET Native 1.0
ASP.NET Core 1.0 (shown as ASP.NET 5 in the screenshot below):
Tip
Microsoft Azure has a Platform-as-a-Service (PaaS) feature named Cloud Services, which is limited to the .NET Framework 4.5; this is why it is a common target platform to check with the analyzer.

In Visual Studio, open the previous solution, named Chapter01. In the Solution Explorer window, right-click on the project named Ch01_MyFirstApp (not the solution), choose Analyze, and then choose Analyze Assembly Portability.
After a few seconds, a report will display in the main area.
Tip
Be patient with the .NET Portability Analyzer because it has to send data to a web service and wait for a response.
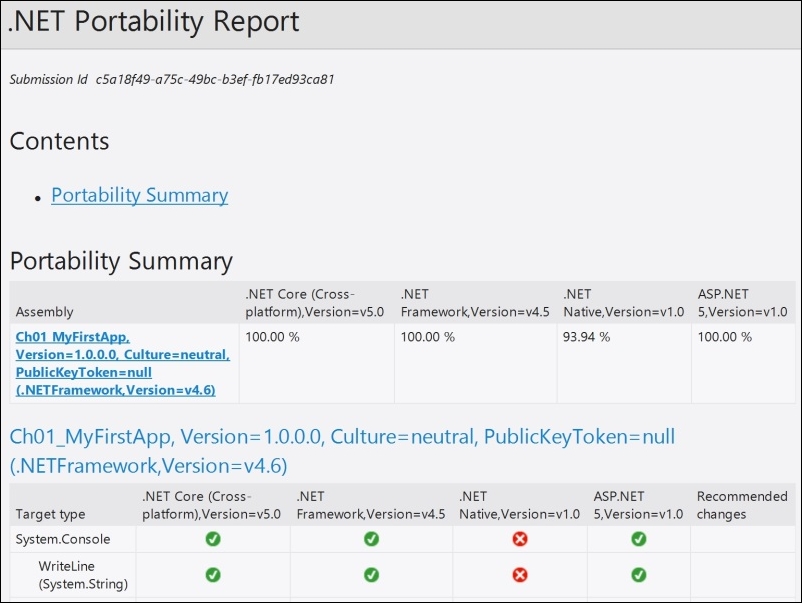
Note that the Console class in the System namespace and its WriteLine method are supported by the following:
.NET Core (Cross-Platform) 1.0 (shown as 5.0 in the following screenshot)
.NET Framework 4.5
ASP.NET Core 1.0 (shown as ASP.NET 5 in the following screenshot)
However, it is not supported by .NET Native 1.0:
Note
At the time of writing this, the .NET Portability Analyzer has not been updated to show the new version branding for .NET Core and related products, which can be found at http://www.hanselman.com/blog/ASPNET5IsDeadIntroducingASPNETCore10AndNETCore10.aspx.
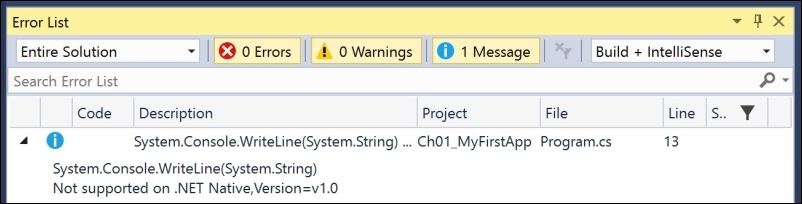
Press Ctrl + W, E to view the error list, which has also been populated. As we saw earlier, double-clicking on an error will jump the code editor to the line that could cause an issue:
I used the .NET Portability Analyzer while writing all the code in this book to ensure that, whenever possible, I can show you code that will work cross-platform using the .NET Core 1.0. If there are useful features that aren't cross-platform yet, then I will point that out in the text. Hopefully, they will be implemented in .NET Core in future versions.
Let's recreate the console application, but this time, target the .NET Core from the start.
There are two sets of command-line tools that you can use to manage the .NET Core:
.NET Version Manager, .NET Execution Environment, .NET Development Utilities (
dnvm,dnx,dnu): These were used by Microsoft during the initial development of the .NET Core between 2013 and 2015. They are installed as part of Visual Studio 2015. These tools will be deprecated with the final release of the .NET Core..NET CLI (
dotnet): This is a driver, which will be used by the final release of the .NET Core. It provides a simplified layer on top of other underlying tools. The .NET CLI must be installed separately.
Tip
At the time of writing, the DNX tools are more advanced than the .NET CLI, so in Chapter 15, Taking C# Cross-Platform, I will need to show you how to use both sets of tools. For this chapter, we can use the newer CLI tool because we are only using basic features. I recommend that you browse http://cs6dotnetcore.azurewebsites.net/ for information about changes between the time of writing this book and the release of the final versions of .NET Core 1.0 and its related technologies and tools.
First, we must install the .NET Command Line Tools (CLI).
Start Microsoft Edge and go to the https://github.com/dotnet/cli.
Scroll down the page to find the Installers section and click on the link to download the MSI file for Windows. Open the file and install.
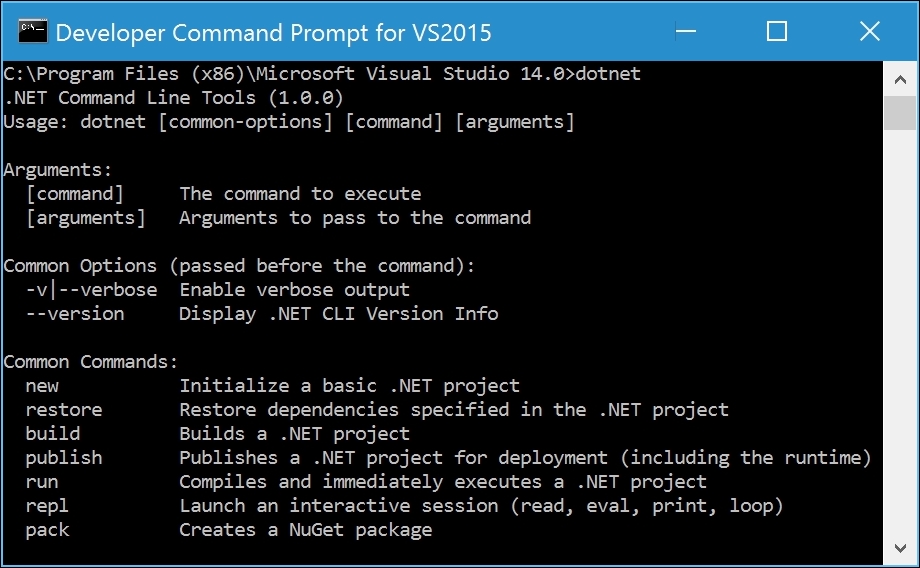
Start the Developer Command Prompt for VS2015. At the prompt, enter the following command:
dotnet
You should see the following output:
Enter the following at the prompt to create a new directory, change to it, create a new console application in the directory, and then list the files it created:
cd C:\Code\Chapter01
mkdir Ch01_MySecondApp
cd Ch01_MySecondApp
dotnet new
dir
You should see that the dotnet tool has created three new files for you: NuGet.Config, Program.cs, and project.json.
At the prompt, enter the following to start Notepad for editing the Program class:
notepad Program.cs
In Notepad, modify the WriteLine statement as follows:
Console.WriteLine("Hello C#, Welcome .NET Core!");Save changes and exit Notepad.
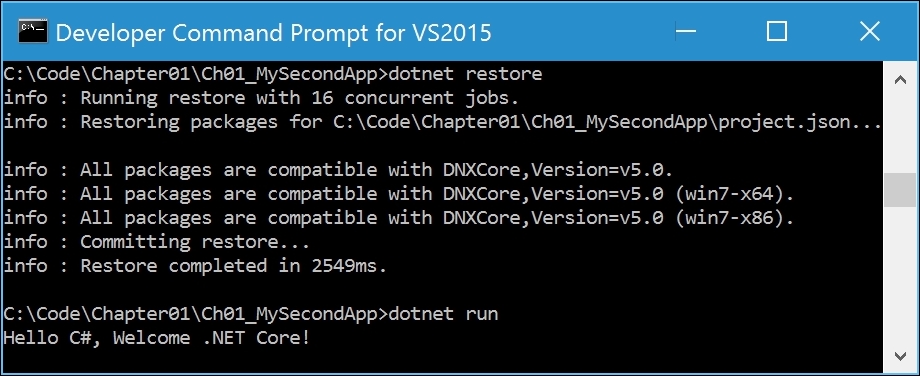
At the prompt, enter the following commands:
dotnet restore
dotnet run
After a few seconds, all the dependency packages will be downloaded and your application will run, showing the following output:
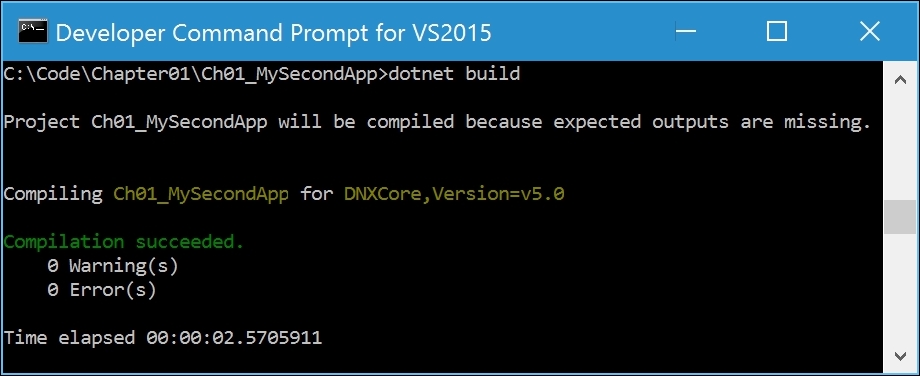
To compile the source code into an assembly containing IL code, enter the following command:
dotnet build
The output in the Command Prompt window should look like this:
Enter the following commands to change to a subdirectory, list the files in it, and execute the compiled console application:
cd bin\Debug\dnxcore50
dir
Ch01_MySecondApp
Start Visual Studio 2015 and open the Chapter01 solution.
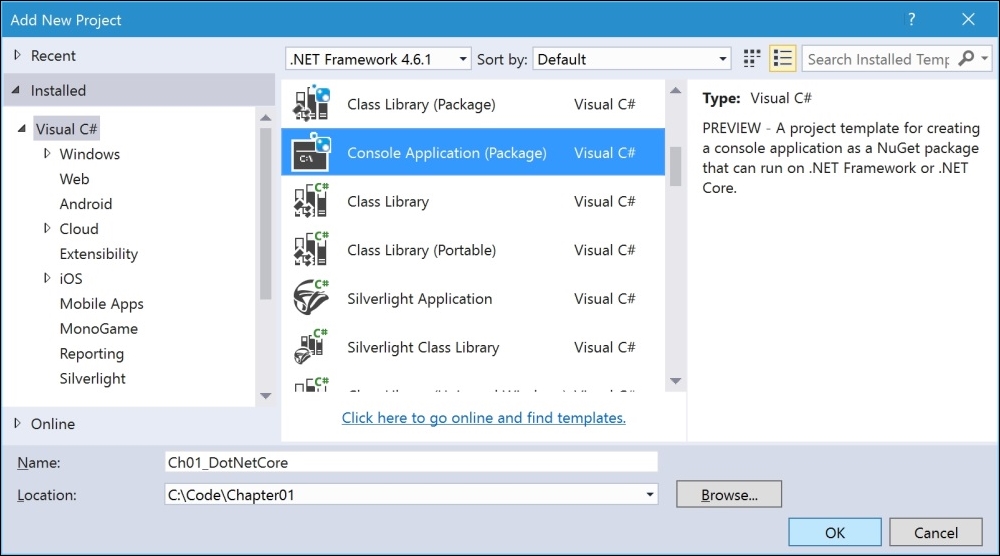
In Visual Studio, navigate to File | Add | New Project.
In the Add New Project dialog box, in the Installed Templates list on the left-hand side, choose Visual C#. In the list at the center, choose Console Application (Package). Enter the name Ch01_DotNetCore, and click on OK or press Enter:
In the Solution Explorer window, right-click on the solution named Chapter01 and choose Properties.
Set the Startup Project to Current selection and click on OK.
Inside the Main method of the Program class, enter the following statements:
Console.WriteLine("Welcome, .NET Core!");
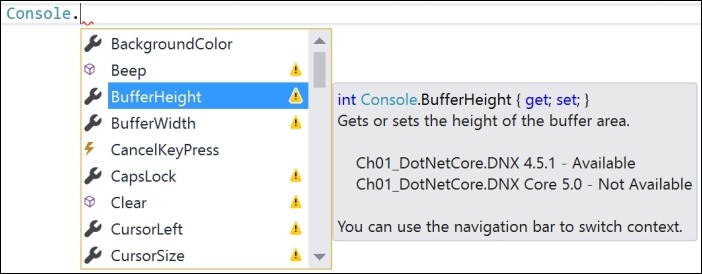
Console.ReadLine();As you type code, you will notice that Visual Studio shows you which types and methods might not be available when targeting .NET Core. For example, the BufferHeight property is available when targeting the .NET Framework but not the .NET Core, as shown in the following screenshot as DNX 4.5.1 and DNX Core 5.0 respectively:
You can tell the compiler to include statements available only when .NET Framework is available by using conditional compilation symbols, as follows:
#if DNX451
    Console.BufferHeight = 300;
#elseif DNXCORE50
    // some alternative for .NET Core
#endif
Tip
In Chapter 5, Using Specialized .NET Types, you will learn more about conditional compilation symbols so that you can create projects that target both the .NET Framework and the .NET Core with a single code base.
Note
The names of the conditional compilation symbols will change in the future. Visit https://github.com/dotnet/corefx/blob/master/Documentation/architecture/net-platform-standard.md for more information.
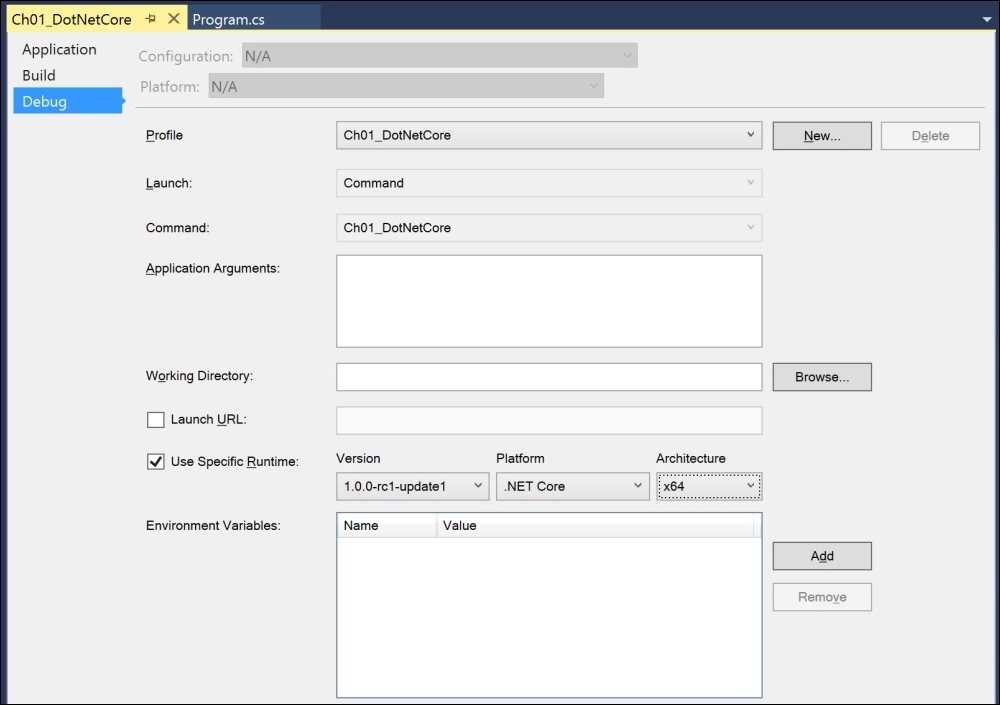
In the Solution Explorer window, double-click on Properties for the Ch01_DotNetCore project.
In the Properties window, click on the Debug tab, select the Use Specific Runtime checkbox, and select the latest version of the .NET Core platform for the x64 CPU architecture, as shown in the following screenshot:
In the Visual Studio Debug menu, choose Start or press F5.
Note that the Command Prompt window shows that the console application is running the dnx-coreclr-win-x64.1.0.0-rc1-update1 runtime:
