Book Image

C# 6 and .NET Core 1.0

Book Image

C# 6 and .NET Core 1.0

Overview of this book

With the release of .NET Core 1.0, you can now create applications for Mac OS X and Linux, as well as Windows, using the development tools you know and love. C# 6 and .NET Core 1.0 has been divided into three high-impact sections to help start putting these new features to work. First, we'll run you through the basics of C#, as well as object-orient programming, before taking a quick tour through the latest features of C# 6 such as string interpolation for easier variable value output, exception filtering, and how to perform static class imports. We'll also cover both the full-feature, mature .NET Framework and the new, cross-platform .NET Core. After quickly taking you through C# and how .NET works, we'll dive into the internals of the .NET class libraries, covering topics such as performance, monitoring, debugging, internationalization, serialization, and encryption. We'll look at Entity Framework Core 1.0 and how to develop Code-First entity data models, as well as how to use LINQ to query and manipulate that data. The final section will demonstrate the major types of applications that you can build and deploy cross-device and cross-platform. In this section, we'll cover Universal Windows Platform (UWP) apps, web applications, and web services. Lastly, we'll help you build a complete application that can be hosted on all of today's most popular platforms, including Linux and Docker. By the end of the book, you'll be armed with all the knowledge you need to build modern, cross-platform applications using C# and .NET Core.
Table of Contents (25 chapters)
C# 6 and .NET Core 1.0
Credits
About the Author
About the Reviewers
www.PacktPub.com
Preface
Index

Connecting to your virtual machine using remote desktop


To connect to a Microsoft Azure virtual machine, you can install Microsoft Remote Desktop from the Apple Mac OS X App Store.

Tip

Any remote desktop software that supports Microsoft's RDP will work from any operating system.

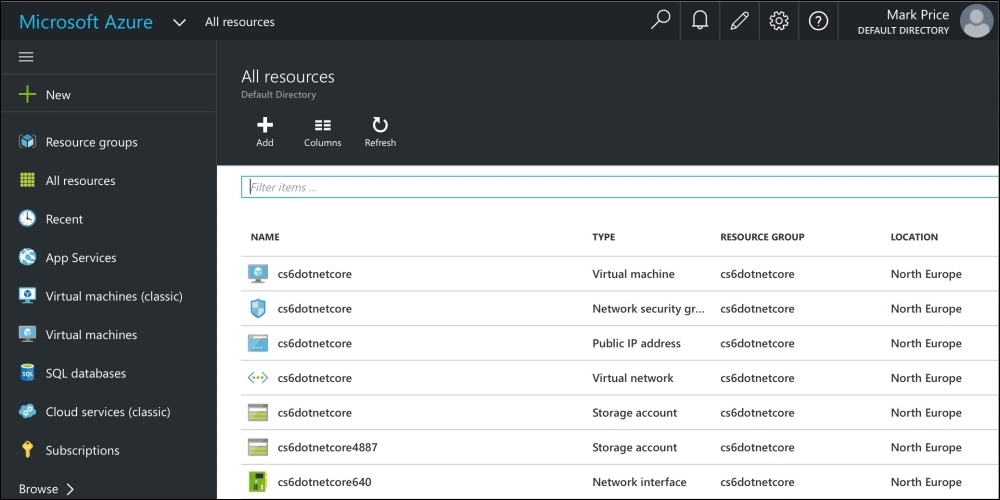
On the Dashboard window, click on All resources, and then click on the virtual machine you created earlier.

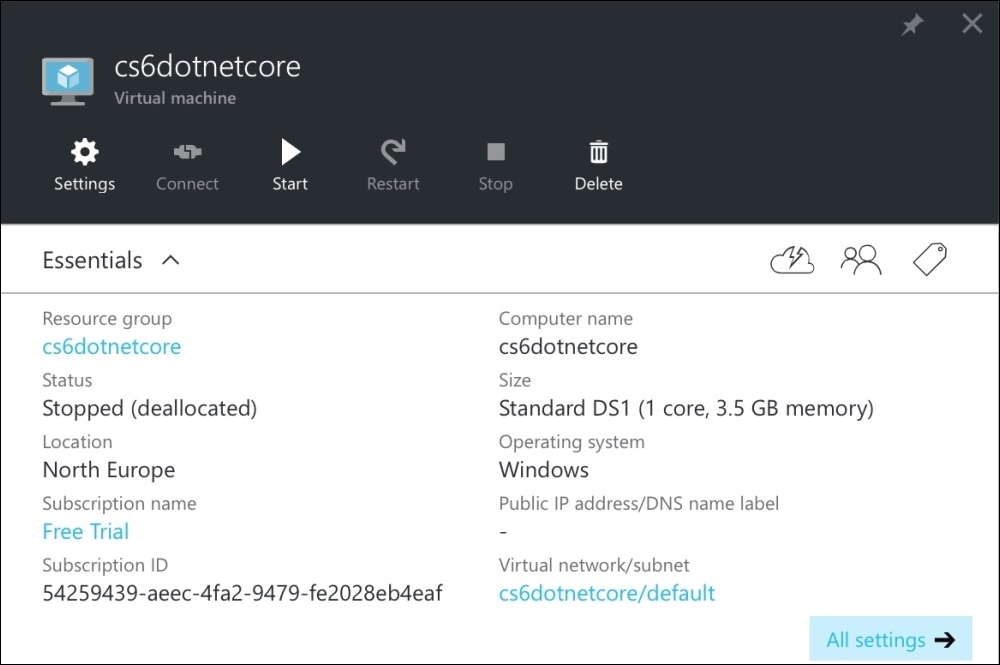
If your virtual machine does not have Running as the status, then click on Start.

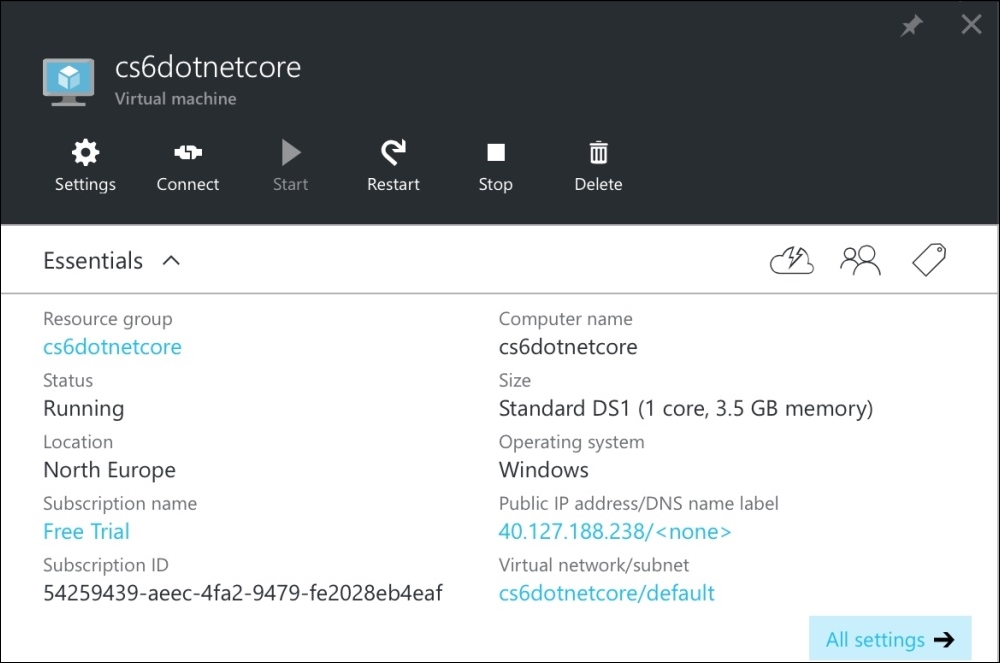
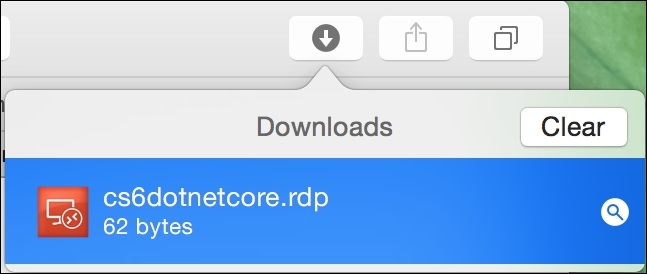
Wait for the virtual machine to start. Click on Connect to download an RDP file.

Double-click on the RDP file to connect to the virtual machine.

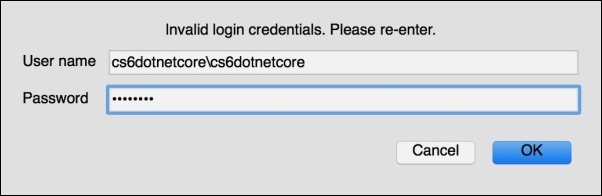
Click on Continue to accept the certificate.

Log in by entering the user name machinename\username and the password, which you chose when creating the virtual machine earlier, and then click on OK.

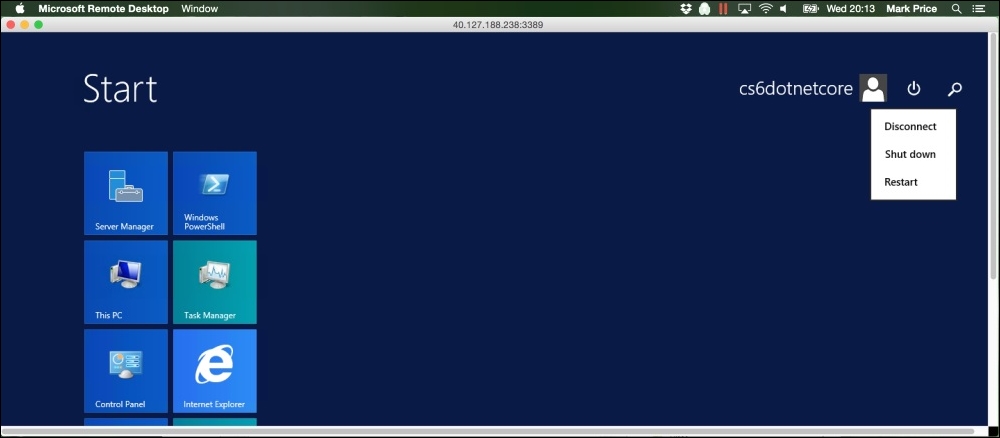
After logging in, you will have a window into the virtual machine. Click on the Windows Start button and start typing vis to find and run Visual Studio 2015.

When you are finished, the start screen will display a power button that allows the remote desktop window to disconnect or shut down.

Click on the power button and then click on Shut down.

After the remote desktop window closes, return to the Azure portal. Note the orange warning that states that even though the virtual machine is shut down, it is still incurring charges because it is still using some resources.

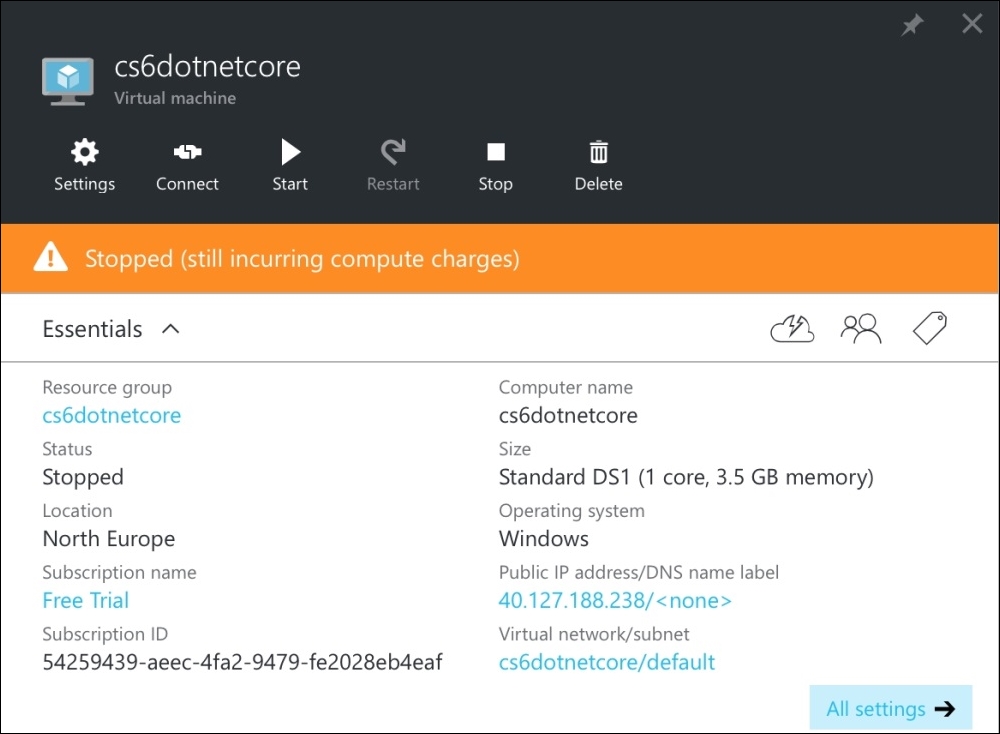
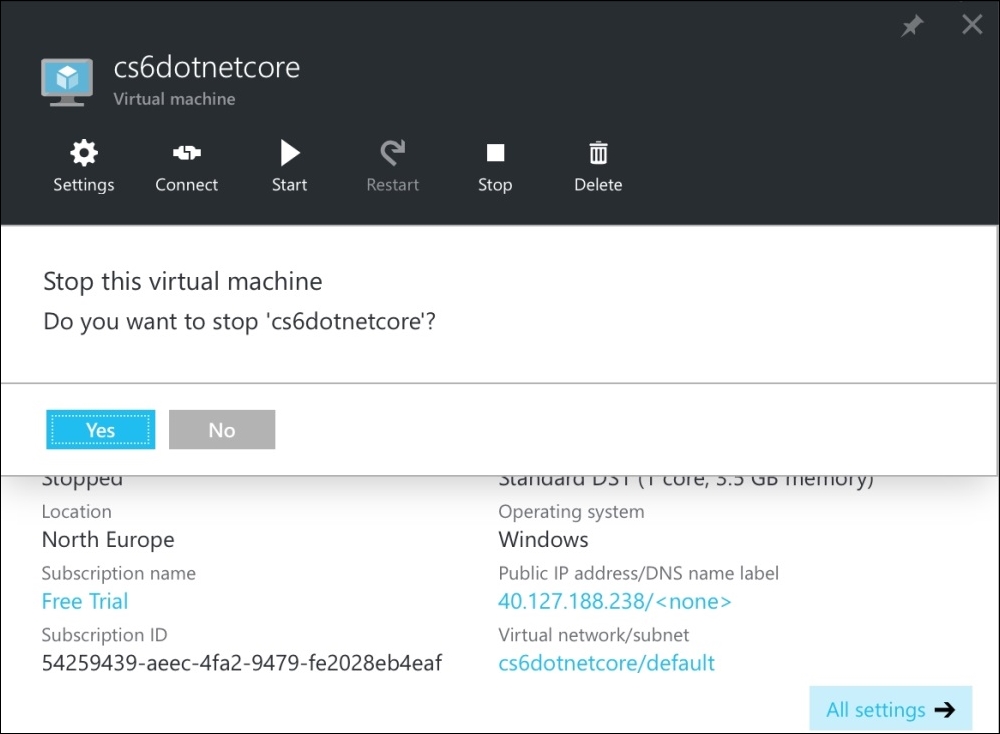
Click on Stop and then click on Yes to stop the virtual machine fully.

Wait for the virtual machine to stop.

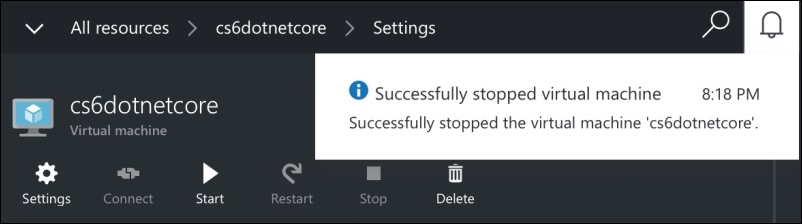
Once the virtual machine is stopped, it will have Stopped (deallocated) as the status. This means that you are not being charged for this virtual machine.