Book Image

Data Acquisition using LabVIEW

By : Behzad Ehsani
Book Image

Data Acquisition using LabVIEW

By: Behzad Ehsani

Overview of this book

NI LabVIEW's intuitive graphical interface eliminates the steep learning curve associated with text-based languages such as C or C++. LabVIEW is a proven and powerful integrated development environment to interact with measurement and control hardware, analyze data, publish results, and distribute systems. This hands-on tutorial guide helps you harness the power of LabVIEW for data acquisition. This book begins with a quick introduction to LabVIEW, running through the fundamentals of communication and data collection. Then get to grips with the auto-code generation feature of LabVIEW using its GUI interface. You will learn how to use NI-DAQmax Data acquisition VIs, showing how LabVIEW can be used to appropriate a true physical phenomenon (such as temperature, light, and so on) and convert it to an appropriate data type that can be manipulated and analyzed with a computer. You will also learn how to create Distribution Kit for LabVIEW, acquainting yourself with various debugging techniques offered by LabVIEW to help you in situations where bugs are not letting you run your programs as intended. By the end of the book, you will have a clear idea how to build your own data acquisition system independently and much more.
Table of Contents (18 chapters)
Data Acquisition Using LabVIEW
Credits
About the Author
Acknowledgments
About the Reviewer
www.PacktPub.com
Preface
9
Alternate Software for DAQ

Verifying the computer's connection


It may sound trivial, and in most cases it is, but if this unit is being used in a professional company, it's IT department can be very helpful in case there are issues. But be aware that simple security (a username and password) will be required. We will verify that all connections and security are taken care of by simply looking for the device and verifying the local IP of the GPIB assigned to it by running GPIB Ethernet Wizard:

  1. Launch NI Max and click on Devices and Interfaces.

  2. Click on Network Devices on the left-hand pane.

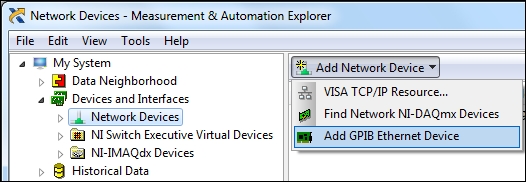
  3. From the right-hand side drop-down menu click on Add Network Device and choose Add GPIB Ethernet Device. This will launch NI-488.2, the GPIB Ethernet Wizard.

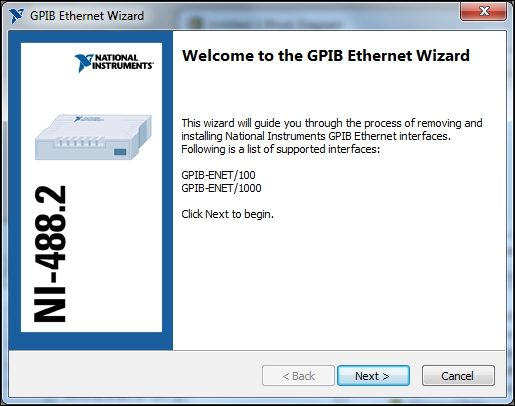
  4. Click on the Next button. This is the crucial point; that is, the software will start to search for connected devices. If all goes well you will see the list of detected devices or at least one device. But before looking at a successful search, let's look at the failure window...