

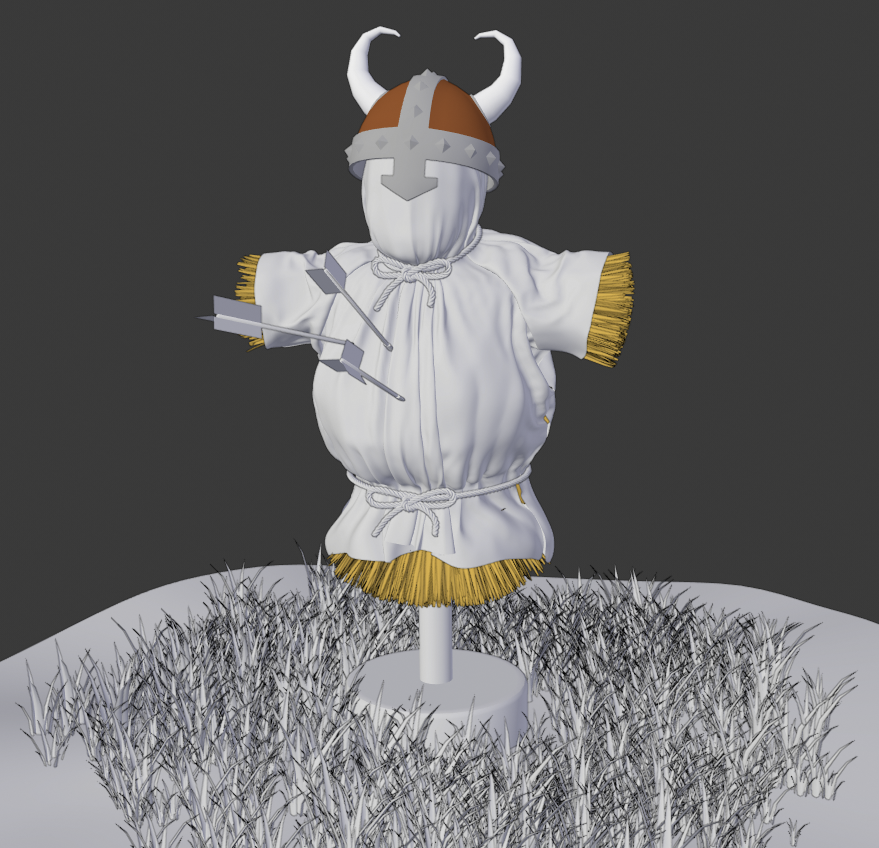
While we work in 3D, we tend to use low-quality preview settings for the Viewport because it's easier to see the polygons and it keeps our computers running fast while we work. So far, we have been working with low-quality preview settings, so our Viewport looks like this:
Now that we've finished making edits to the Viking scene, we can change a few settings to get a high-quality final image. A high-quality render needs a nice set of lights. Remember the Lights collection in the Outliner? Well, it's time to make it visible:
- Find the Lights collection in the Outliner.
- Click on the grayed-out eyeball icon to the right of the Lights collection.
Good – we have some lights, but a bunch of ugly lines appeared in the Viewport. These lines are part of a feature called Overlays. Overlays include everything from grid lines to selection highlights. They are helpful for modeling, but they get in the way for rendering. Next, let's turn off all of the Overlays so we can get a clear look at our final image:
- Look at the header of the 3D Viewport and find the four circle-shaped icons in the top-right corner.
- Find the button to the left of the four circles labeled Show Overlays.
- Click the button to disable all of the Overlays in the Viewport.
There's one last thing we need to do, and this is the big one: we need to change the shading from Solid to Rendered to see what our finished scene looks like:
- Look at the header of the 3D Viewport and find the four circle-shaped icons in the top-right corner.
- Click on the fourth circle icon to activate Rendered shading.
And that's all there is to it. Our scene shouldn't look boring, flat, and gray anymore. Instead, we should have an image like this:

Much better, wouldn't you say? If you would like to, you can save this image by going all the way to the top bar and choosing Render | Render Image. Then, save the image to your computer. Congratulations on finishing your first Blender 2.8 project!