-
Book Overview & Buying
-
Table Of Contents

Game Development with Unity for .NET Developers
By :
Game Development with Unity for .NET Developers
By:
Overview of this book
Understand what makes Unity the world’s most widely used real-time 3D development platform and explore its powerful features for creating 3D and 2D games, as well as the Unity game engine and the Microsoft Game Dev, including the Microsoft Azure Cloud and Microsoft Azure PlayFab services, to create games.
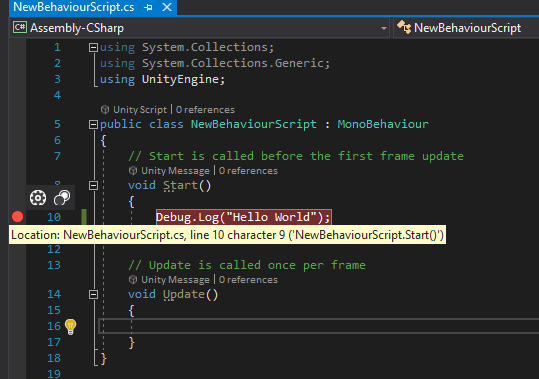
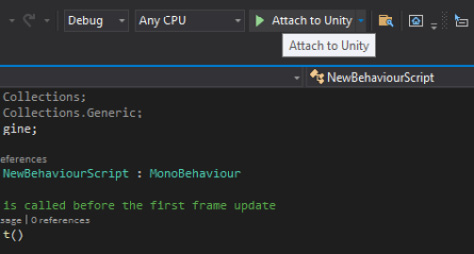
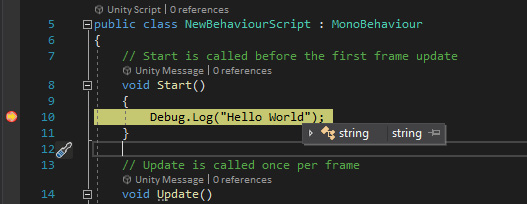
You will start by getting acquainted with the Unity editor and the basic concepts of Unity script programming with C#. You'll then learn how to use C# code to work with Unity's built-in modules, such as UI, animation, physics, video, and audio, and understand how to develop a game with Unity and C#. As you progress through the chapters, you'll cover advanced topics such as the math involved in computer graphics and how to create a custom render pipeline in Unity with the new Scriptable Render Pipeline, all while optimizing performance in Unity. Along the way, you'll be introduced to Microsoft Game Dev, Azure services, and Azure PlayFab, and using the Unity3D PlayFab SDK to access the PlayFab API.
By the end of this Unity book, you'll have become familiar with the Unity engine and be ready to develop your own games while also addressing the performance issues that you could encounter in the development process.
Table of Contents (16 chapters)
Preface

Part 1: Basic Unity Concepts
 Free Chapter
Chapter 1: Hello Unity
Chapter 2: Scripting Concepts in Unity
Part 2: Using C# Scripts to Work with Unity's Built-In Modules
Chapter 3: Developing UI with the Unity UI System
Chapter 4: Creating Animations with the Unity Animation System
Chapter 5: Working with the Unity Physics System
Chapter 6: Integrating Audio and Video in a Unity Project
Part 3: Advanced Scripting in Unity
Chapter 7: Understanding the Mathematics of Computer Graphics in Unity
Chapter 8: The Scriptable Render Pipeline in Unity
Chapter 9: The Data-Oriented Technology Stack in Unity
Chapter 10: Serialization System and Assets Management in Unity and Azure
Chapter 11: Working with Microsoft Game Dev, Azure Cloud, PlayFab, and Unity
Other Books You May Enjoy