Book Image

Unity 2018 By Example - Second Edition

Book Image

Unity 2018 By Example - Second Edition

Overview of this book

Unity is the most exciting and popular engine used for developing games. With its 2018 release, Unity has become the primary source of both game development and virtual reality content. In Unity 2018 By Example, you’ll learn how to use Unity in order to make amazing games from popular genres - from action shooters to mind-bending puzzle games to adventure and Virtual Reality (VR) games. Even if you have no previous experience of using Unity, this book will help you understand the toolsets it provides in depth. In addition to this, you'll understand how to create time-critical collection games, twin-stick space shooters, platformers, and action-fest games with intelligent enemies. Finally, you'll get to grips with creating VR games with the new toolsets introduced by Unity to help you develop amazing VR experiences. To make things easier, you will be provided with step-by-step tutorials for making five great games in Unity 2018, along with a detailed explanation of all the fundamental concepts. By the end of this book, you’ll have established a strong foundation in making games with Unity 2018.
Table of Contents (16 chapters)
Unity 2018 By Example - Second Edition
Contributors
Preface
Other Books You May Enjoy
Index

User controls


Maybe you don't like the default controls and key combinations associated with the input axes—Horizontal, Vertical, and Fire1. Maybe you want to change them. These input axes are read using the Input.GetAxis function (shown earlier) and are specified by human readable names, but it's not immediately clear how Unity maps specific input buttons and devices to these virtual axes. Here, we'll see briefly how to customize these. To get started, let's access the Input settings by navigating to Edit | Project Settings | Input from the application menu. See Figure 4.21:

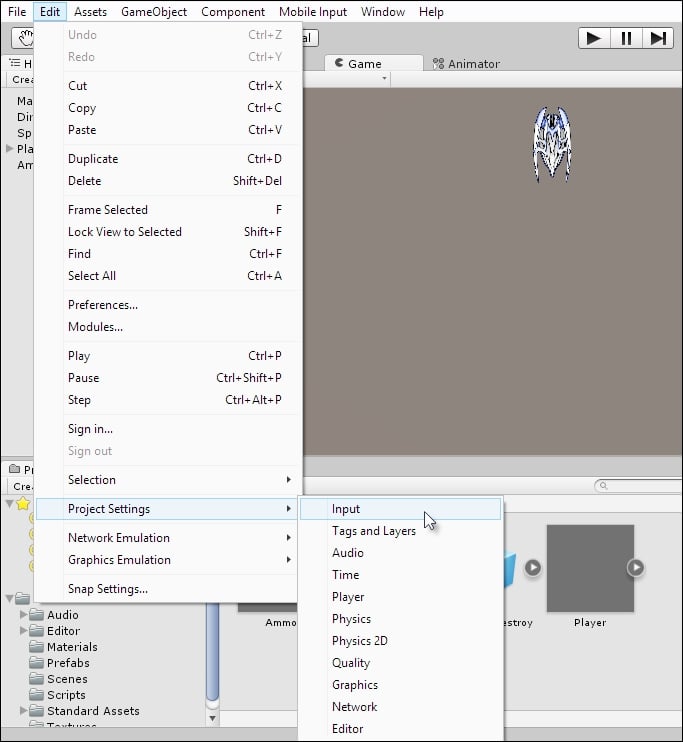
Figure 4.21: Accessing the Input menu

On selecting this option, a collection of custom-defined input axes appear as a list in the Object Inspector. See Figure 4.22. This defines all axes used by the input system. The Horizontal and Vertical axes should be listed here:

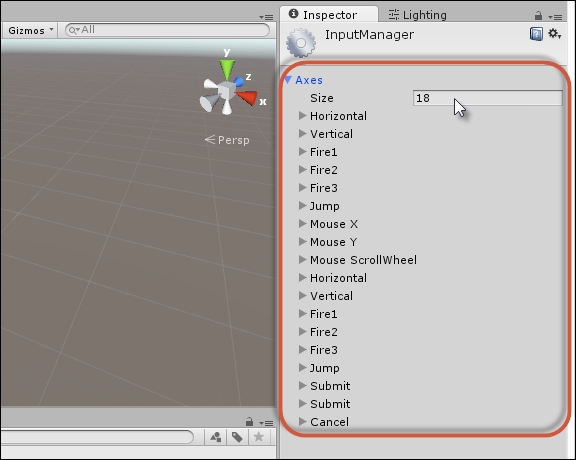
Figure 4.22: Exploring the input axes

By expanding each axis in the Object Inspector, you can easily customize how user input is mapped, that is, how specific...