
Using the Clip List area for audio management
The Clip List area is where all the audio files imported into a Pro Tools session are listed, whether they are used or not. Unlike other editing software, Pro Tools cannot organize files into folders within the Clip List area. This can be very daunting to use, but there are some tools available for users to get the most out of the Clip List area.
Getting ready
This recipe expects you to have a Pro Tools session with multiple audio files imported into it. Your session should also have the right-side drawer with the Clips List area visible. If you don’t see it, click the tiny arrow in the bottom right of the Edit window or go to the menu bar and select View | Other Displays | Clip List (see Figure 2.14):
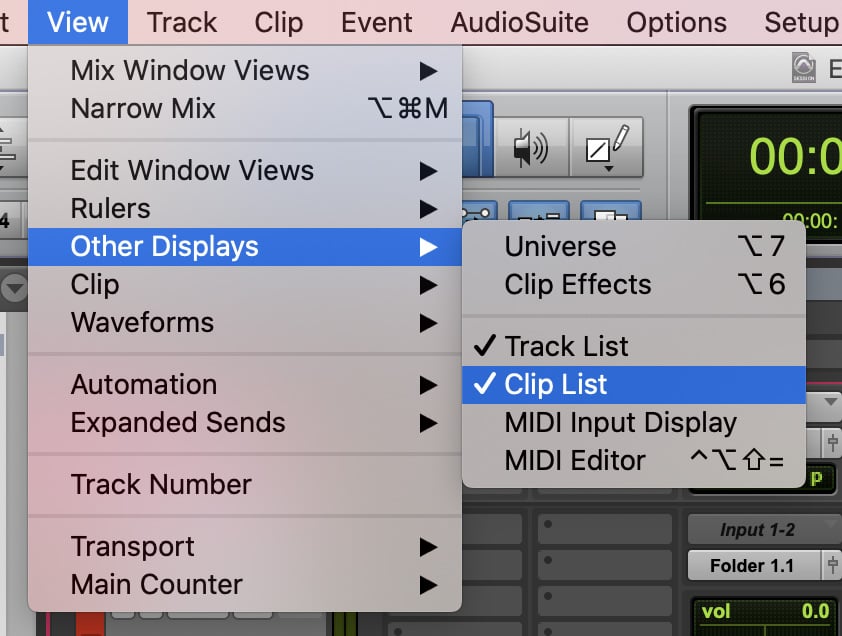
Figure 2.14: Enabling Clip List
How to do it…
This recipe will go over some of the commands you can use with Clip List to find audio clips and manage them. Follow these steps:
- In the Clip List area, click the triangle in the top right.
- Select Find….
- Start typing in some letters that match one of the filenames and observe how the Clip List area changes.
- Click the triangle to the right of the Name field and select Insert Entry.
- Type in another set of letters different from the first into the Name field.
- Click the triangle again and select Insert Entry once more.
- Click the triangle and toggle between the two entries.
- Select one of the entries and click OK.
- Back in the Clip List area, click the triangle at the top right and select Clear Find.
- Click the keyboard focus (the small az button at the top right).
- Type in a filename.
- Hold Option (Alt on Windows) and click on a file (audio warning – make sure your monitors/headphones are not set loud).
How it works…
As mentioned previously, the Clip List area is one large collection of all the audio clips and files in your session. This can make finding clips very frustrating if you don’t use the Find commands within the Clip List area. Find commands can also be hard to narrow down, but the fact that it updates the contents of the list live as you type in letters can help narrow things down, and using the entries to help sort things is another often used technique. Keyboard focus is also very helpful in that you can simply type in the filename, but that also removes the quick command functionality from the Edit window.
There’s more…
If you want to keep the keyboard focus on the Clip List area but have quick commands available for edit functions, simply hold Control (the Windows key on Windows) in combination with the keyboard letter to have that command work in the Edit window. For example, the letters r and t on your keyboard zoom out and in respectively when the keyboard focus is on the Edit window. If the keyboard focus is on the Clip List area, you can press Control + r and Control + t (the Windows key + r and the Windows key + t on Windows) for the same effect.
See also
There are many third-party tools available that provide extra functionality for organizing and finding media for your projects. See the Appendix for a list of them.