
In this section, we will discuss the installation of the client tools.
As with the installation of the server, you will need to locate the installable by navigating to D:\1010_Client_Installer_winem-64t | Client | Install. In some cases, the filename can be install.exe, as shown in the following screenshot:

Double-click on install to initiate the client installation process for the client tools.
Perform the following steps:
- Select the
Install Informatica 10.1.0 ClientsorUpgrade to Informatica 10.1.0 Clientsoption as shown in the following screenshot. Select theInstall Informatica 10.1.0 Clientsinstallation type if you are doing a fresh installation, or selectUpgrade to Informatica 10.1.0 Clientsto upgrade to the latest version:
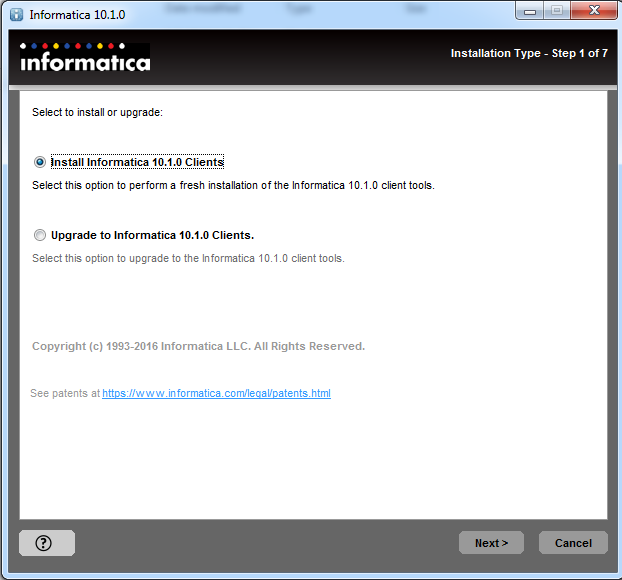
- Click on
Next.
- Please check the installation prerequisites for the PowerCenter client tool as shown in the following screenshot:
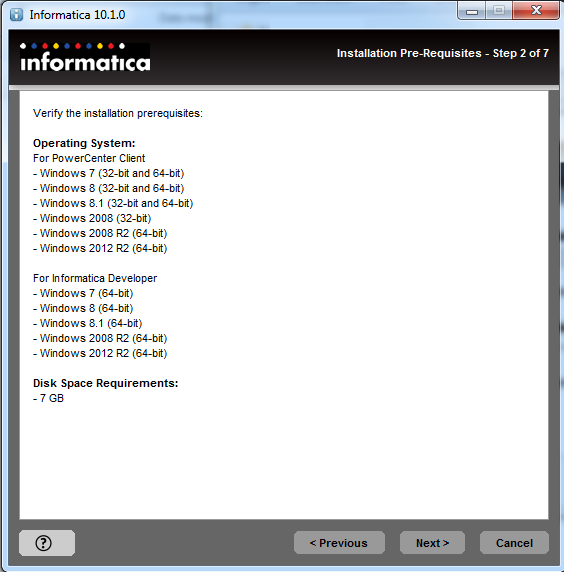
- Verify the details, and click on
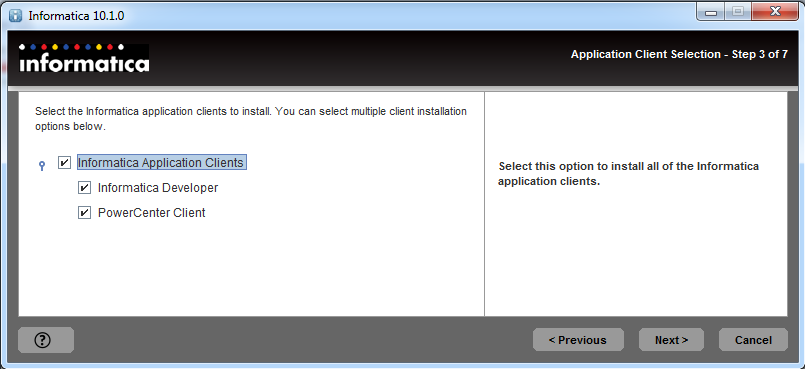
Next. - On the Application Client Selection screen, select
Informatica DeveloperandPowerCenter Clientas shown in the following screenshot. Click onNext:
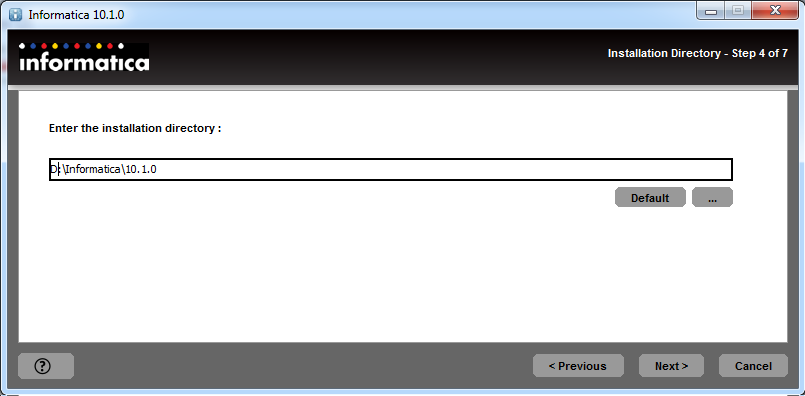
- Enter the installation directory. You can select the same installation directory where you installed the server. Please make sure you have sufficient space in the directory. Click on
Next:
- Cross-check the pre-installation summary, and click on I
nstallto start the client installation process, as shown in the following screenshot:
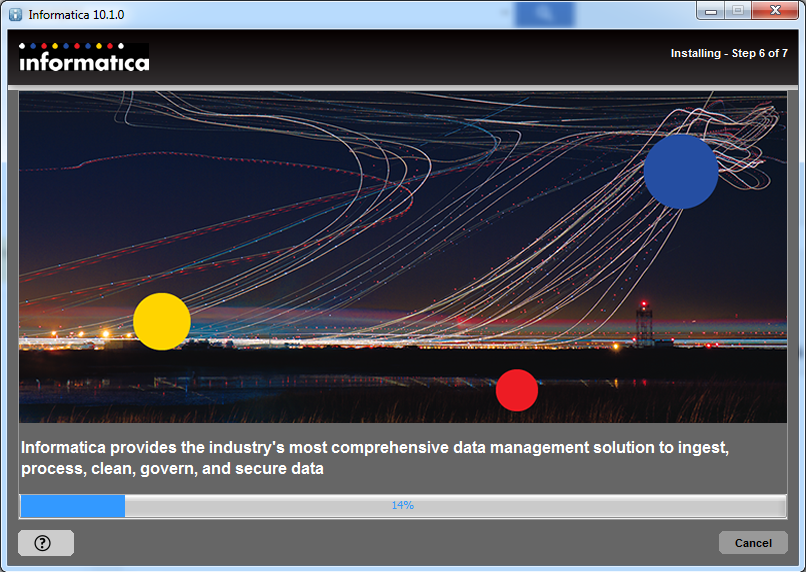
- It will take a few minutes to complete the installation based on your system configuration.
- Once the installation process is complete, you will get the Post-Installation Summary screen. Check the summary, in the following screenshot:

- Click on
Doneto finish the client installation process.
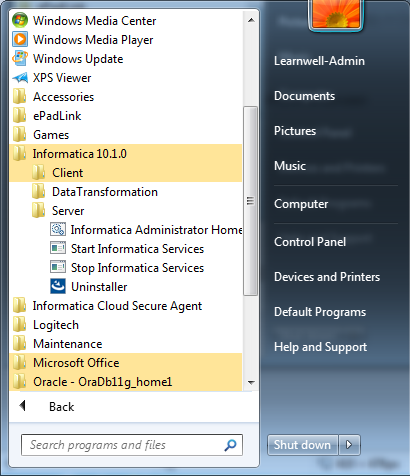
With this, the installation of the server and client is complete. You will be able to see the newly installed programs in your Start menu on Windows, as shown in the following screenshot: