Book Image

Mudbox 2013 Cookbook

Book Image

Mudbox 2013 Cookbook

Overview of this book

"Mudbox 2013 Cookbook" covers a variety of techniques that can be used to bring your imagination to life. You will be able to create detailed characters and environments like the ones found in games, movies, and on television. Each recipe is one more building block towards digitally sculpting your ideas into reality. "Mudbox 2013 Cookbook" is written in recipes so that you can refer back to it whenever you seek help. The advanced techniques described in this book cover the whole spectrum of Mudbox's capabilities. With this book you will learn the foundational techniques in using Mudbox as well as more advanced ones "Mudbox 2013 Cookbook" will guide the reader step by step through the process of creating brushes, sculpting, 3d painting, lighting assets, extracting normal maps, and many other techniques. If a recipe is too advanced for you then you can visit the suggested recipes listed at the end of the recipe to learn supporting techniques. Supporting images are used for readers who understand things more visually. Each recipe is rated for difficulty so that you can find techniques that line up with your skill level. Once you complete the beginner and intermediate recipes you will be able to move on to the more advanced recipes.
Table of Contents (16 chapters)
Mudbox 2013 Cookbook
Credits
About the Authors
About the Reviewer
www.PacktPub.com
Preface

Adjusting joint pivots and painting weights


This recipe will show you how to create and adjust joint pivots, and paint weights. Joints are the bones of the skeleton, which will let you pose your model. Weights allow you to specify what portions of the model a joint will influence.

Getting ready

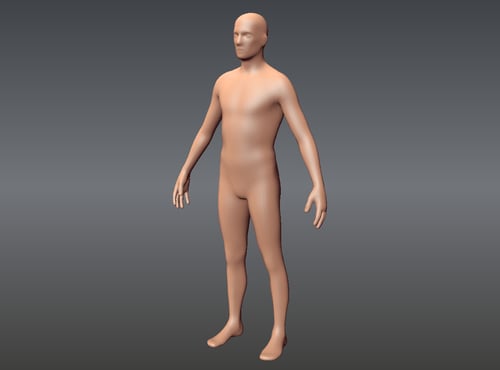
Once you have imported a model to pose, like the one shown in the following screenshot, you will be ready to create joints:

How to do it...

The following steps will help you to create and adjust joint pivots, and paint weights:

  1. 1. Click on the Pose Tools tab at the bottom left-hand side of your screen and select the Create Joint tool. This will allow you to pick the starting anchor of the joint for your model.

  2. 2. Click on the area of your model you wish to start the joint from and drag the joint out to where you want it to end. In the case of a human, try creating a simple arm joint to affect the arm, as shown in the following screenshot:

    Notice a bright green gradient emanating from the initial pivot...