

In order to open your 30-day trial of Microsoft Dynamics CRM, you need to go through a wizard-driven process. First, navigate to http://www.microsoft.com/en-ca/dynamics/default.aspx.
Change your locale from the top right-hand corner of the screen, if necessary:
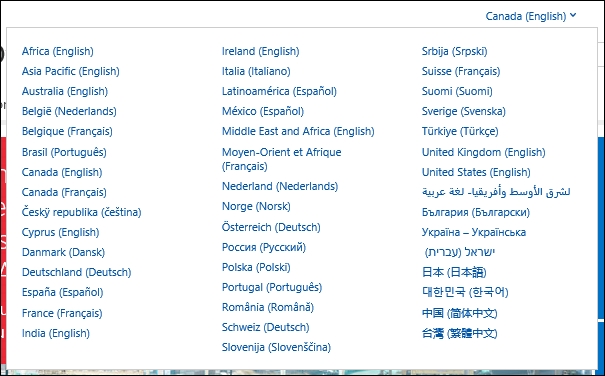
As you can see, 44 languages are supported at the time of writing this book, and more are being added all the time.
Once you have your locale selected, find the TestDrive CRM link, which looks as follows, and click on it:

The reason why we have selected the correct locale right from the start is because we now don't have to change the environment preferences during the signup process.
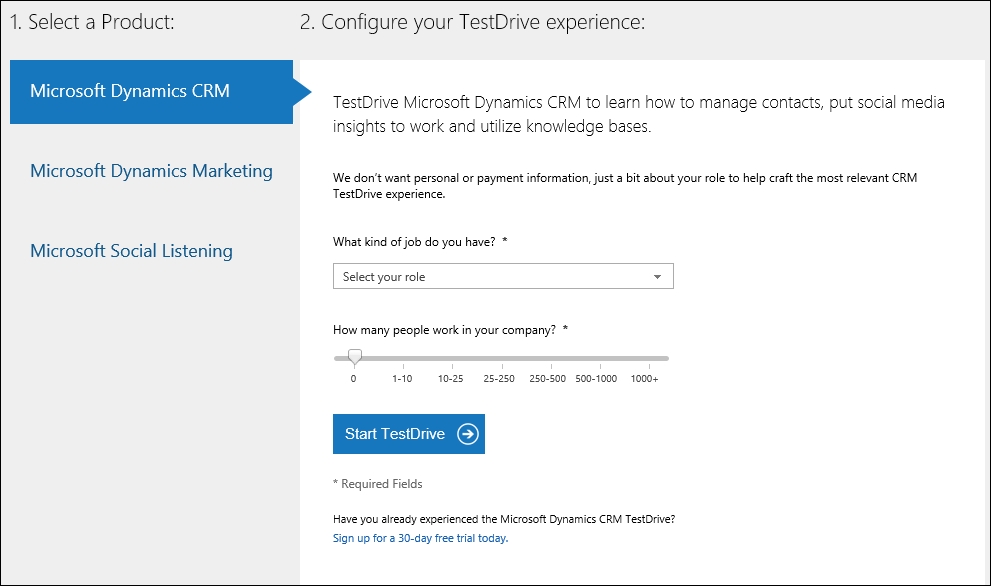
Once the wizard is started, the first page that is presented gives you the option to select the product. By default, Microsoft Dynamics CRM is selected. The right-hand side of this page presents you with some configuration questions. Select the most relevant options for the role and organization size fields and click on Start TestDrive, as shown in the following screenshot:
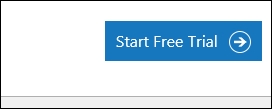
Next, follow the wizard step by step if you are using the product for the first time, or you can directly skip to creating a trial by clicking on the Start Free Trial button, as shown in the following screenshot:
The signup process consists of the following three steps:
In the first step, personal and company information is collected. I will recommend that you pay close attention to the country selection option in this step, as this selection predefines the language, currency, and locale details. As noted on the screen, this information cannot be changed once the instance is configured. If you have selected the wrong country, you will have to sign up again for a new instance to reset this information.
In this step, the e-mail address collected is used for all further communication with the environment owner. The phone number and company name are also collected. The company name provided will be used to create the specific accessible URL for the instance to be used. Also, make sure that the e-mail address provided is a valid e-mail address, as all communication regarding this instance as well as expiration notifications will be sent to this address.
Once you've filled in this form, find and click on the Next button, which looks similar to the one in the following screenshot, to advance to the next step:

The second step is the provisioning of an Office 365 user account. Since this is a free 30-day trial, the default extension of
onmicrosoft.comis being used for all the accounts. Provide a username that is easy to remember and the company name to be used when generating the environment URL.Finally, click on Next once all this is completed and advance on to the third step. The last step is a validation step. You need to provide a valid phone number, and a text message with a verification code will arrive almost instantly. Enter this code in the box shown in the following screenshot:

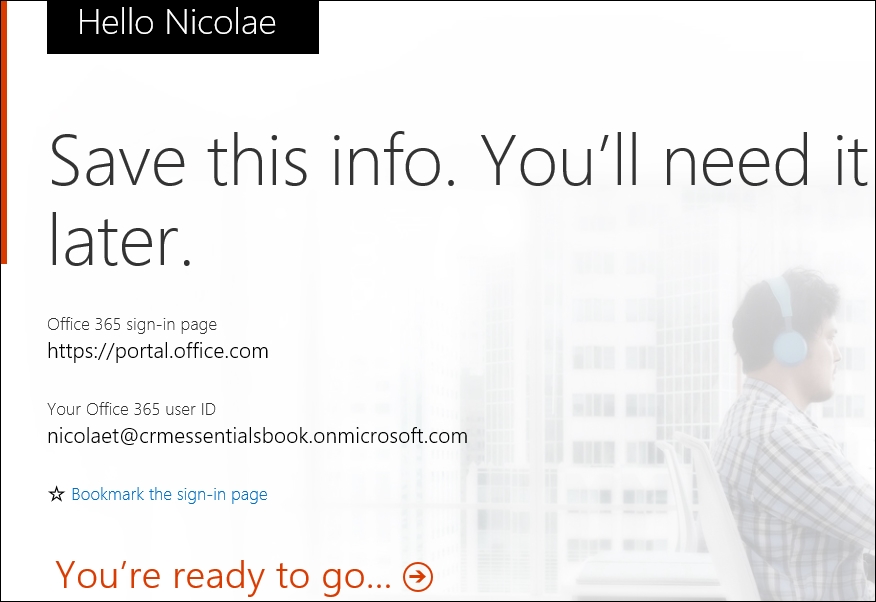
When you are done, click on Create my Account. Your account will be created. The process can take a few minutes to complete; during this time, your sign-in page and user ID will be shown, as follows:

Once this is completed, the link to start your trial is active. Click on You're ready to go…, as shown here:
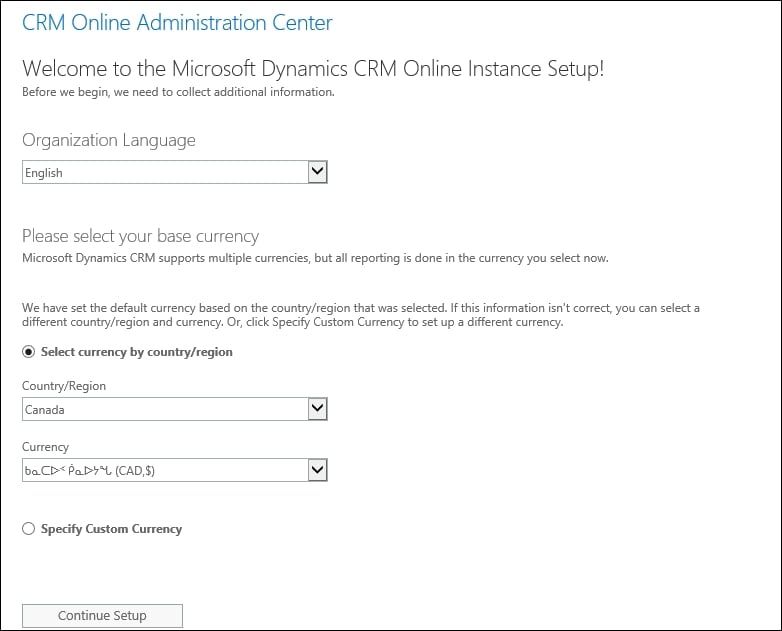
A new wizard will start, allowing you to configure your Office 365 CRM Online instance through the Administration Center. Fill in the required fields and click on Continue Setup.
Pay close attention to the customer currency that you are setting up for your environment. This will define the base currency used in the environment, and all currency conversions will be set up in relation to this currency. The default currency cannot be changed once the online instance is created.
The Organization Language of CRM Online Administration Center defines the default language used for the system. While you can add any of the additional language packs provided, the default language must be selected during the online instance creation process.
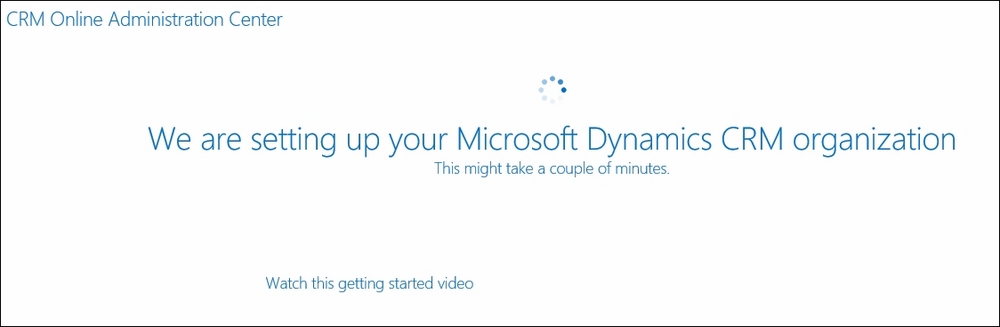
Once you click on the Continue Setup button, the system will start provisioning your new instance of Microsoft Dynamics CRM. This process takes a few minutes, as you can see in the following screenshot:
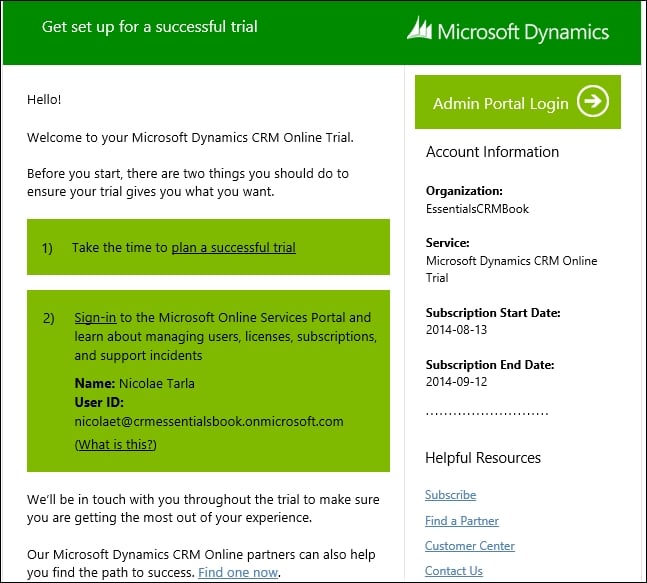
While you wait for the provisioning to finish, check the e-mail address you used to subscribe. A new e-mail from Microsoft must have landed in your inbox, presenting you with details about your subscription, the start and end dates, organization name, and user ID. Keep this information handy for the duration of the trial, as you will need to refer to it later on. You will receive the following e-mail when creating a new Organization named EssentialsCRMBook:
Note
Depending on the locale selected, you might receive an additional e-mail about eligibility for additional products or services. At the time of writing this book, social listening is not yet available in all the locales.
Once the provisioning is completed, the page refreshes, and a link to access your new instance is presented, as shown here:
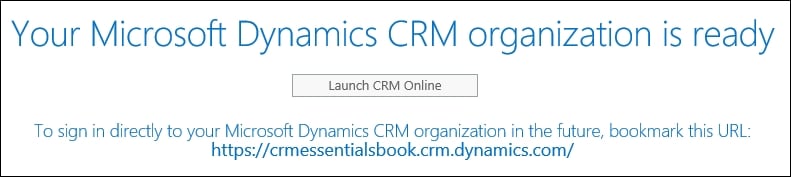
Click on the Launch CRM Online button to access your newly created instance of Dynamics CRM. You are presented with the default dashboard and, on first launch, the welcome wizard. You can opt for it to not be shown again, or this wizard can be disabled for all the users by an administrator.
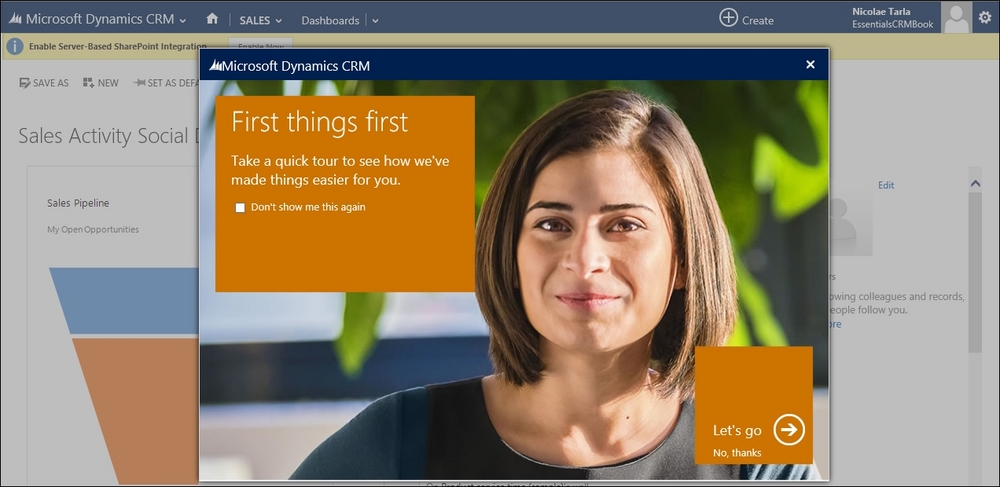
Clicking on the Let's go arrow presents you with a set of highlights about the platform. If you are working with Microsoft Dynamics CRM for the first time, it's recommended that you follow this quick tutorial to get a first look at some of the features of the platform.
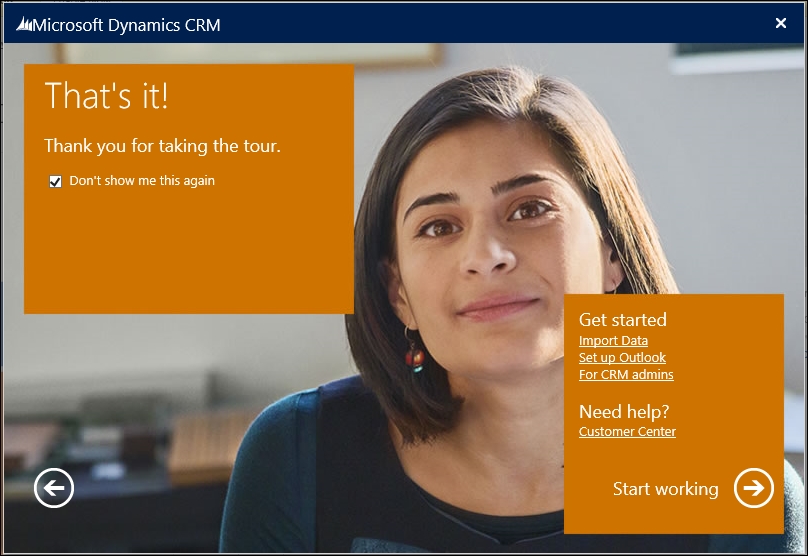
When you are done, click on Start working, which you can see in the right-hand corner of the previous screenshot. You are now logged in to your brand new Dynamics CRM Online trial instance. The window should look like the following screenshot.
For additional training resources, you can refer to the CRM Customer Center at http://www.microsoft.com/en-us/dynamics/crm-customer-center/.
Or, if your organization has access, you can refer to the Dynamics Learning Portal at https://mbspartner.microsoft.com/Landing, which is a treasure trove of information.
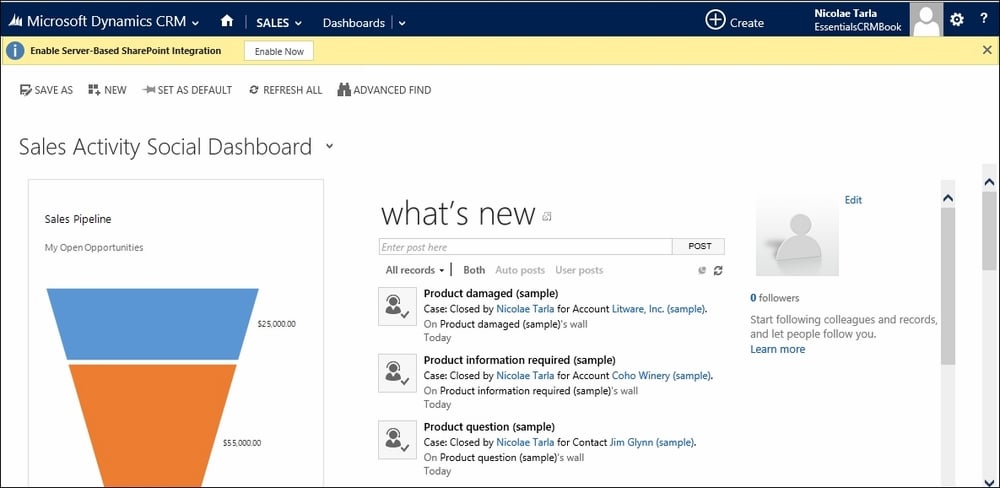
By default, the first time you access Dynamics CRM, you are presented with the Sales Activity Social Dashboard. You will get some additional messages about extra configuration steps in the yellow bar at the top. We can ignore these for now, as we will be going back to them in a later chapter, when we take a look at the other features available.
The Outlook connector's configuration will be covered in the next section of this chapter, while SharePoint integration configuration will be covered in Chapter 6, Dynamics CRM Administration.
The trial instance of Dynamics CRM Online comes preloaded with some sample data. This makes it easy for a first-time user to see some of the visual representations on the dashboards as well as gives a new user the opportunity to track some of the data relationships and see how related data is presented on certain records. This sample data can be removed by navigating to Settings | Data Management | Sample Data.
In the next few chapters, we will start investigating all the available features of the Dynamics CRM platform.