

While it is not necessarily a requirement of this book, Dynamics CRM Online and On-Premise can be integrated with Microsoft Outlook in order to provide the user with an interface that is already familiar to them.
Once you have your instance up and running, you can go ahead and install the Outlook client. This client is available either directly from the web interface of Dynamics CRM, presented as an option for download, or it can be downloaded from http://www.microsoft.com/en-us/download/details.aspx?id=40344.

You can either download the file locally or run it directly.
Tip
Microsoft presents you with the option to download two files for the Outlook client. Make sure that you select the file that matches the version of Office you have installed. For 32-bit versions of Office, select the file that ends in Client-ENU-i386.exe, while for 64-bit versions of Office, select the file that ends in Client-ENU-amd64.exe.
Note
The following are the requirements for Dynamics CRM for an Outlook installation:
Must be logged in as a user with local administrator privileges
Must be on a machine with Windows Vista SP2 or newer
Must have Office 2007 or newer installed
Must have Internet Explorer 8 or newer
The following are the minimum system requirements for Dynamics CRM for Outlook:
Processor: x86 or x64, 1.9 GHz or faster, dual core with SSE2 (most modern processors qualify)
Memory: A minimum of 2 GB RAM for online Dynamic CRM only; 4 GB RAM for supporting the offline capability
Hard Disk: 1.5 GB available disk space and 2 GB for the offline mode
Display: SVGA, a minimum resolution of 1024 x 768
Once the file is executed, all the necessary components are extracted, and you are guided through a wizard-based installation. Do make sure that your Outlook application is closed, otherwise you will be prompted to close it for the installation to proceed.
If you are running the wrong version of the installer, the installation process checks and prompts you about the version mismatch, as shown in the following screenshot:
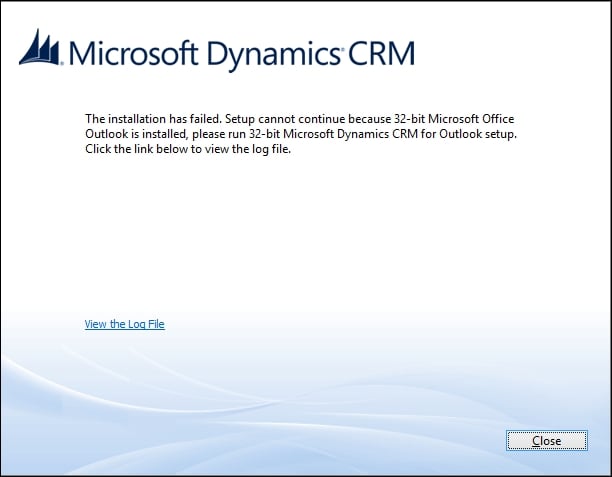
If you get an error, as shown in the previous screenshot, click on Close and try installing Microsoft Dynamics CRM from the other download file.
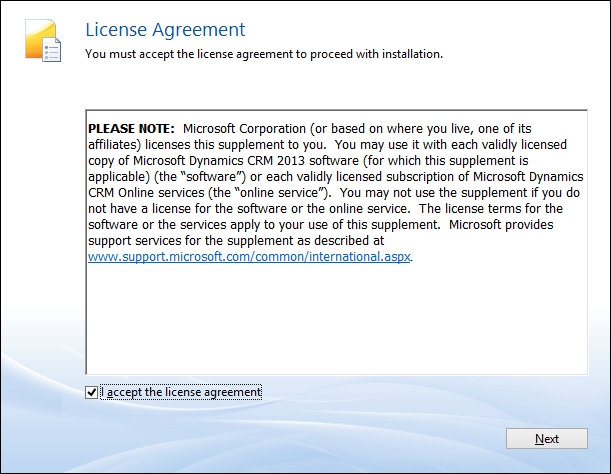
Once the installation starts, you are guided through a few screens, starting with the setup preparation. In the next step, you are prompted to accept the License Agreement, as shown in the following screenshot. Tick the checkbox and click on Next.
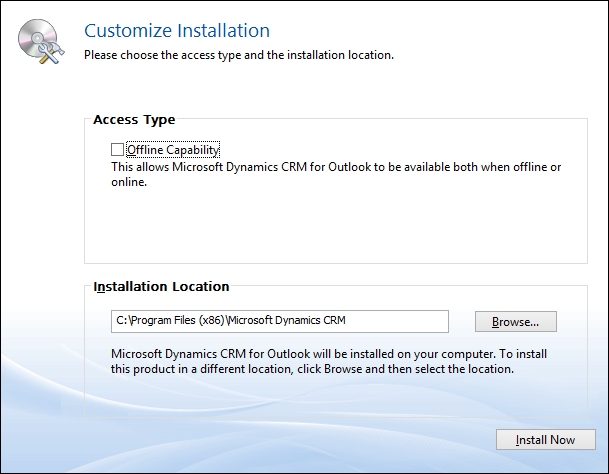
Once the acceptance is completed, you will be presented with a screen in which you can directly start the installation process or modify the installation options. If you choose to modify the default option, you will be presented with a new screen where you can define whether you want to install Dynamics CRM for Outlook with offline support or not. For the purpose of a 30-day trial, unless there is a specific need for offline support, we can leave this option unselected.
The second configuration option presented on this screen is the location where you want the files to be installed. You can also leave the default selection in place. Overall, the following screenshot shows how the Customize Installation window looks:
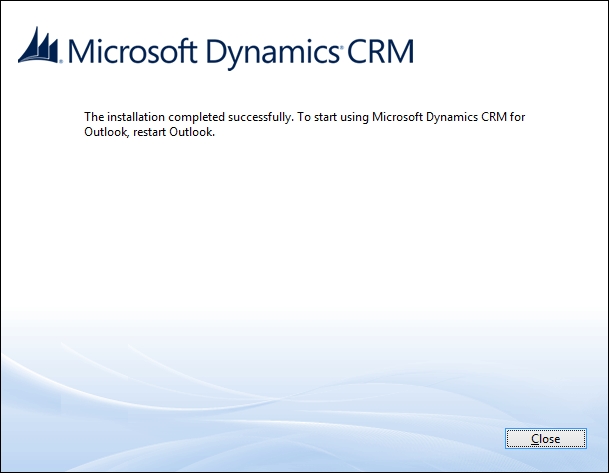
Next, let's click on Install Now and get started with the installation process. From here, the installation wizard proceeds to completion with no more questions or interruptions. On completion, a window similar to the one shown in the following screenshot will appear. Click on Close to complete the process.
At this point, we have Microsoft Dynamics CRM for Outlook installed, and we are ready to start Outlook and configure our client to connect to our trial instance. Once we launch Outlook, we are prompted to configure the newly installed plugin. The window that pops up should look similar to the following screenshot:
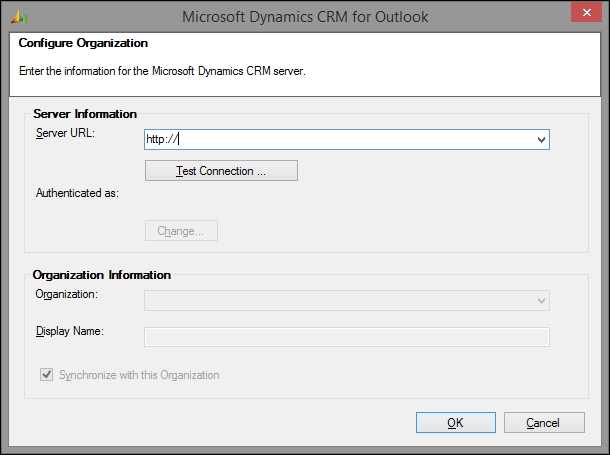
First, insert the URL to your current Dynamics CRM Online instance. This URL is in the format https://[OrganizationName.crm.dynamics.com].
Note
For an on-premise deployment, this URL will be different. The format will be http[s]://[ServerName]/[OrganizationName].
With the URL in place, click on Test Connection. You will now be prompted to authenticate. If you have forgotten your selected username, retrieve it from the confirmation e-mail you received from Microsoft when setting up your free 30-day trial.
Once authenticated, you can now give your instance a name or change it. When you are done, make sure that the Synchronize with this Organization checkbox is selected and click on the OK button.
This completes the configuration of the Dynamics CRM for Outlook plugin, and you are presented with a final view of all the configured connections. In here, you will see your currently configured connection, along with the other possible connections configured previously.
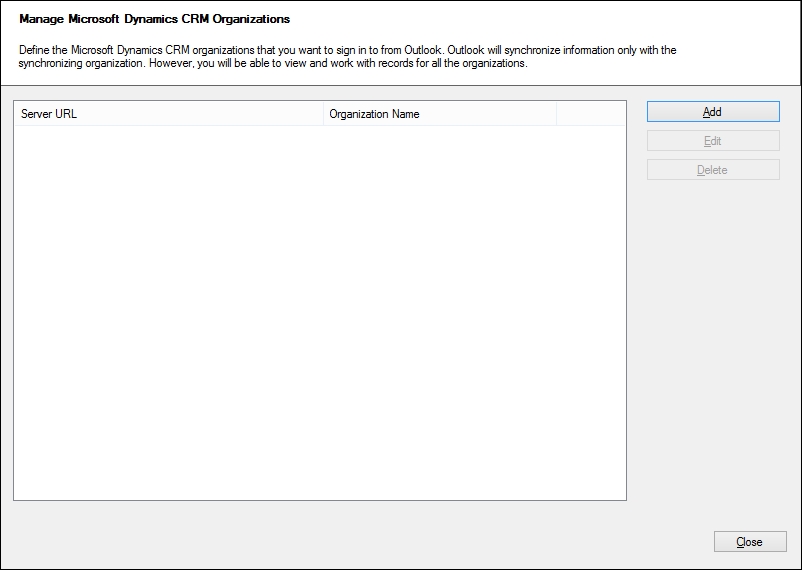
You can also go to the previous window post the installation by relaunching the configuration wizard.
Close this window. Now, your Outlook is connected to your instance of Dynamics CRM. You can now navigate to your Dynamics CRM environment in the same way as you navigate within Outlook to any other e-mail already configured. Your new Dynamics CRM environment shows in the listing of mailboxes as a new mailbox. Expanding this list will give you access to all the sections and entities from your CRM environment.