

Setting up your subdomains – landing pages and blog
The next most important thing to set up is making your subdomains for your landing pages and blog visible.
As mentioned at the beginning of this chapter, if you do not connect your landing pages and blog to your main domain, then you will effectively be hosting them on a HubSpot domain. This erodes your brand recognition as the URL that will be visible will look something like this: [HubSpot ID].hs-sites.com.
Connecting these pages to your main domain helps ensure that only your URL is visible. It will look something like this: go.[url name] or info.[url name]. Note that you cannot use your original domain because this is already hosting your website. Since HubSpot is another CMS hosting your content, you cannot effectively host two CMS sites on the same domain. For this reason, you need to create what is referred to as a subdomain. You can choose anything you wish for the prefix of your subdomain, such as marketing, pages, and so on.
We will now set up your subdomains. Before doing that, ensure you have Admin access to the platform from which you bought the domain. The most common platforms are GoDaddy, Namecheap, and Bluehost. If in doubt, ask your information technology (IT) department.
Once you have the login credentials, log in to the site, keep the page open, and in a different tab, go to your HubSpot portal and follow these steps:
- Navigate to Settings, then scroll down to the Tools subsection.
- In this section, click on Website and then Domains and URLs.
- Click on Domains in the submenu.
- A new section appears. Click Connect a domain, which takes you to the following screen:

Figure 1.7 – Connect a domain screen
- When the box shown in Figure 1.7 appears, choose the type of domain you wish to connect.
- Primary domains are the main subdomain that will host content such as landing pages or blogs. It can be
info.[your company name].comormarketing.[your company name].com. For example, for my business, I useinfo.cacaomedia.co. - Secondary domains are alternative domains to your primary domain that can be used for subcategories of different content—for instance, events, workshops, and so on. For example, this domain can be
events.[your company name].com. - Redirect domains are used when you would like to redirect content from a site that is already hosting your content but you would like to update the URL currently being used.
- Email sending is connected in order to send emails from HubSpot using your existing email addresses.
It is recommended at this first stage of your setup to connect the primary and email-sending domains.
- Another page then appears, prompting you to select which types of assets you are creating today. As your website and blog are most likely hosted on another platform such as WordPress, you will want to choose Landing pages and Email at this stage, as shown in the following screenshot. Then, click Next:

Figure 1.8 – Choosing content type
- In the next section that appears, enter your root domain—for instance,
mysite.com, and click Next, as illustrated in the following screenshot:
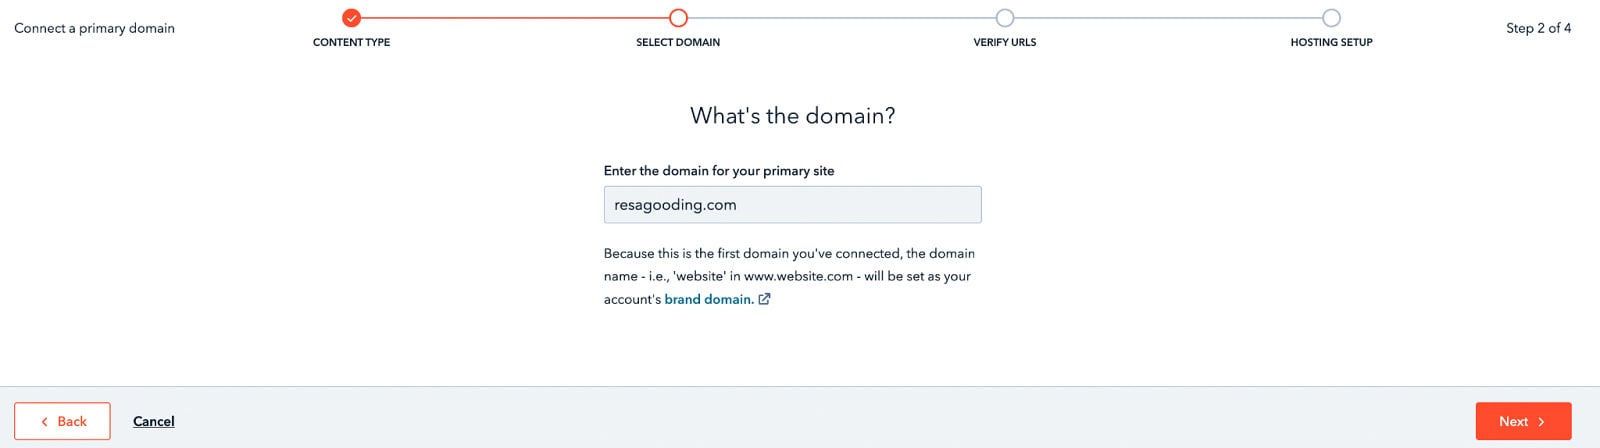
Figure 1.9 – Entering your root domain
- Enter information for your subdomain (
info.), brand domain (your company name), top-level domain (.com), and primary language (English), as illustrated in the following screenshot:
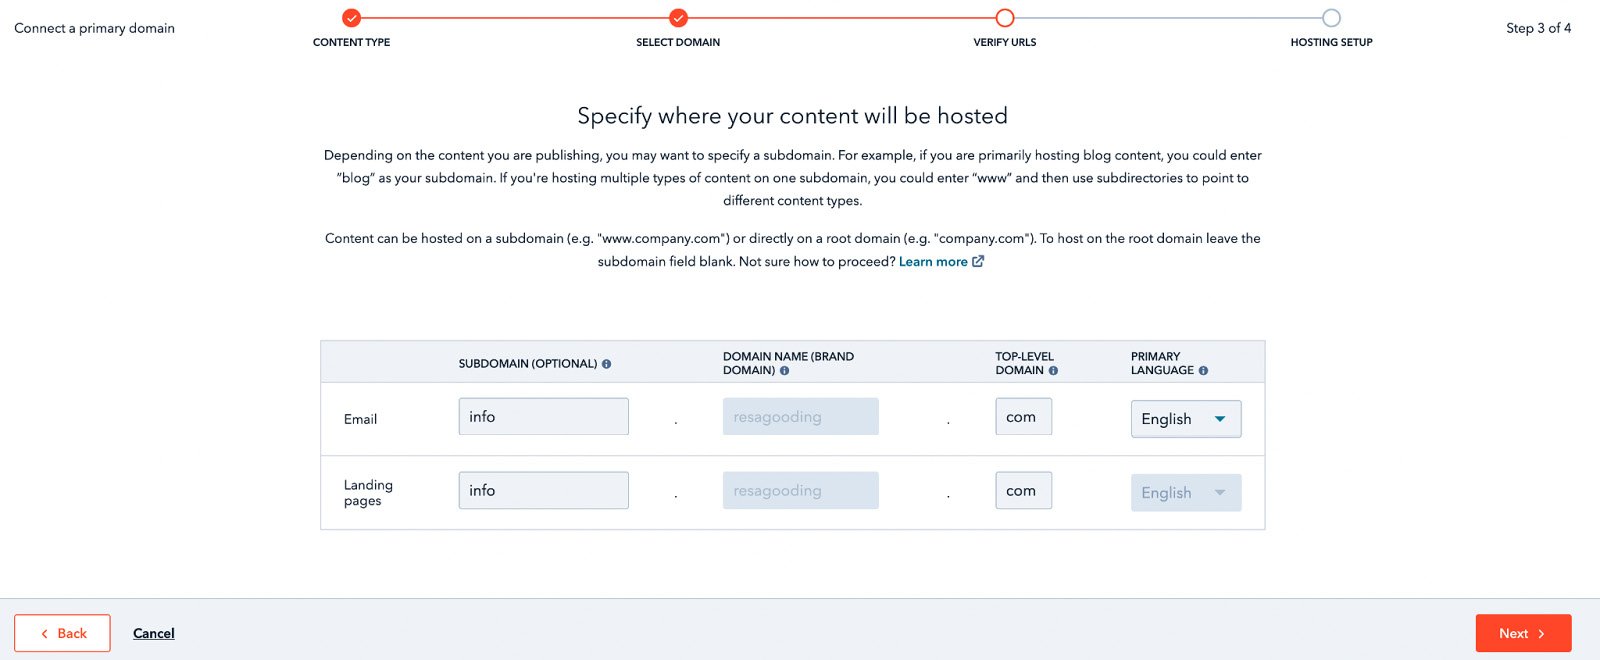
Figure 1.10 – Entering information for your subdomain
- Next, you will be taken to a screen to verify that these are the URLs you wish to use, as shown here:
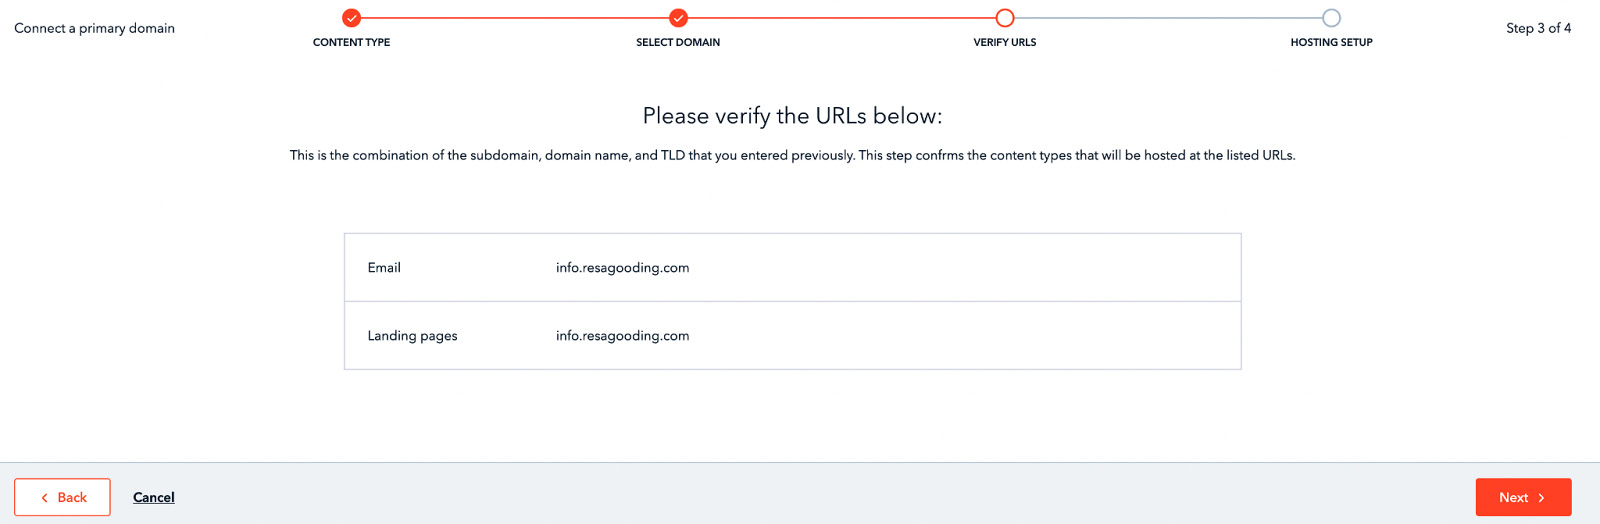
Figure 1.11 – Verifying your URLs
- After clicking Next, you are then redirected to another page that asks you to set up your hosting. If you are using GoDaddy, for instance, you can simply choose the Authorize with GoDaddy option, as shown in the following screenshot:
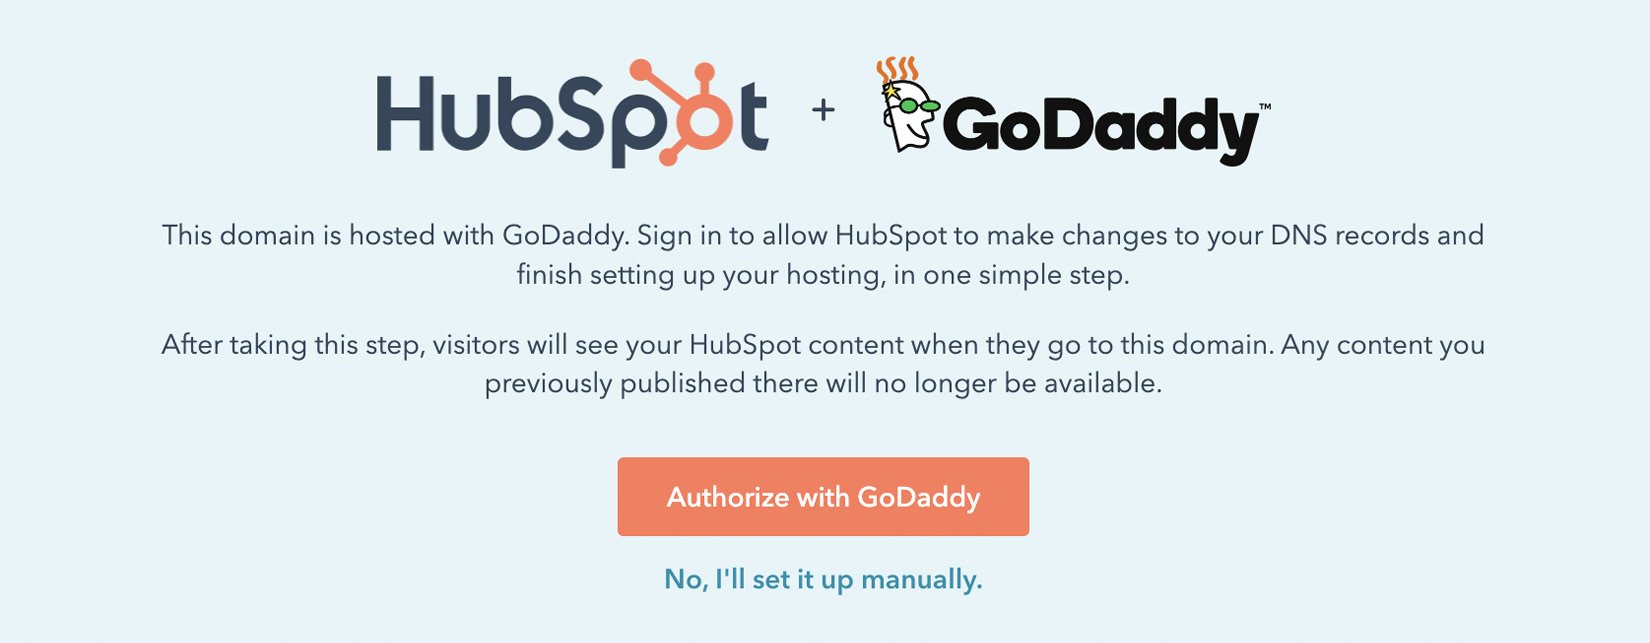
Figure 1.12 – Setting up your host
- You will then be redirected to GoDaddy to confirm access. Click Connect, as shown in the following screenshot. Remember that you must be logged in as Admin to GoDaddy for these changes to take effect:

Figure 1.13 – Confirming access with GoDaddy
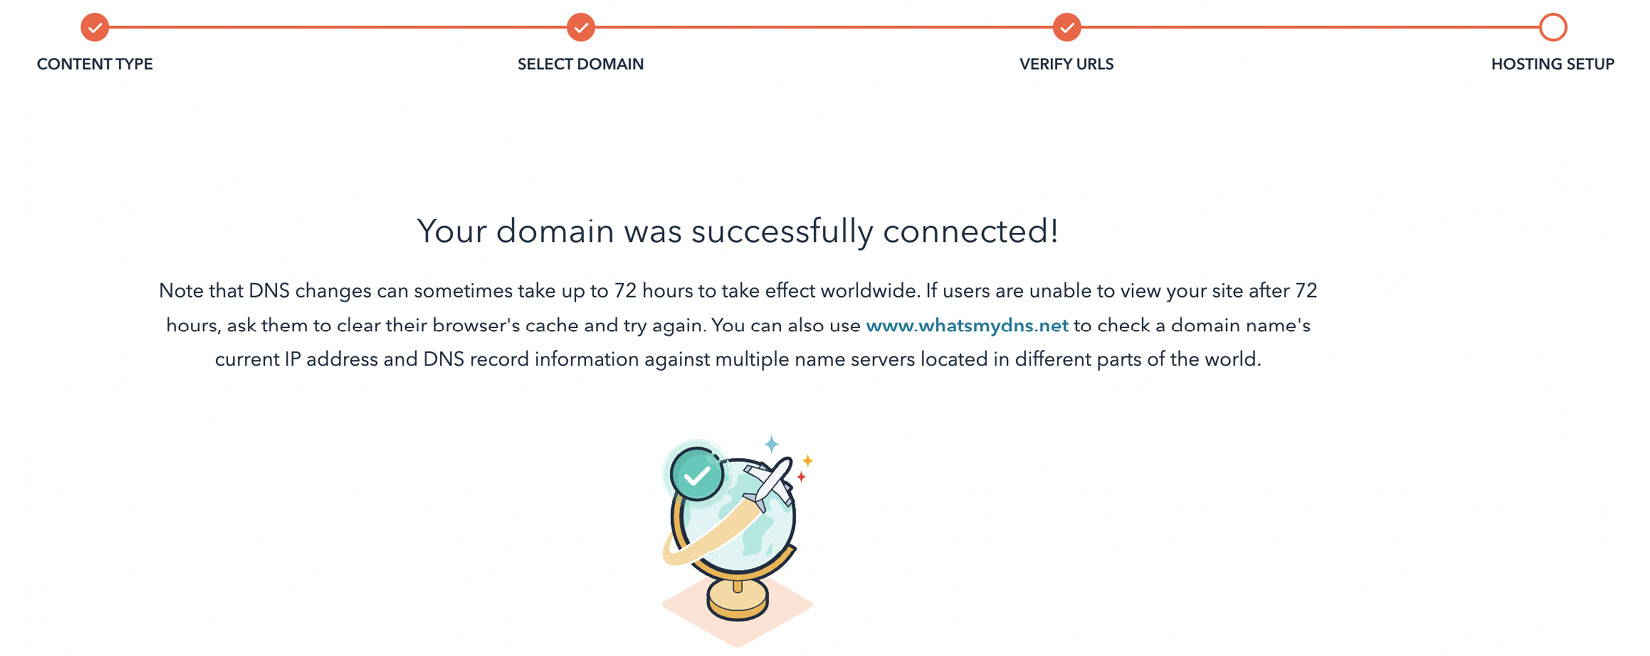
Figure 1.14 – Domain connection is successful
If your domain is hosted by another provider, you will need to manually log in to your hosting provider and look for DNS Settings, then Manage DNS, and update the Canonical Name (CNAME) record. Here are the steps to take if you need to do a manual setup of your domain connection.
First, choose the No, I'll set it up manually option when you get to the screen shown here:
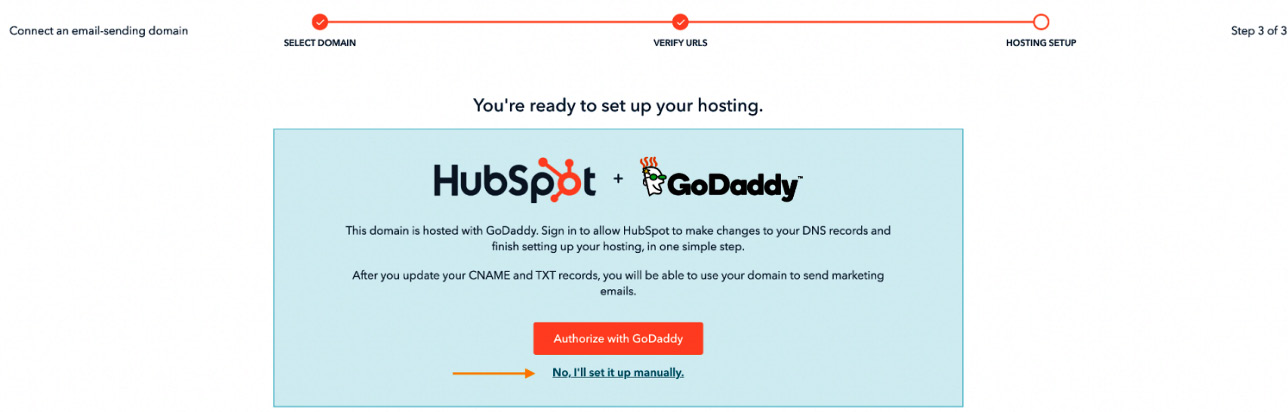
Figure 1.15 – Choosing the manual option to connect your domains to HubSpot
You will then arrive at the following screen, with four steps to follow. Check the boxes for each of these steps when you have completed the actions. Then, copy the Domain Name System (DNS) records as directed to your domain hosting provider. If you are unsure where your domain is hosted, speak to the IT administrator within your company:
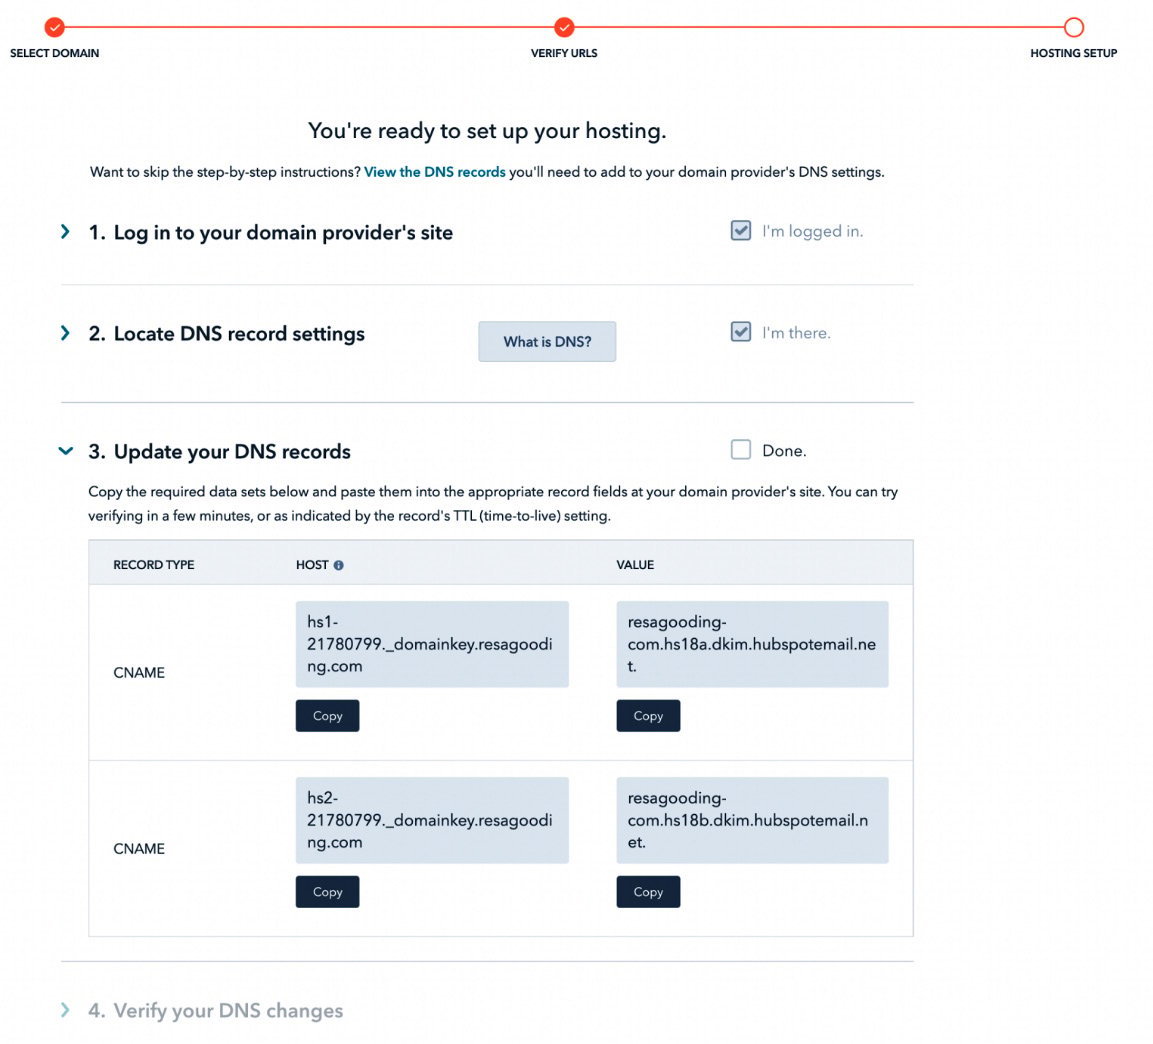
Figure 1.16 – Updating your DNS records
Once these steps are completed, whenever you publish a landing page, it will be hosted under your company's URL and not HubSpot's URL. Now, let's look at the steps to connect your email domain.