

We will look at the different ways to categorize a sample musical instruments shop and enter a sample category and subcategory under it.
OpenCart creates sample categories and products upon completion of the installation process. We will first need to delete them to start with a clean store structure. Let's browse to http://yourwebsite.com/admin, log in to the system, and click on the Catalog/Categories menu. Let's select all the categories and click on the Delete button.
Let's add our first category to our web store. Open the Catalog menu, click on Categories, and then click on the Insert button.
There are several tabs on this page. We will provide data for the General tab first.
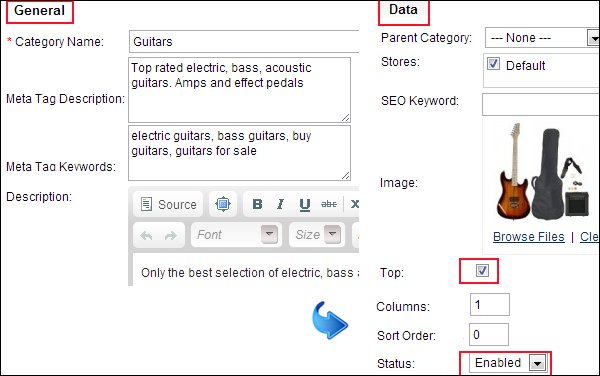
For the Data tab, let's fill the textboxes, select the options according to the following screenshot, and click on the Save button:
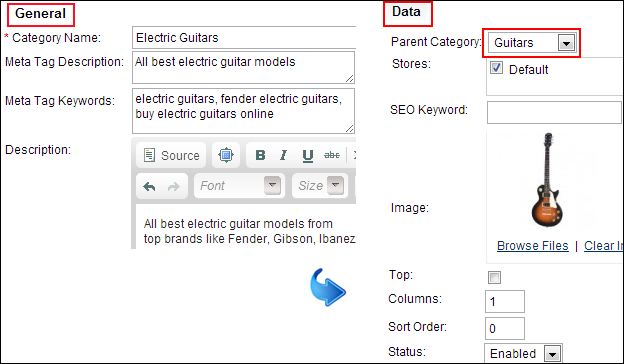
In a similar manner, let's add a subcategory under the category that we have just added. Here is the sample screenshot to achieve this:
Here is how the user interface will look when a visitor browses to the subcategory:

Here's an explanation of the fields under the General tab:
Category Name: This is shown as a link to the visitor on the left sidebar by default, and it can optionally be displayed at the top of the page as well. The subcategories and the products listed under a category are shown to the visitor when a category name is clicked.
Meta Tag Description: This is used by search engines to describe a web page. So enter this information wisely to get a better rank with regard to relevancy and attract more visitors to your shop from the search engines.
Meta Tag Keywords: This is also for the search engines. It is useful to fill this textbox even though some search engines now ignore it. The search engines will relate our web page to the keywords we provide here.
Description: This is for our shop visitors. It describes what the category does and some of the items visitors can find under it.
Here's an explanation of the fields under the Data tab.
Parent Category: It is used when we open a subcategory under another category.
Image: The image we provide here is shown on the website. It is useful to provide such images whenever possible. It will attract more attention and provide more views for the product.
Top: If you have lots of main categories, you can use this option to show the most important ones at the top.
Status: If the Disabled option is selected, a category is not shown in the store.