

Now that we have all of the setup done, we can open Unity with our project and export it for Android devices. In this section, we will first check whether we have Android Build Support installed, and then we will update the build and player settings to export our project. So, let's get started.
Installing Android Build Support for Unity
First of all, if you haven't done so already, you'll need to have selected to add Android Build Support as an option when you are installing Unity. If you have installed it, you can skip this section. If you did not install it when doing the initial installation, that is what we will cover in the following steps:
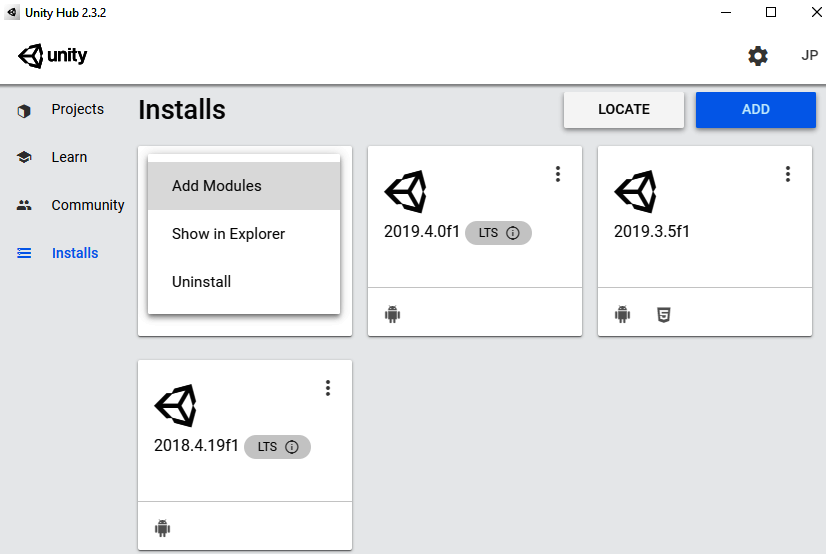
- Close the Unity Editor and then open up the Unity Hub and select the Installs section.
- From there, click on the three dots to the right of your current version of Unity and select the Add Modules option:
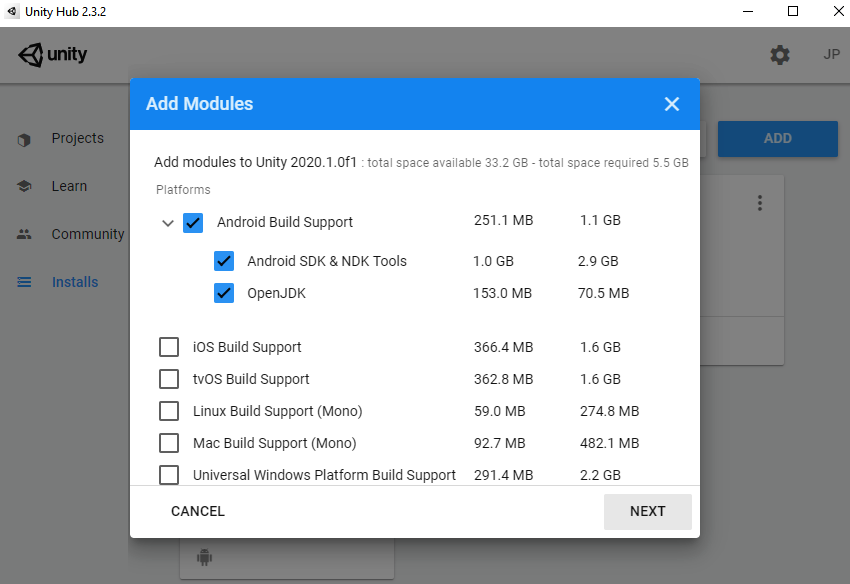
- Check the Android Build Support option, which should also check the Android SDK and NDK Tools and OpenJDK options. Afterward, click on the NEXT button:
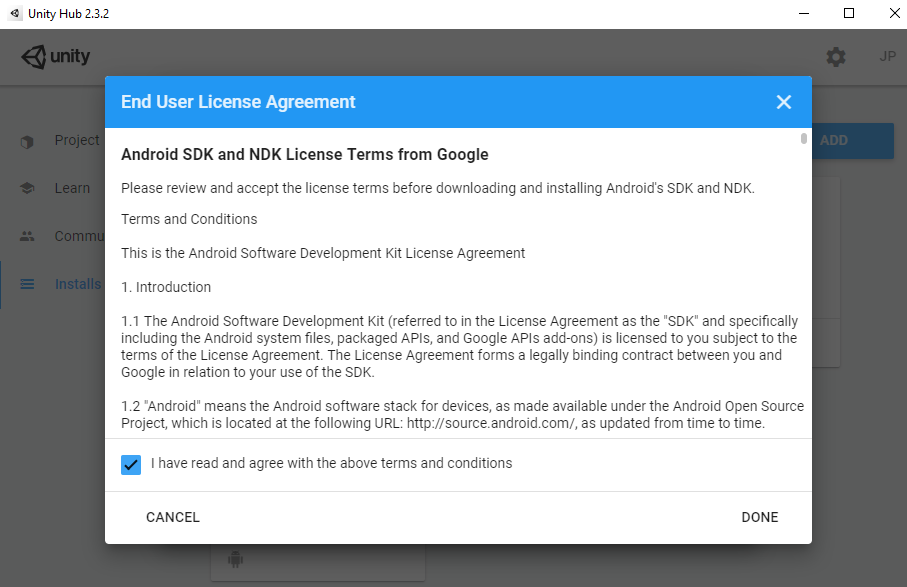
- You'll be brought to a license terms page. Read it over and if you agree to it, check the agreement box and click on the DONE button:
- Wait for it to finish installing. Once finished, you should see the Android logo at the bottom of your install:
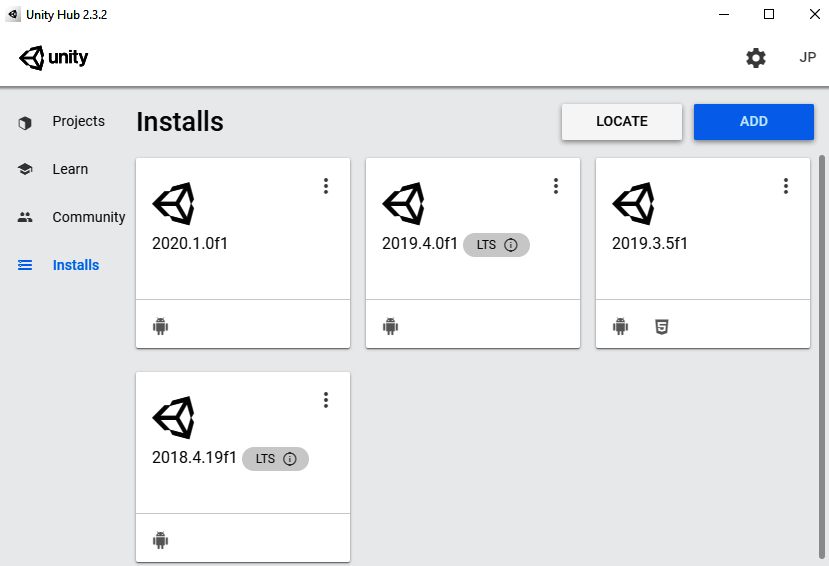
This means that Android Build Support has now been added to our version of Unity and we can build projects there. Next, we will see how to actually build the project for Android and the settings required to do so.
Updating build and player settings for Android projects
Now that we have Android support, let's open up our project again and change the platform we are developing for:
- At this point, we will dive into Unity and move into our Build Settings menu once again by going to File | Build Settings.
- Click on the Android option from the Platform list and then click on the Switch Platform button to make the change:
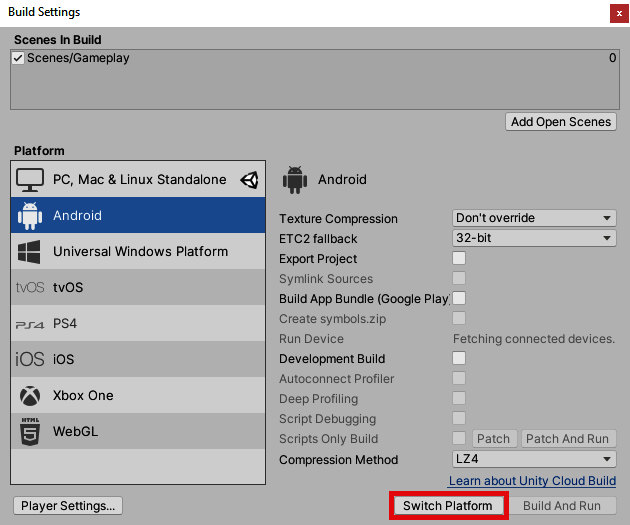
Note that this will make Unity reimport all of the assets in our game, so this may be time-consuming when you start to build larger projects. Once completed, you should notice that the Unity logo is now next to the Android option, signifying that's the platform to be built for:

- Now, in order to be able to build our project, we must set the bundle identifier for our game, which is a string that identifies the app. It's written like a URL in reverse, for example, com.yourCompanyName.yourGameName. To modify this, we'll need to open up the Player Settings menu, which we can get to by clicking on the Player Settings... button in the bottom-left part of the Build Settings menu or by going into Edit | Project Settings | Player. You'll note that the menu shows up as a new window:
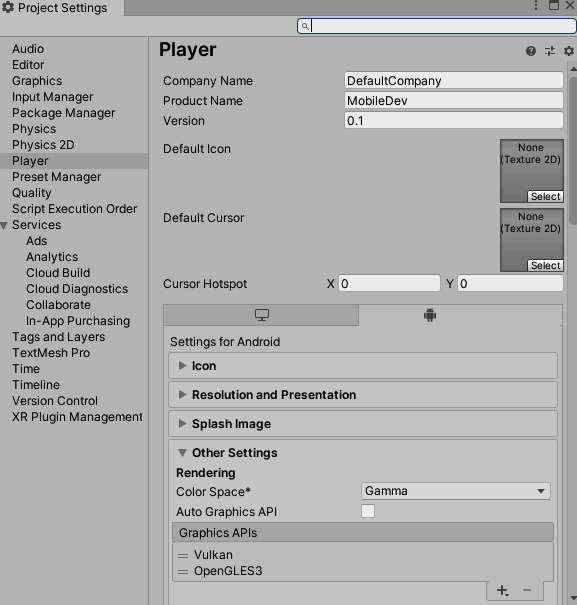
Now that we're in Android mode (note the text on the title bar of the Unity Editor), we can change these properties:

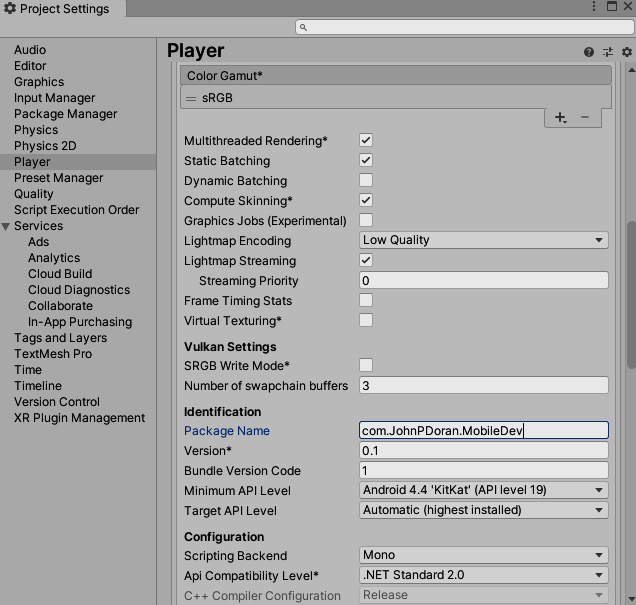
- We'll discuss more of these in a later chapter, but for now, scroll down until you get to the Other Settings option, and from there, you'll see the Package Name property. We will change this to something else; for example, I used com.JohnPDoran.MobileDev. There's also a Minimum API Level option; make sure that your option is set to the same version as your phone or earlier, depending on what you want to support. Note that the earlier you go, the fewer things you'll have access to, but your project will be able to support more phones:
- Close the Project Settings window and open up the Build Settings menu again by going to File | Build Settings. Now, we can try to build the project by clicking on the Build button, saving it in the same Export folder we created earlier. It will ask for the name you'd like the file to have. I will use MobileDev as we did previously, because instead of a .exe file, it will be creating a .apk file:
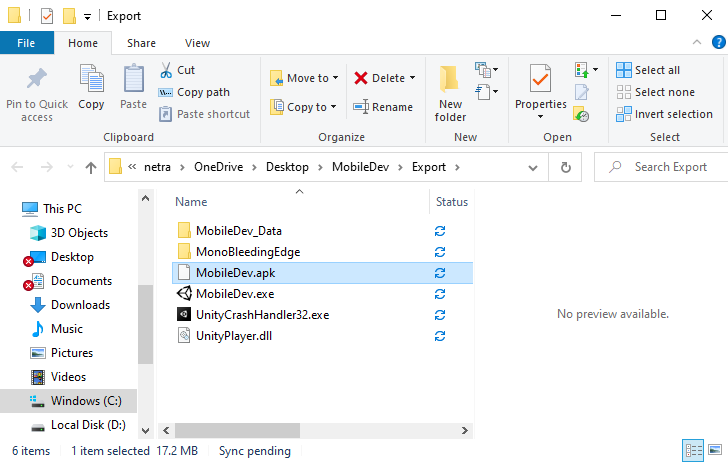
Wait a bit, and once it's finished, you should have a new .apk file located in the folder. Of course, just having the APK file doesn't do much if we can't put it on our actual phone; so, in the next section, we will enable our phone to test the game on our device.