

With Android, there's a lot of setup, but building and getting a game onto your device is less work, whereas, with iOS, there's less work on the setup end and more involvement with getting the game actually onto the device.
Previously, you had to have a paid Apple Developer license in order to get your game onto an iOS device. Although that's still required to get the game on the App Store, you are no longer required to get it for testing. Note that the free option doesn't have everything available to you, most notably In-App Purchases (IAPs) and the Game Center; however, for making sure that it works on your device, it'll work just nicely. We will go over how to adjust your project to reflect being in the Apple Developer portal in Chapter 11, Game Build and Submission, when we go over putting our project on the App Store.
To develop for an iOS device, in addition to the device itself, you'll also need to go on a Mac computer that runs OS X High Sierra 10.13+ or a later version. I'll be using 10.15.6 macOS Catalina. Just like working with Android, we'll also need to do some setup before we can actually do the exporting. Let's get started on that now:
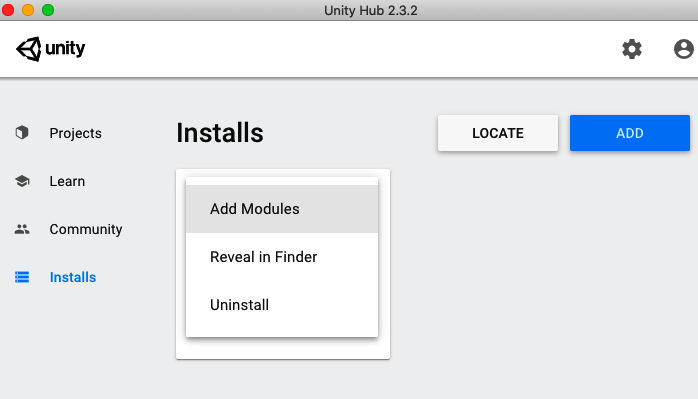
- First of all, if you haven't done so already, you'll need to add iOS Build Support (*) as an option when you are installing Unity. If you did not install it when doing the initial installation, you may open up the Unity Hub and select the Installs section.
- From there, click on the three dots to the right of your current version of Unity and select the Add Modules option:
- From the menu that pops up, check the iOS Build Support option:
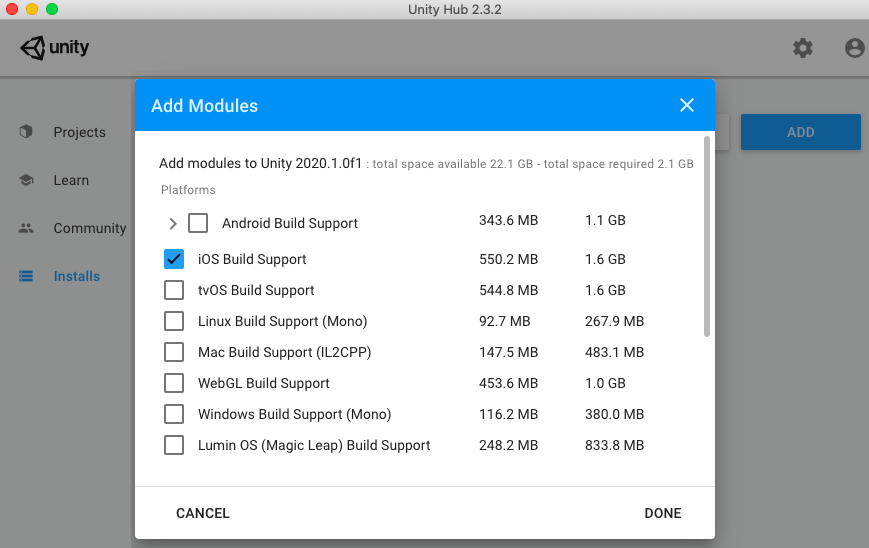
- Click on the DONE button and wait for the installation to finish. Once completed, you should see the icon for iOS support show up:
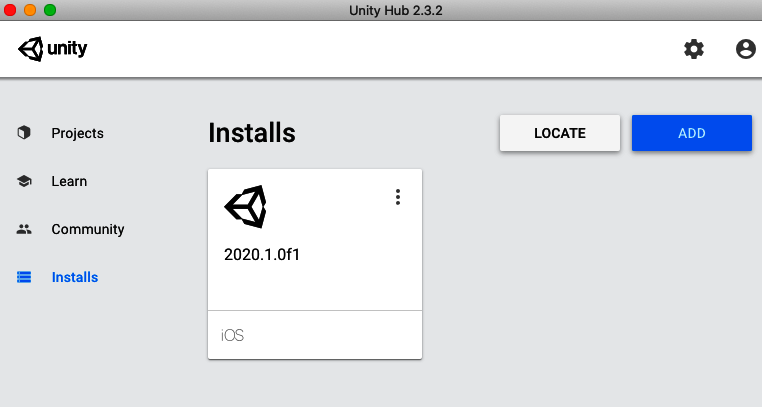
This makes it so you can export your projects for iOS. Since I'll be using my Windows machine mainly, I'm only adding in iOS support, but you can do both iOS and Android from your Mac computer.
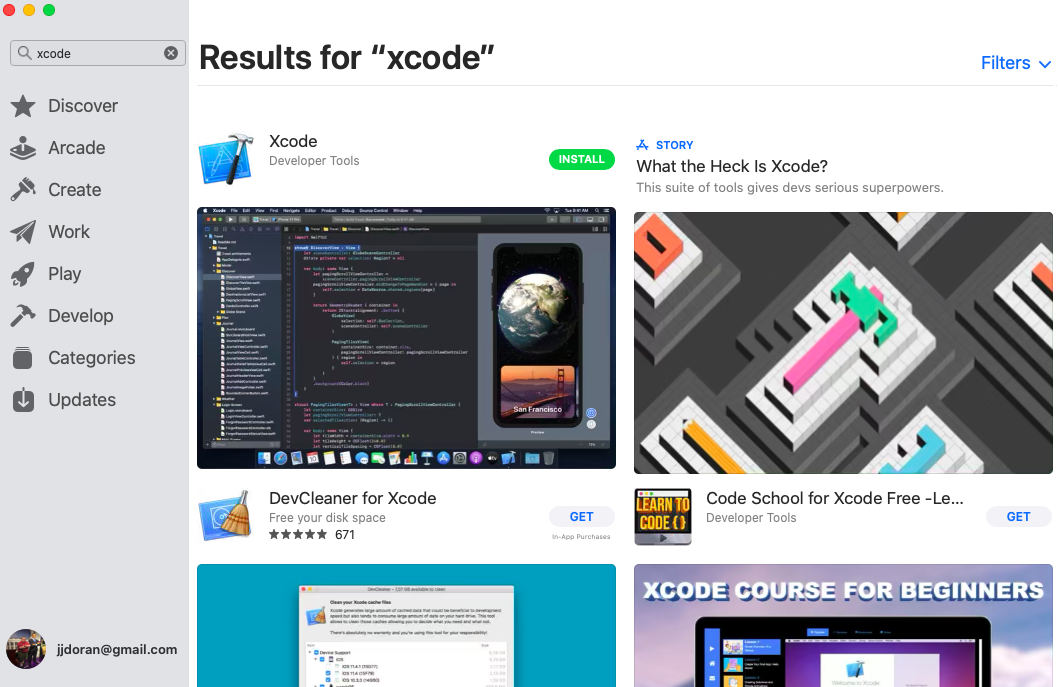
- You'll also need to have Xcode, which is the program used to build iOS apps. To download it, you'll need to open up the App Store application on your computer. From the search bar in the top-left corner, type in Xcode and press Enter.
- From there, you'll see the Xcode program at the top left of the page. Click on it and then on the Install/Update button:
You may need to enter your Apple ID information; go ahead and do so and then wait for it to finish.
- Once Xcode is installed, open it up. There will be a license agreement for Xcode and the iOS SDK; go ahead and click on Agree. It'll then begin installing components that are needed for it to work.
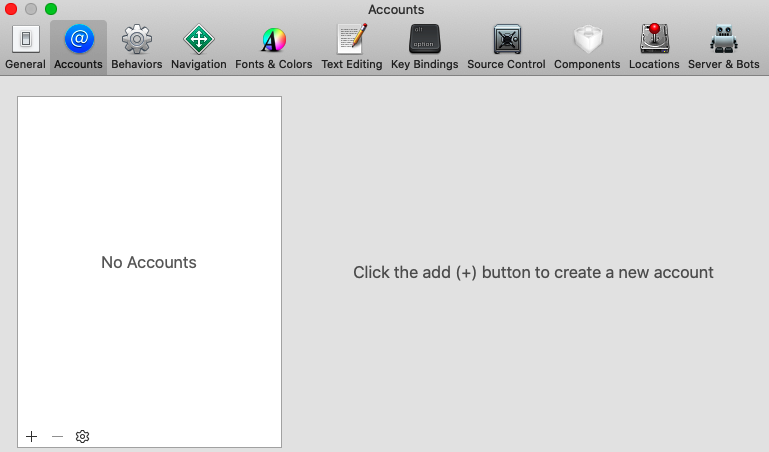
- You'll then be brought to a welcome screen, but we want to do some setup first. From the top menu bar, go ahead and select Xcode | Preferences (or press command + ,). From there, click on the Accounts button. This will display all of the Apple IDs that you want to be able to use in Xcode:
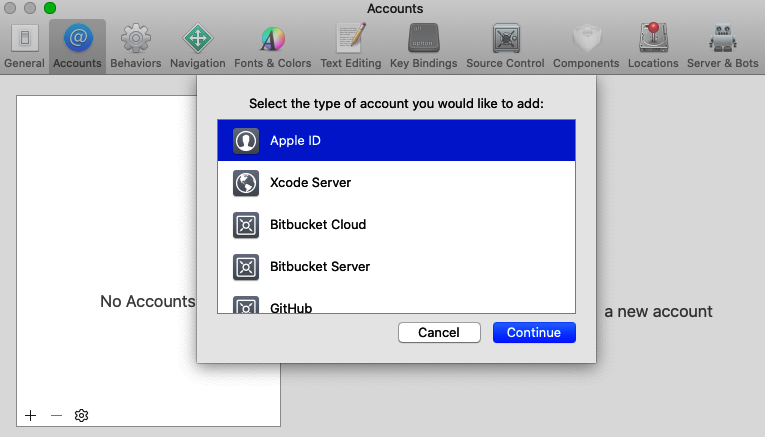
- Click on the plus icon at the bottom left of the screen and then select Apple ID when it asks what kind of account to create:
- From the menu that pops up, go ahead and add in your Apple ID information and you should see it appear on the screen.
If you select the name, you'll see additional information on the right side, such as what teams you are on. If you are not enrolled in the Apple Developer Program, it'll just be a personal team, but if you are paying for it, you should see additional teams there as well.
Now that we have completed the setup and installation of iOS and Xcode, let's continue to building our project.