
After you have installed, upgraded, or reinstalled macOS, you are taken through a setup process as soon as you log in with the existing or created admin user. In this section, we will see the common tasks related to the post-installation configuration, including the following:
- The Setup Assistant process
- Adjusting the system settings
- Benefits of configuring iCloud
Let's take a look at each of these tasks in detail.
The Setup Assistant process
The Setup Assistant, also called the "initial" configuration, is a tool that has the sole purpose of guiding you through the macOS configuration as soon as the installation/reinstallation process completes. Bear in mind that all the settings that will be configured through this process can be changed later. The Setup Assistant can also be seen in other installation/update-related processes, but the options you will see will vary accordingly.
Right after the installation is complete, the Setup Assistant process will initiate. These are the screens you will see in the case of a clean installation of macOS Big Sur through the Recovery system (the screens you see may vary depending on the OS version installed):
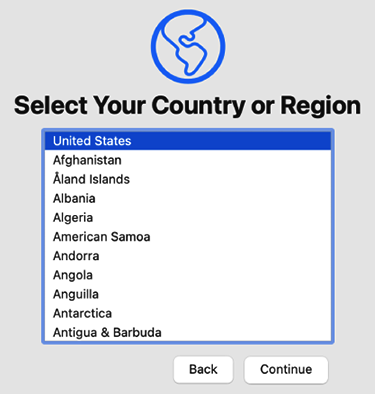
- You will be asked to choose your country (Figure 2.45):
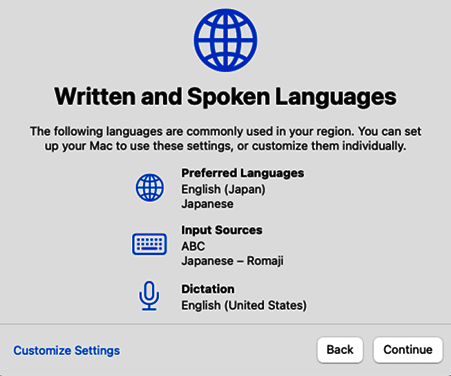
- Next, you will see the Written and Spoken Languages configuration screen. Click Customize Settings to set up your written and spoken languages, or click Continue to accept the default options (Figure 2.46). For this example, we will click Continue:
- Next, you will see the Accessibility options, which you can set up at this moment. We will click Not Now to skip to the next screen (Figure 2.47):

- You will now see a screen with important information regarding your data and privacy. You can click on Learn More... if you want to see more details about how your data and privacy are handled. When ready, click Continue.
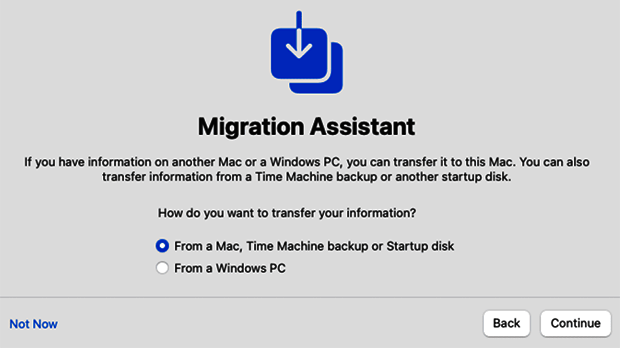
- Next, you will have the option to transfer information to the Mac from various sources, such as another Mac, a Time Machine backup, a startup disk, or a Windows PC (Figure 2.48). Alternatively, you can choose not to transfer any information at this time. For this installation, we will choose Not Now to skip the transfer of information:
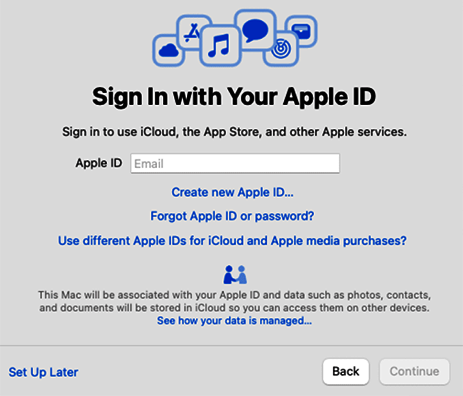
- Next, you can choose to sign in with your Apple ID (Figure 2.49) so that you can take advantage of other features, such as iCloud, iTunes, App Store, and iMessage. If you don't have an Apple ID, you can create one at this point as well. For this installation, we will choose Set Up Later. You will be asked if you are sure you want to skip this step; click Skip to continue:
- Now, you will be asked to agree to the Software License Agreement. Click on Agree.
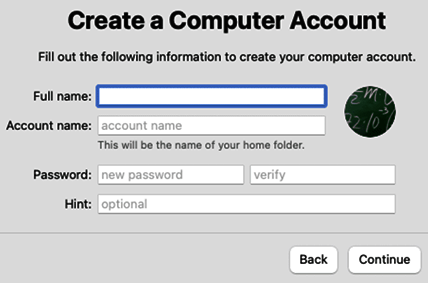
- In the next step (Figure 2.50), you will need to create a user account and password. This first account will have administration rights and will be the main account (in other words, the administrator account). When ready, click Continue:
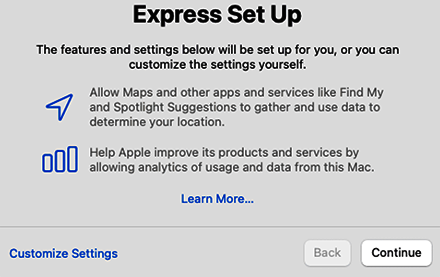
- Next, you will see the Express Set Up screen (Figure 2.51), which will configure some features for you, including apps such as Maps and services such as Find My. You can choose Customize Settings or click Continue to proceed and accept the default configuration:
- Next, you will be asked whether you want to share crash and usage data with Apple. We will leave the default option and click Continue.
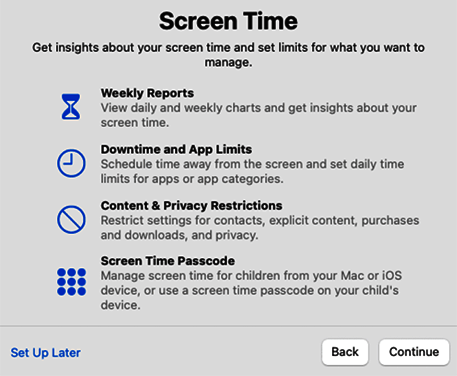
- When upgrading/installing macOS Catalina and later, you will see a window asking you to set up a new feature: Screen Time (Figure 2.52). You can either click Set Up Later or Continue:
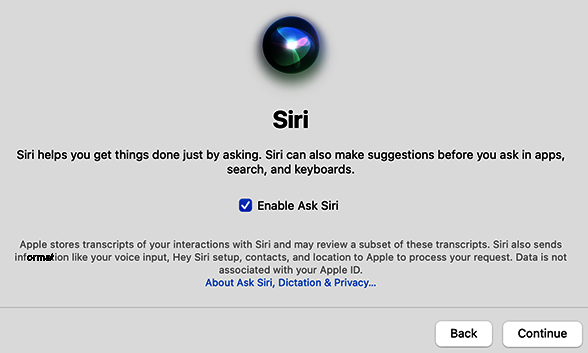
- On the next screen, you will see the option to enable Siri, which is activated by default. Click Continue to proceed:
- You may be asked to select a language for Siri. When ready, click Continue.
- Next, you will be asked if you wish to share Siri data. You can select Share Audio Recordings or Not Now.
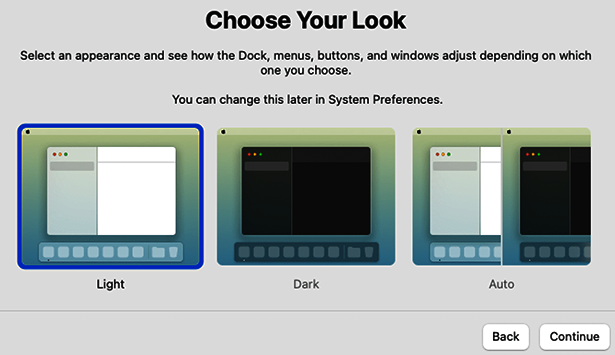
- Next, decide on a look. You can choose either the Light, Dark, or Auto mode and click Continue (Figure 2.54):
- And we are almost done. The setup will finish on the next screen.
- When the setup is finished, you will see the macOS desktop.
And that's it! The installation/reinstallation and initial configuration are now complete.
If you want to change a setting you configured during this initial configuration, you can do so later on, and that is what we'll cover next.
Adjusting the system settings
You can customize all system settings after installation through System Preferences, the interface we saw in Figure 2.5. System Preferences is an essential tool for administrators. We will go over the most important administrative options available in this tool throughout this book. Still, you can always explore all of its options at your own pace.
Besides System Preferences, macOS offers another way to configure a system, and this is through the use of configuration profiles. A configuration profile is a file with the extension .mobileconfig that contains predefined system settings. A system or network administrator most likely defines these settings.
Using this file is very straightforward. All you have to do is double-click on the configuration profile file to open it, and macOS installs the profile and its settings. These profiles are very useful when you need to configure many machines, especially in an enterprise or large environment.
After the profile has been applied, you can manage it through the Profiles preferences.
Apple has an app called Apple Configurator 2 that helps in the creation of configuration profiles, among other features. You can learn more about it here https://support.apple.com/guide/apple-configurator-2/welcome/mac.
An important part of configuring macOS is the configuration of iCloud. As you saw in the configuration process, you can skip doing that, but let's analyze why that might not be such a good idea.
Benefits of configuring iCloud
To understand why it is useful to configure iCloud, we first need to understand iCloud and the Apple ID.
iCloud is a secure cloud service where you can store files such as documents, photos, videos, and much more. When you configure iCloud, your files remain updated across your Apple devices. It also offers other key features that are only available when you set up iCloud.
iCloud's main features are the following:
- Cloud storage and communication services for apps (iCloud Drive, Photos, Contacts, Calendars, Reminders, Safari, Siri, Notes, and Find My).
- iCloud Keychain, a security tool that we will explore in Chapter 5, Managing User Security and Privacy.
- Two-factor authentication is another feature that is used in combination with the Apple ID to increase security. We will also see how to set this up in Chapter 5, Managing User Security and Privacy.
- You can also configure mail services automatically if you use an @mac.com, @me.com, or @icloud.com domain.
- You can access iCloud from your Apple devices, but also on the web, at iCloud.com.
To use iCloud, you need an Apple ID. The Apple ID is the personal account that allows you to access Apple's products and services, such as the App Store, iTunes Store, iMessage, and FaceTime, as well as Apple's storage service called iCloud. The Apple ID is always an email address, and you need a password to use it.
When you sign in to iCloud on your Mac and other Apple devices using the same Apple ID, the changes you make to your files on one of the devices will sync with the others, as well as on the iCloud.com web portal, accessible through any standard browser on a Mac or Windows computer. For instance, a photo you add to Photos on your Mac will automatically appear in the Photos app on iCloud.com, your iOS devices, your Apple Watch, and your Apple TV.
Currently, iCloud offers 5 GB of free iCloud storage for each Apple ID account that you have, but if you need more storage, there are also paid plans that offer more storage space.
After you have set up iCloud, you can change or adjust the settings in the iCloud preferences.
Perform the following steps to access the iCloud preferences:
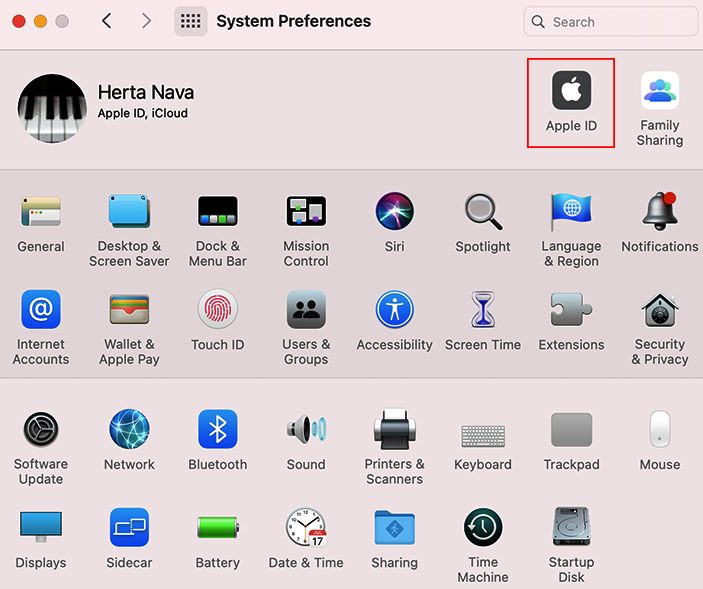
- Open System Preferences.
- Click on the Apple ID icon (Figure 2.55):
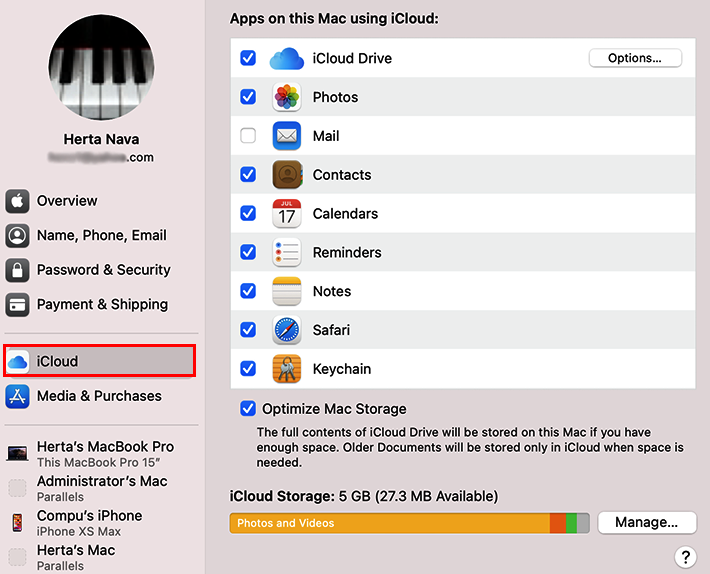
- Then, click on iCloud on the left-side menu (Figure 2.56):
We will see more details on how to configure iCloud in Chapter 4, User Accounts Management.
And with this extensive walk-through on macOS installation scenarios, we have reached the end of this chapter. Be sure to check out the Summary section for a quick recap of what has been covered.