

Installing Adobe Commerce – preparing Docker
We will install the platform from scratch using Warden, so let’s get started! Open your terminal application (we will be using it a lot more from now on) and follow these steps:
Working on Windows WSL
For this book, all coding tasks and operations will be done on a Windows machine to cover all based related to file sync between your local drive and the WSL 2 drive. The next few steps have been done on a Windows machine.
- Make sure your Warden environment is working by typing the following:
warden svc up
You should see the following output:
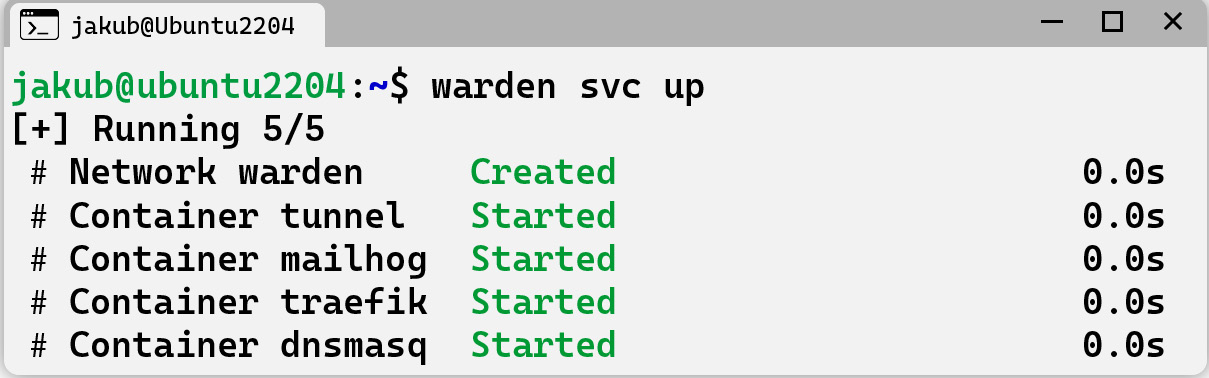
Figure 2.10 – Checking whether Warden is running
- Create a folder for your project. For our purposes, we will name it
packt1by using themkdircommand:mkdir packt1
You can also create a folder by navigating to a proper folder, but you will still have to access it via CLI | terminal.
- Enter the folder you created using
cd:cd packt1
...