Book Image

PhoneGap 2.x Mobile Application Development HOTSHOT

By : Kerri Shotts
Book Image

PhoneGap 2.x Mobile Application Development HOTSHOT

By: Kerri Shotts

Overview of this book

<p>Do you want to create mobile apps that run on multiple mobile platforms? With PhoneGap (Apache Cordova), you can put your existing development skills and HTML, CSS, and JavaScript knowledge to great use by creating mobile apps for cross-platform devices.</p> <p>"PhoneGap 2.x Mobile Application Development Hotshot" covers the concepts necessary to let you create great apps for mobile devices. The book includes ten apps varying in difficulty that cover the gamut – productivity apps, games, and more - that are designed to help you learn how to use PhoneGap to create a great experience.</p> <p>"PhoneGap 2.x Mobile Application Development Hotshot" covers the creation of ten apps, from their design to their completion, using the PhoneGap APIs. The book begins with the importance of localization and how HTML, CSS, and JavaScript interact to create the mobile app experience. The book then proceeds through mobile apps of various genres, including productivity apps, entertainment apps, and games. Each app covers specific items provided by PhoneGap that help make the mobile app experience better. This book covers the camera, geolocation, audio and video, and much more in order to help you create feature-rich mobile apps.</p>
Table of Contents (19 chapters)
PhoneGap 2.x Mobile Application Development HOTSHOT
Credits
About the Author
About the Reviewers
www.PacktPub.com
Preface
InstallingShareKit 2.0
Index

Implementing the social view


While our app has three views, the start view is so similar to the previous project's start view that we won't go into great detail in this project about how it works. You're welcome to take a look at the code in the www/views/startView.html file.

The bulk of our code is going to reside in the social view and the tweet view, so that's where our primary focus will be. So let's get started!

Getting ready

Go ahead and create the socialView.html file now based on what we have discussed. Then we'll go over the portions you haven't seen before.

Getting on with it

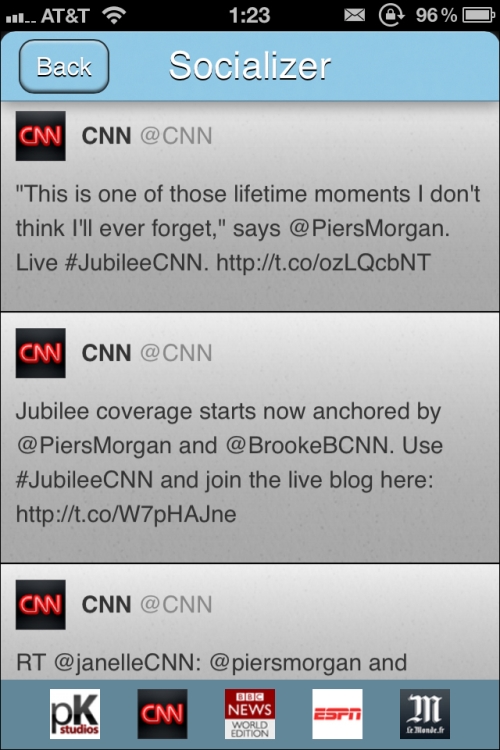
When we're finished with this task, we should have a view that looks like this for iOS:

The view for Android will be as follows:

As with all our views to this point, we're going to start with the HTML portion that describes the actual view; it is given as follows:

<div class="viewBackground">
 <div class="navigationBar">
  <div id="socialView_title"></div>
  <button class="barButton backButton...