-
Book Overview & Buying

-
Table Of Contents

Unity 2022 Mobile Game Development - Third Edition
By :
Unity 2022 Mobile Game Development
By:
Overview of this book
Unity is a well-established player in the mobile game development sphere, and its new release, Unity 2022, is packed with new, exciting features. In Unity 2022 Mobile Game Development, Third Edition, you'll get to grips with the Unity game engine by building a mobile game and publishing it on the most popular mobile app stores as well as exploring the all-new features.
This book provides a comprehensive and practical approach to mobile game development, helping you build an endless runner game. Starting with setting up a simple Unity project for mobile development, you’ll delve into various essential aspects needed to successfully create and publish your game. You’ll acquire a range of skills, such as incorporating touch gestures, monetizing your game with Unity Ads and in-app purchases, designing an intuitive UI, and seamlessly integrating social media functionalities. Additionally, you’ll gain valuable insights into player preferences and behavior using Unity's analytics tools. You’ll also explore features of augmented reality in Unity 2022, enhancing your game's appeal.
By the end of this book, you’ll be well-equipped to reap the power of Unity 2022 to build, optimize, and publish robust cross-platform mobile games with C#, as well as widening your skill set and enhancing your credentials as a game developer.
Table of Contents (21 chapters)
Preface

Part 1: Gameplay/Development Setup
 Free Chapter
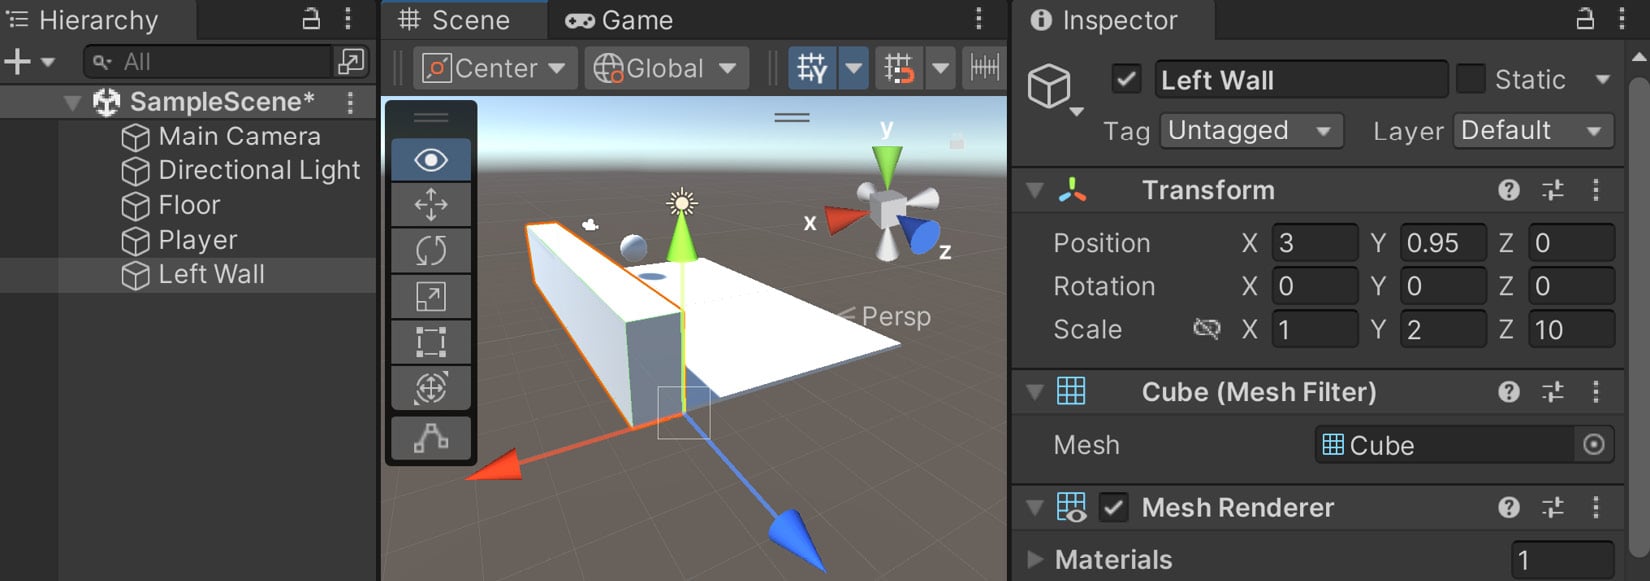
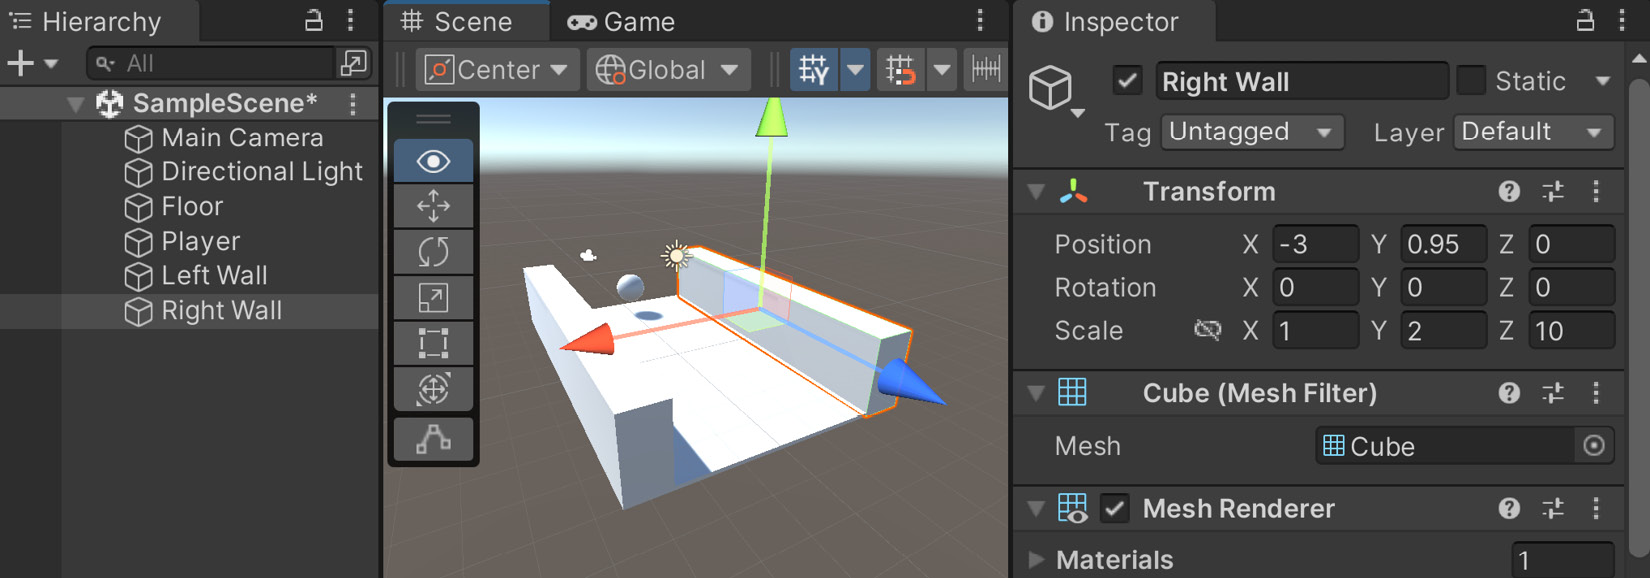
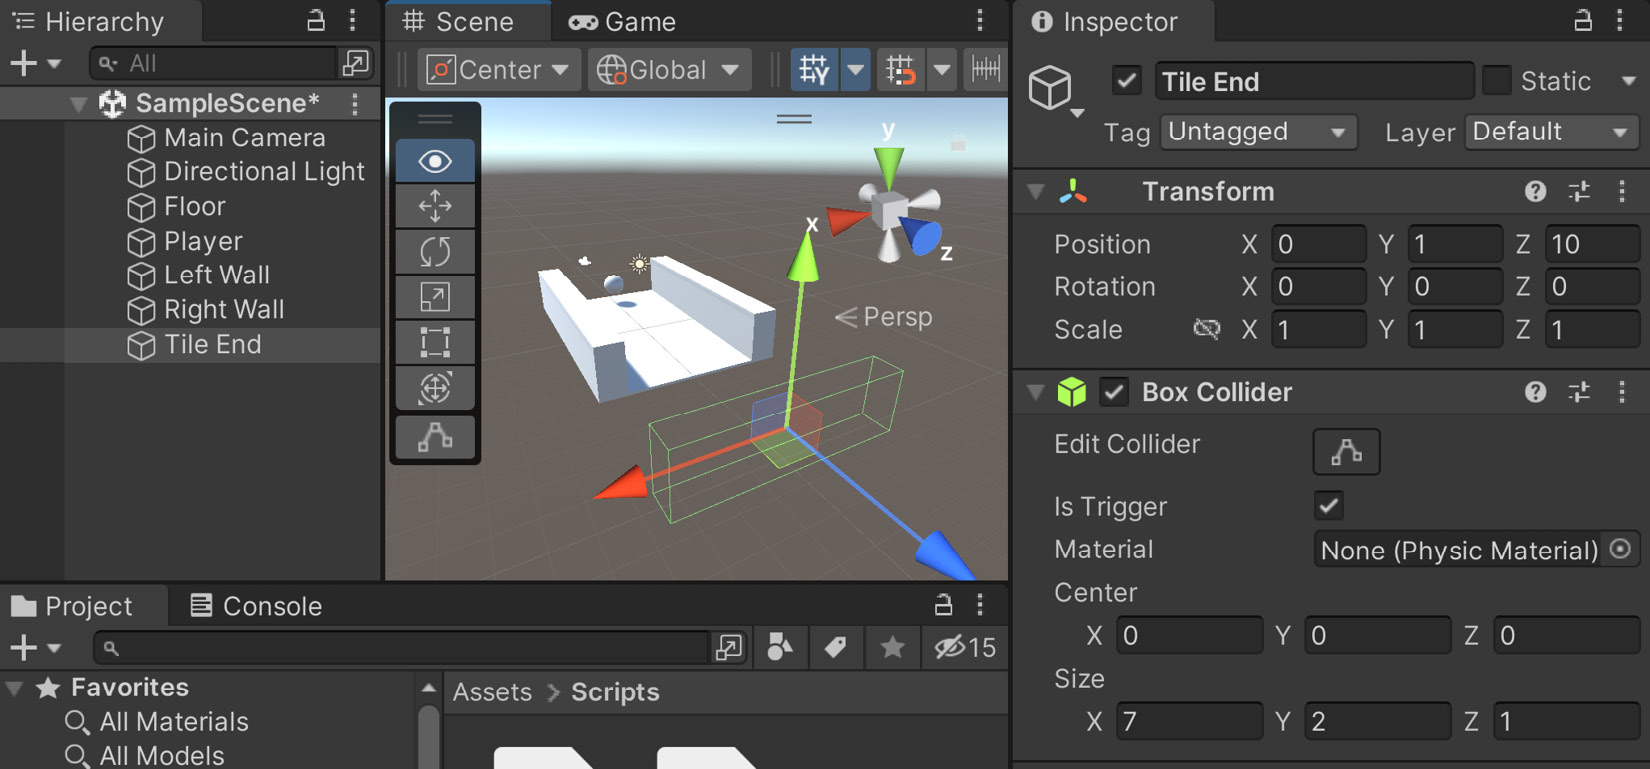
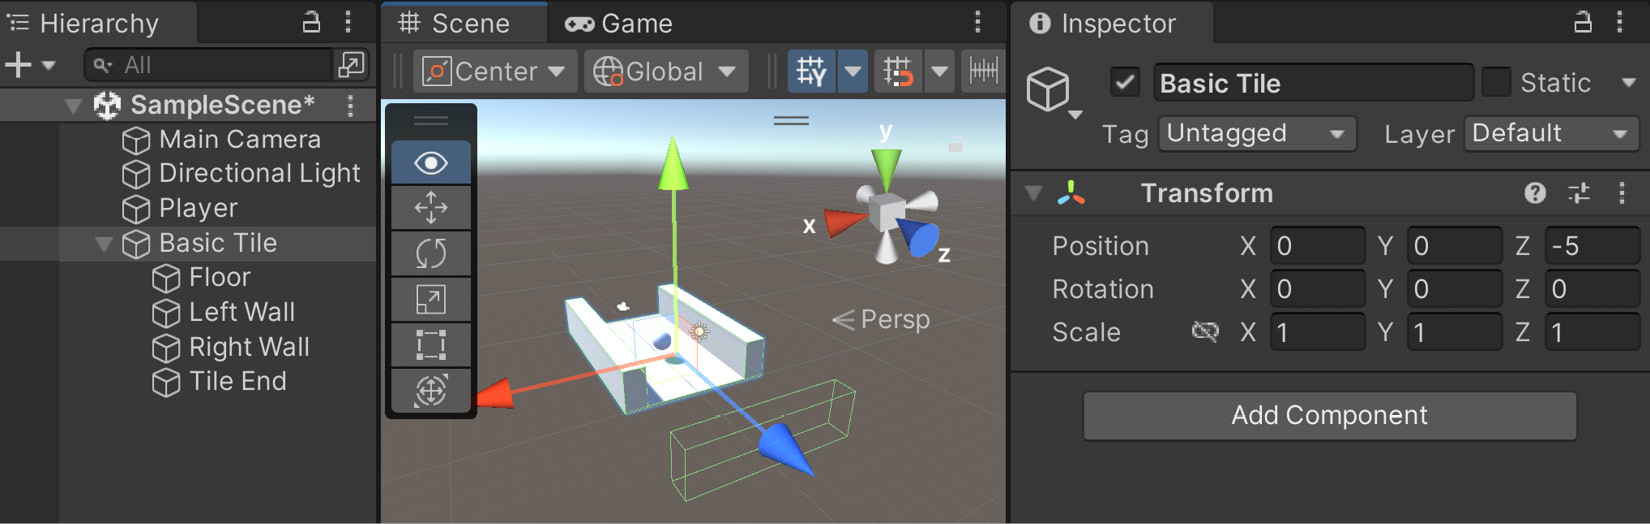
Chapter 1: Building Your Game
Chapter 2: Project Setup for Android and iOS Development
Part 2: Mobile-Specific Features
Chapter 3: Mobile Input/Touch Controls
Chapter 4: Resolution-Independent UI
Chapter 5: Advanced Mobile UI
Chapter 6: Implementing In-App Purchases
Chapter 7: Advertising Using Unity Ads
Chapter 8: Integrating Social Media into Our Project
Part 3: Game Feel/Polish
Chapter 9: Keeping Players Involved with Notifications
Chapter 10: Using Unity Analytics
Chapter 11: Remote Config
Chapter 12: Improving Game Feel
Chapter 13: Building a Release Copy of Our Game
Chapter 14: Submitting Games to App Stores
Chapter 15: Augmented Reality
Index
Other Books You May Enjoy