

Making it endless
Now that we have a foundation, let’s make it so that we can continue running instead of stopping after a short time by spawning copies of this basic tile in front of each other:
- To start off with, we have our prefab, so we can delete the original Basic Tile in the Hierarchy window by selecting it and then pressing the Delete key.
- We need to have a place to create all of these tiles and potentially manage information for the game, such as the player’s score. In Unity, this is typically referred to as a
GameManager. From the Project window, go to the Scripts folder and create a new C# script calledGameManager. - Open the script in your IDE and use the following code:
using UnityEngine;
/// <summary>
/// Manages the main gameplay of the game
/// </summary>
public class GameManager : MonoBehaviour
{
    [Tooltip("A reference to the tile we want to
        spawn")]
    public Transform tile;
    [Tooltip("Where the first tile should be placed
        at")]
    public Vector3 startPoint = new Vector3(0, 0, -5);
    [Tooltip("How many tiles should we create in
        advance")]
    [Range(1, 15)]
    public int initSpawnNum = 10;
    /// <summary>
    /// Where the next tile should be spawned at.
    /// </summary>
    private Vector3 nextTileLocation;
    /// <summary>
    /// How should the next tile be rotated?
    /// </summary>
    private Quaternion nextTileRotation;
    /// <summary>
    /// Start is called before the first frame update
    /// </summary>
    private void Start()
    {
        // Set our starting point
        nextTileLocation = startPoint;
        nextTileRotation = Quaternion.identity;
        for (int i = 0; i < initSpawnNum; ++i)
        {
            SpawnNextTile();
        }
    }
    /// <summary>
    /// Will spawn a tile at a certain location and
    /// setup the next position
    /// </summary>
    public void SpawnNextTile()
    {
        var newTile = Instantiate(tile,
            nextTileLocation, nextTileRotation);
        // Figure out where and at what rotation we
        /// should spawn the next item
        var nextTile = newTile.Find("Next Spawn
            Point");
        nextTileLocation = nextTile.position;
        nextTileRotation = nextTile.rotation;
    }
}
This script will spawn a number of tiles, one after another, based on the tile and initSpawnNum properties.
- Save your script and dive back into Unity. From there, create a new
empty GameObjectand name itGame Controller, optionally resetting the position if wanted for organizational purposes. Drag and drop it at the top of the Hierarchy window. For clarity’s sake, go ahead and reset the position if you want to. Then, attach the Game Manager script to the object and then set the Tile property by dragging and dropping the Basic Tile prefab from the Project window into the Tile slot:
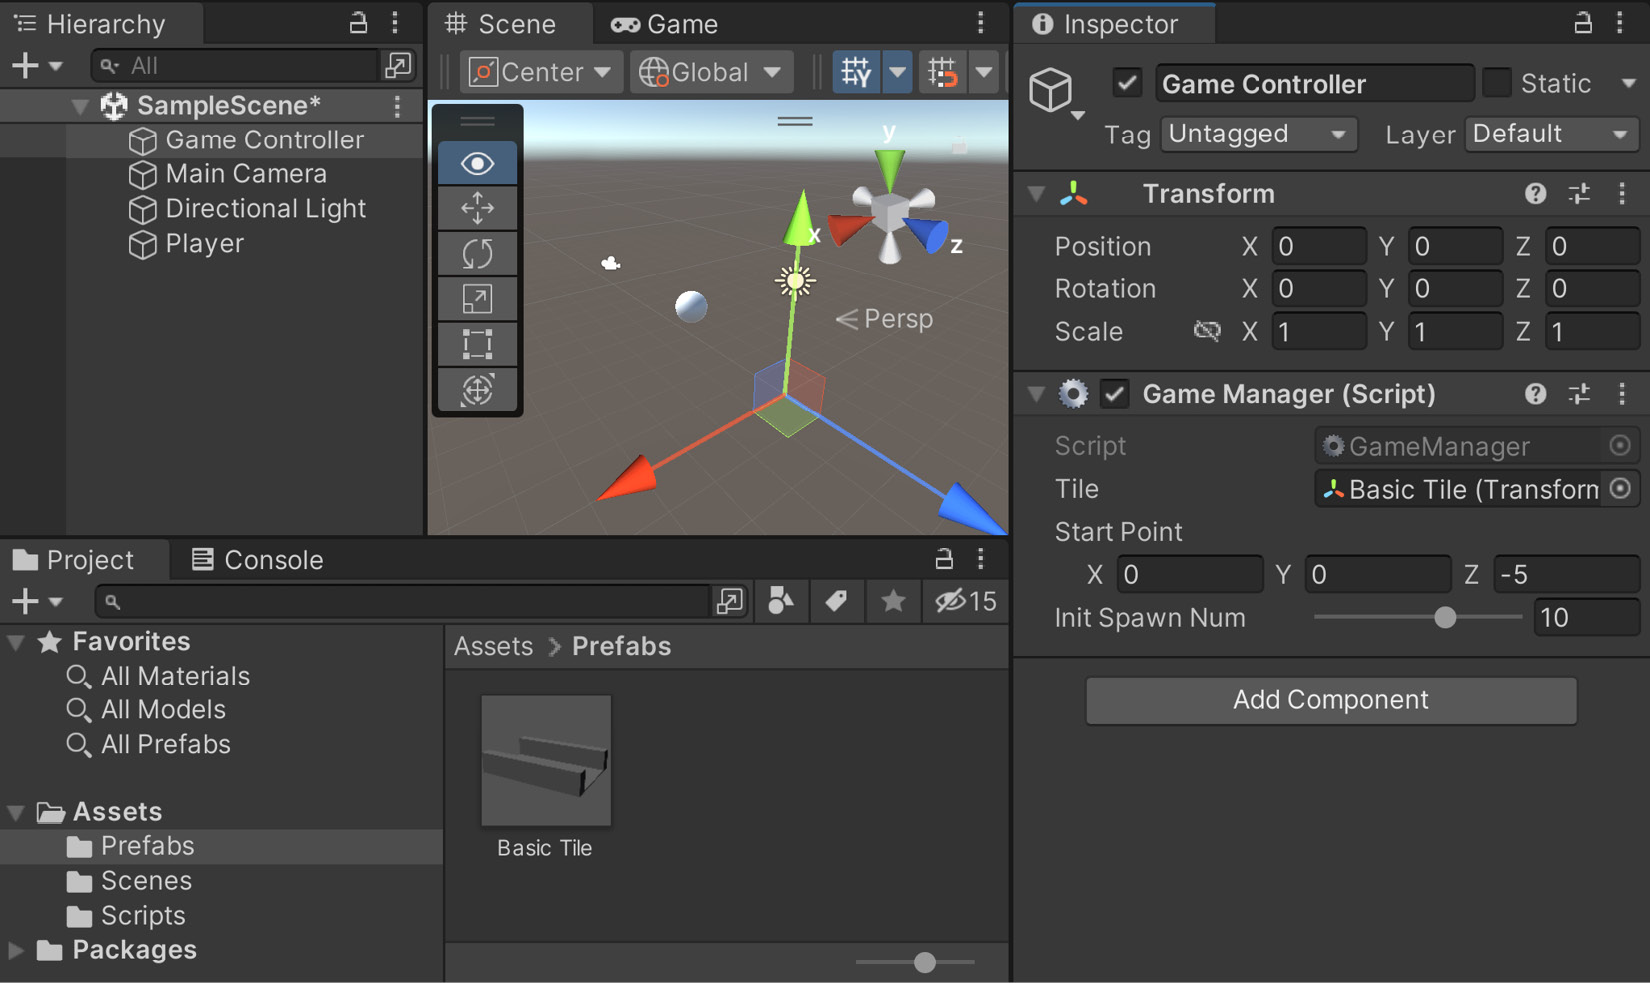
Figure 1.22 – Assigning the Tile property
- Save your scene and run the project:
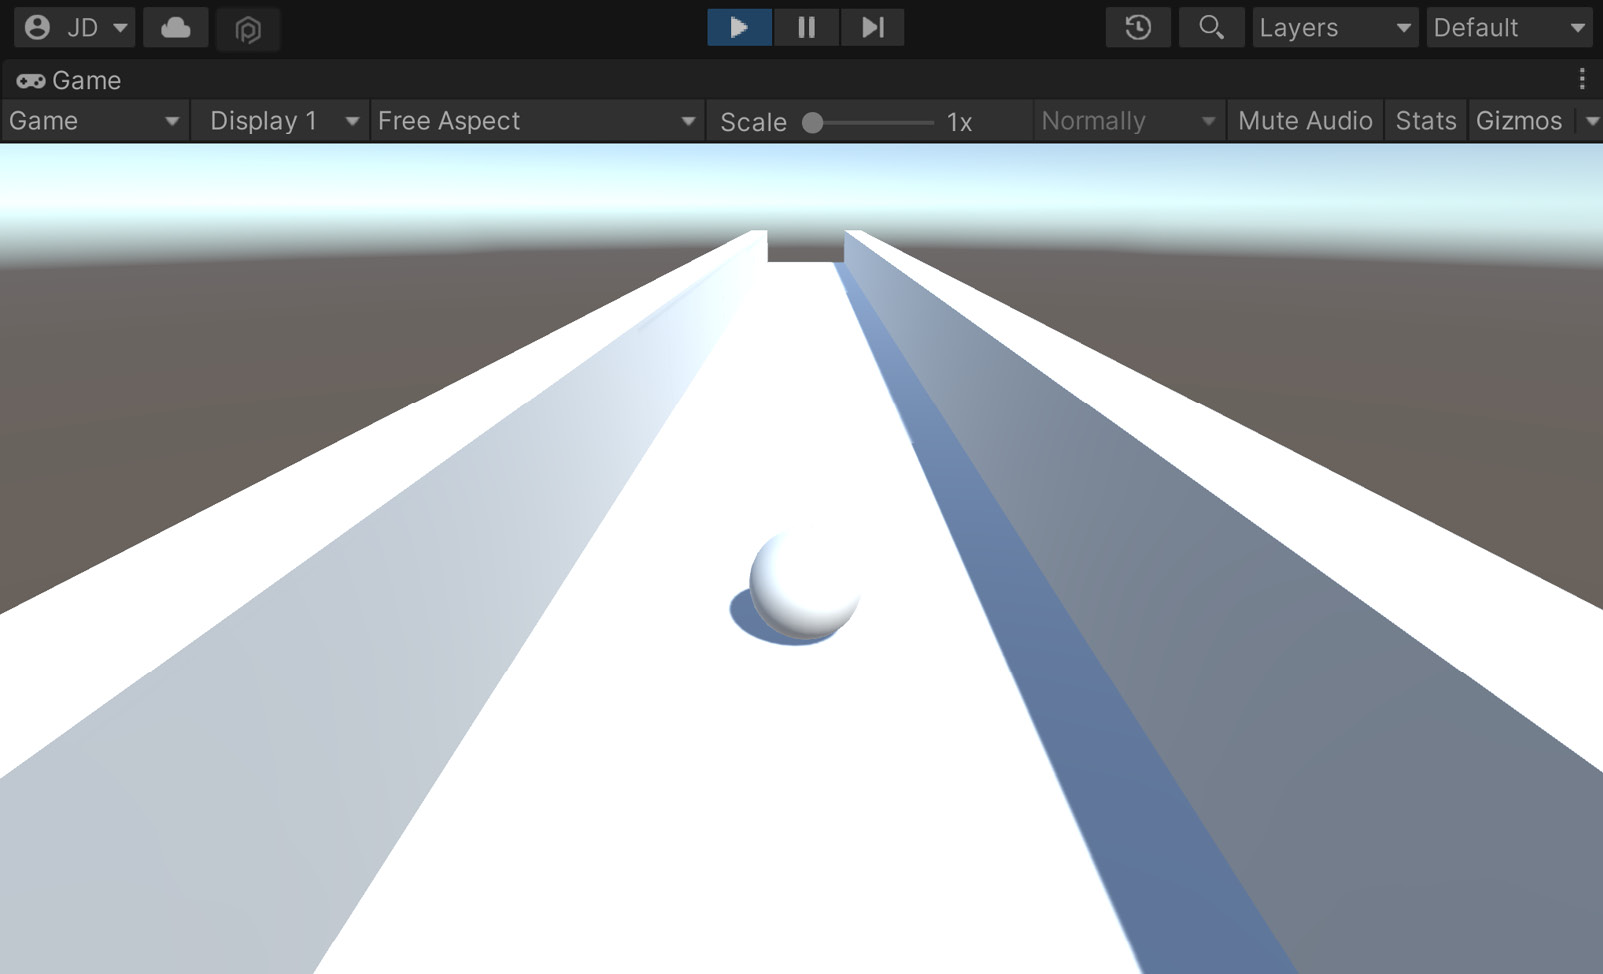
Figure 1.23 – The current state of the game
Great, but now we will need to create new objects after these, and we don’t want to spawn a crazy number of these at once. It’s better that once we reach the end of a tile, we create a new tile and remove it. We’ll work on optimizing this more later, but that way, we always have about the same number of tiles in the game at any given time.
- Go into the Project window and from the Scripts folder, create a new script called
TileEndBehaviour, using the following code:using UnityEngine; /// <summary> /// Handles spawning a new tile and destroying this /// one upon the player reaching the end /// </summary> public class TileEndBehaviour : MonoBehaviour { [Tooltip("How much time to wait before destroying " + "the tile after reaching the end")] public float destroyTime = 1.5f; private void OnTriggerEnter(Collider other) { // First check if we collided with the player if(other.gameObject.GetComponent <PlayerBehaviour>()) { // If we did, spawn a new tile var gm = GameObject.FindObjectOfType <GameManager>(); gm.SpawnNextTile(); // And destroy this entire tile after a // short delay Destroy(transform.parent.gameObject, destroyTime); } } } - Now, to assign it to the prefab, we can go to the Project window and then go into the Prefabs folder. From there, double-click on the Basic Tile object to open up its editor. From the Hierarchy tab, select the Tile End object and then add a Tile End Behaviour component to it:
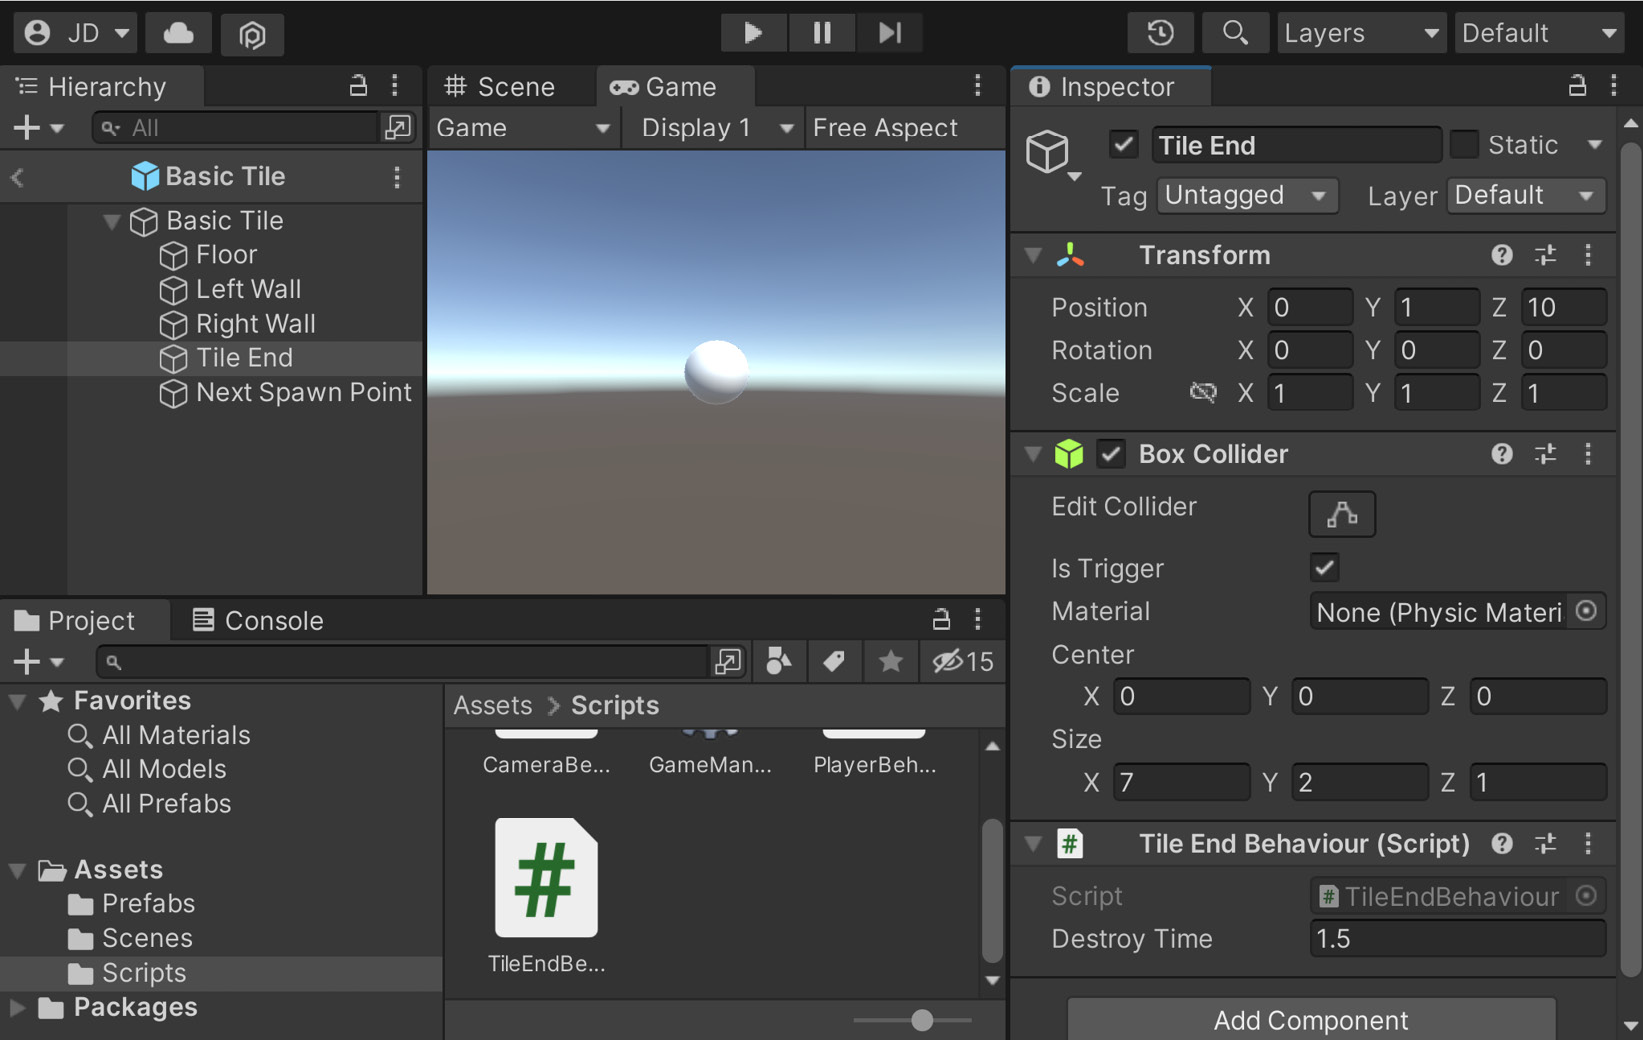
Figure 1.24 – Adding the Tile End Behaviour
- Click on the left arrow next to the prefab name to return to the basic scene:
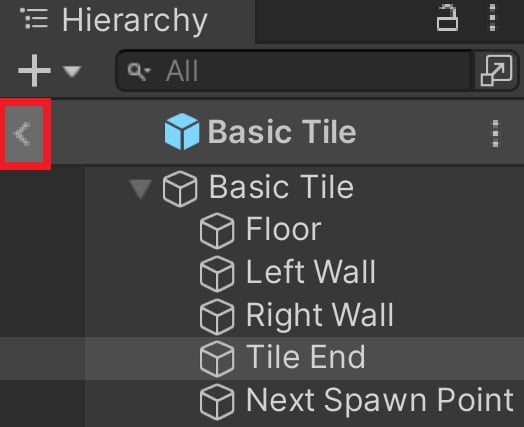
Figure 1.25 – Left Arrow location
Tip
You can also open the prefab editor by selecting a prefab object from the Project window, going to the Inspector tab, and clicking the Open Prefab button.
- Save your scene and play. You’ll now note that as the player continues to move, new tiles will spawn as you go; if you switch to the Scene tab while playing, you’ll see that as the ball passes the tiles, they will destroy themselves:
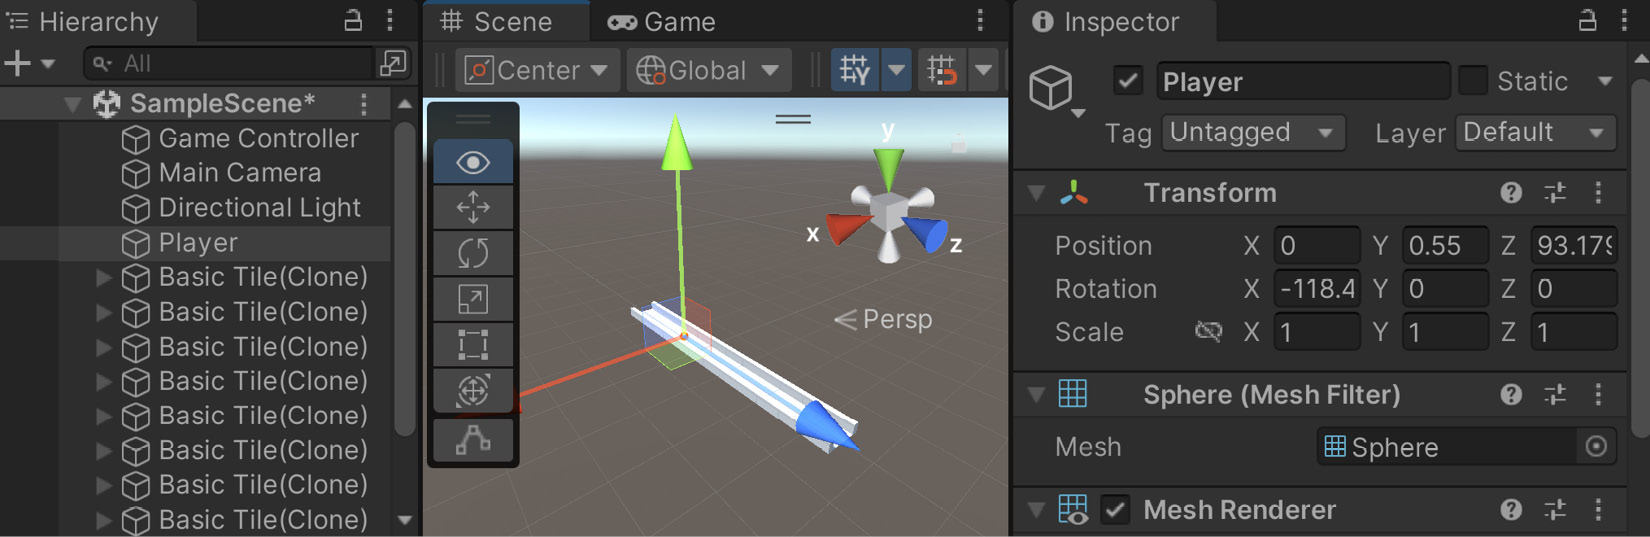
Figure 1.26 – Tiles automatically being destroyed
This will ensure that there will be tiles in front of the player to visit! But of course, this is just an endless straight line. In the next section, we will see how to make the game much more interesting.