

Customizing the user interface
Let’s start with the Adobe After Effects user interface. The first time you launch it, you’ll see the basic user interface of the After Effects window. This interface is called the default workspace. The default workspace gives you access to the following:
- The Project panel
- The Effects panel
- The Composition panel
- The Layers panel
- The Footage panel
- The Timeline panel
- Render Queue
- Many other panels on the right
At the top is the Tools panel. After Effects has different types of tools that can be used for different purposes. As you read this book, you’ll learn how to use the different tools used in After Effects.
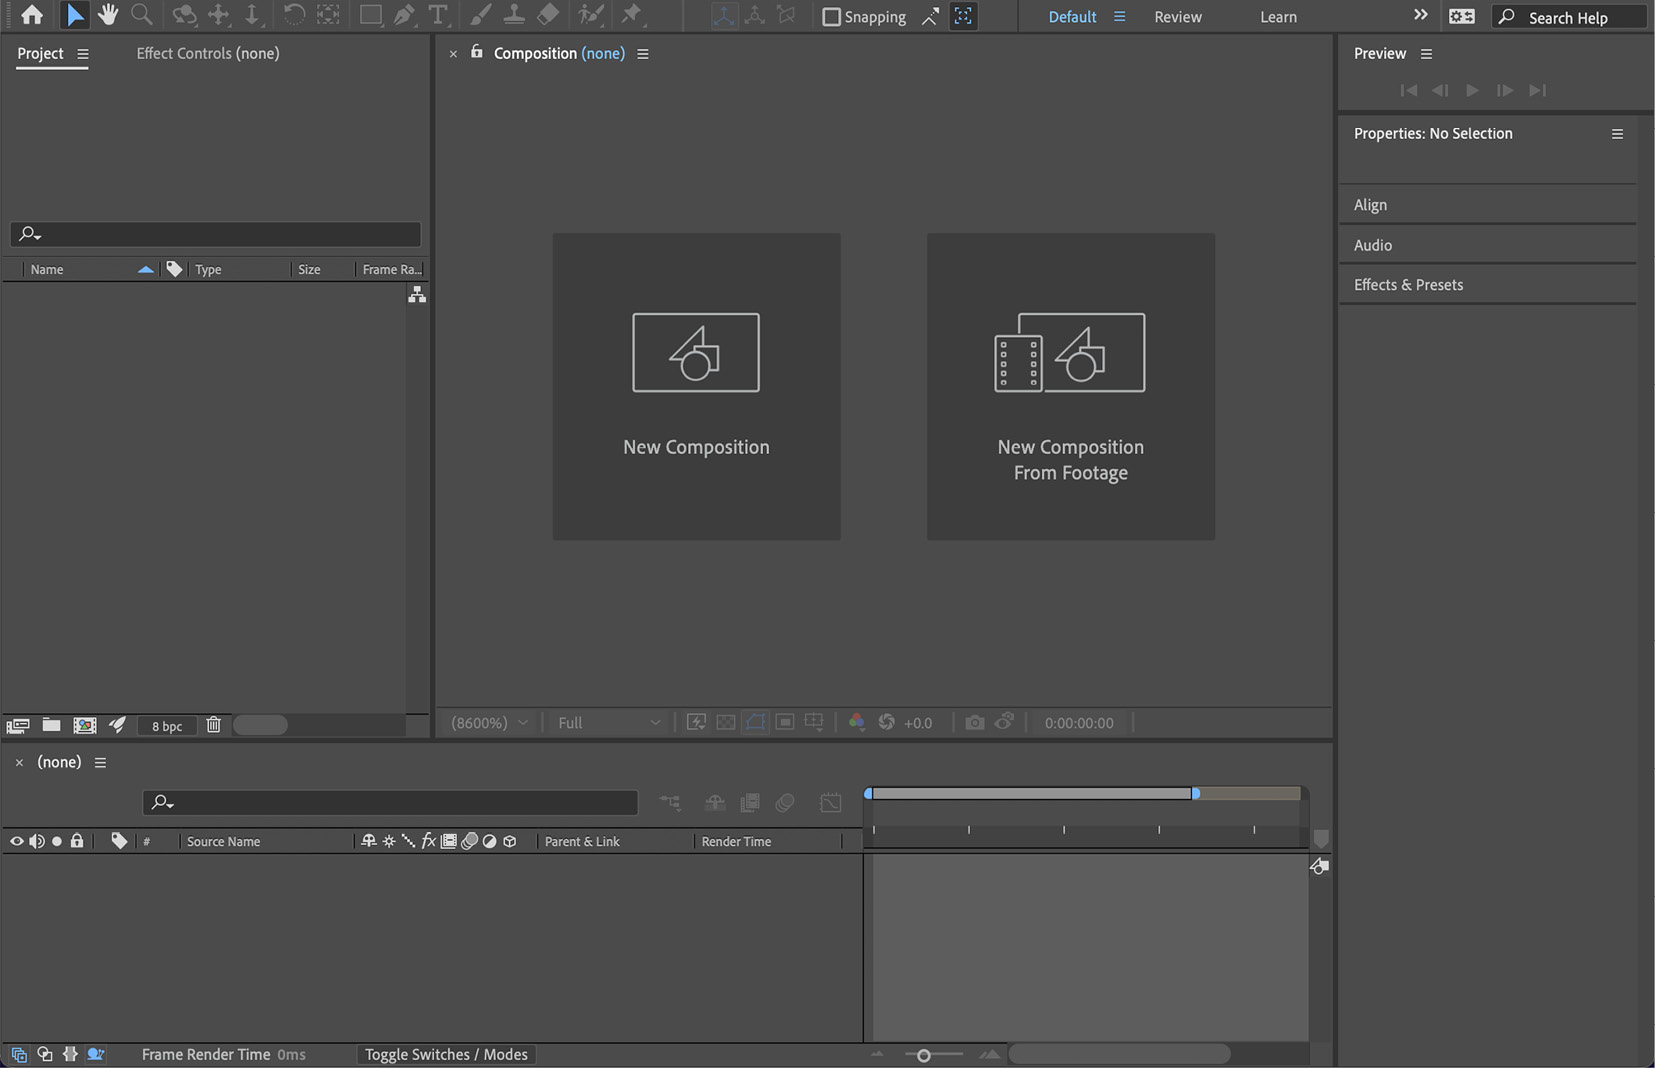
Figure 1.1: The After Effects interface
Next, let us see how to customize the default user interface to suit your needs and preferences. You can freely switch between the available tab groups and panel positions.
To do this, follow these steps:
- Move the cursor to any panel whose position you want to change and then click and drag.
- When you do this, you’ll see a box with a ghost purple fill. For example, in the following figure, I am dragging the Project panel.
- The panel will be placed when you release the mouse button.
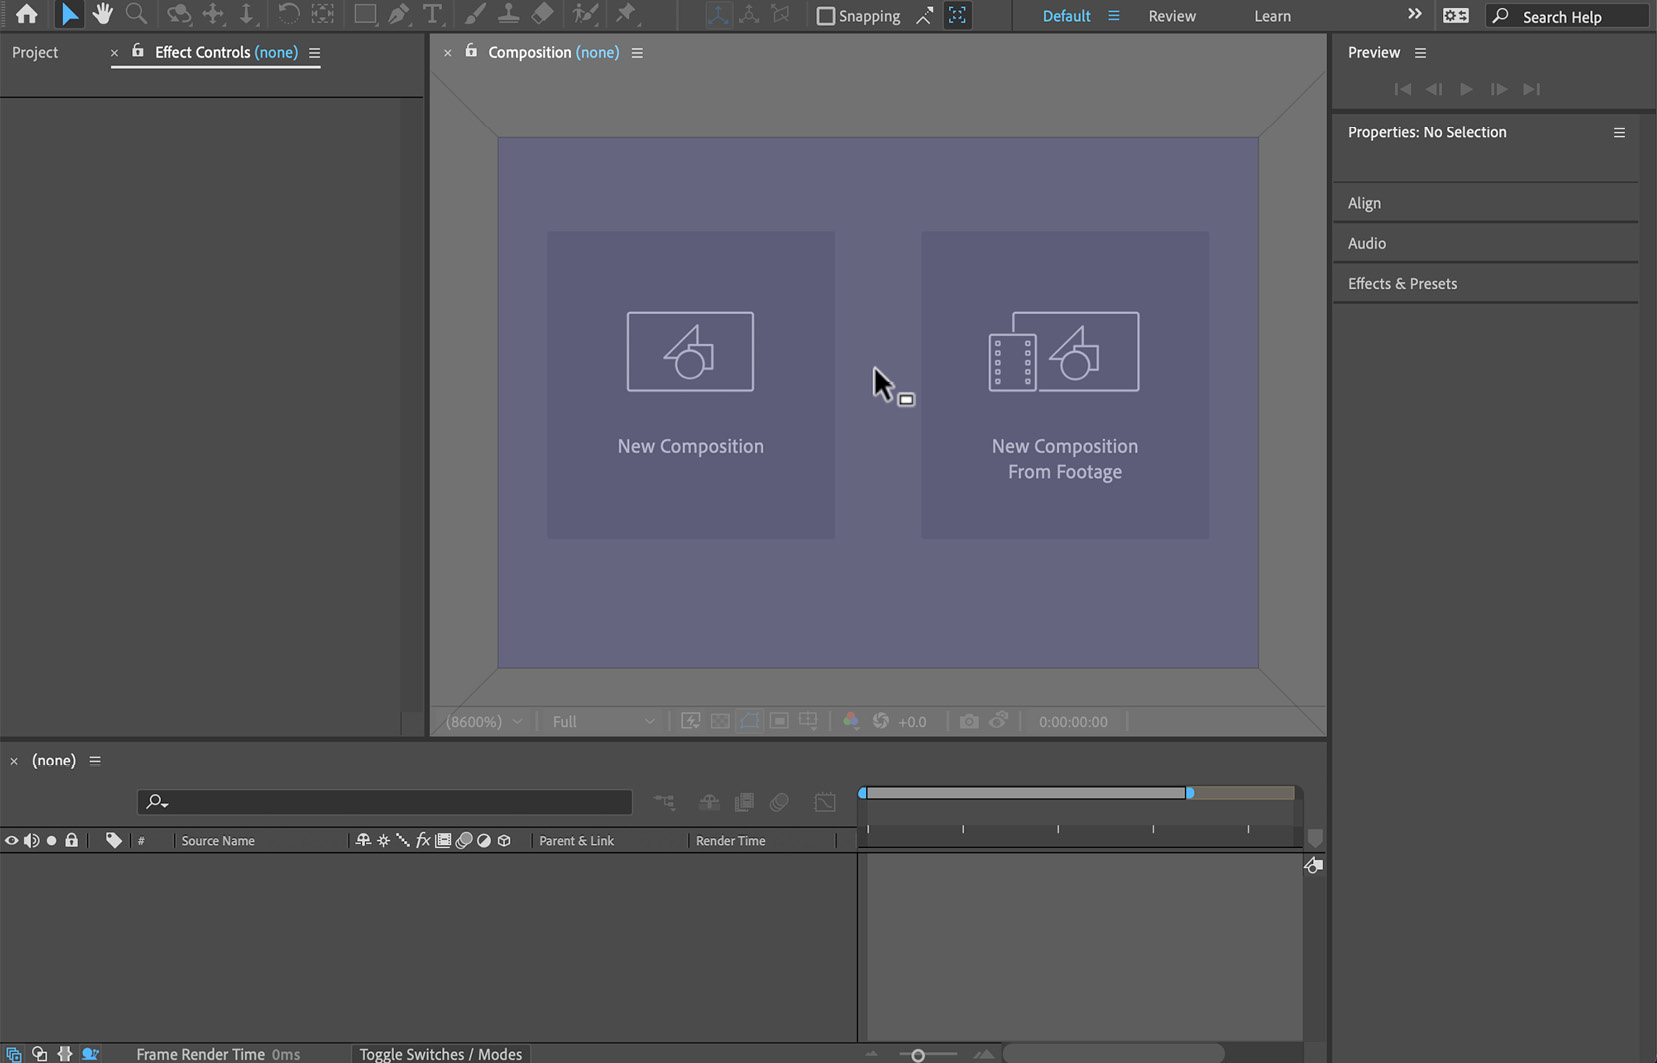
Figure 1.2: Customizing the Interface
You can easily move any entity in the interface by dragging the window or panel to the desired position.
- Once you have customized the workspace area and are satisfied with the look and feel of the panels, you can save it as a workspace preset. Go to Workspace | Save as New Workspace, name the preset, and then save.
Adobe After Effects provides a variety of preset workspaces based on the user’s requirements. Go to Window | Workspaces to see these options:
- All Panels
- Animation
- Color
- Default
- Effects
- Essential Graphics
- Learn
- Libraries
- Minimal
- Motion Tracking
- Paint
- Small Screen
- Standard
- Text
- Undocked Panels
You can use any of these pre-configured workspaces for your work.
If you wish to reset the default workspace after customizing it, simply select the reset option from the list-down menu in the Workspaces list as follows:
- Go to Window | Workspaces.
- Reset Default in Saved Layout.
We can also alter the appearance of the complete workspace window in Adobe After Effects. The Preferences menu provides access to these features. You can access the preferences as follows:
- macOS: After Effects | Preferences
- Windows: Edit | Preferences
In the Preferences menu, you can set the preferences for your desired operations as well as the general customization options. These options include setting up the following tabs, among others:
- The General tab
- The Previews tab
- The Display tab
- The Import tab
- The Appearance tab
- The Output preferences tab
- The Grids & Guides tab
- The Labels tab
- The Video Preview tab
Let’s look at how the preferences can be used to alter the workspace’s appearance.
Go to Preferences | Appearance:
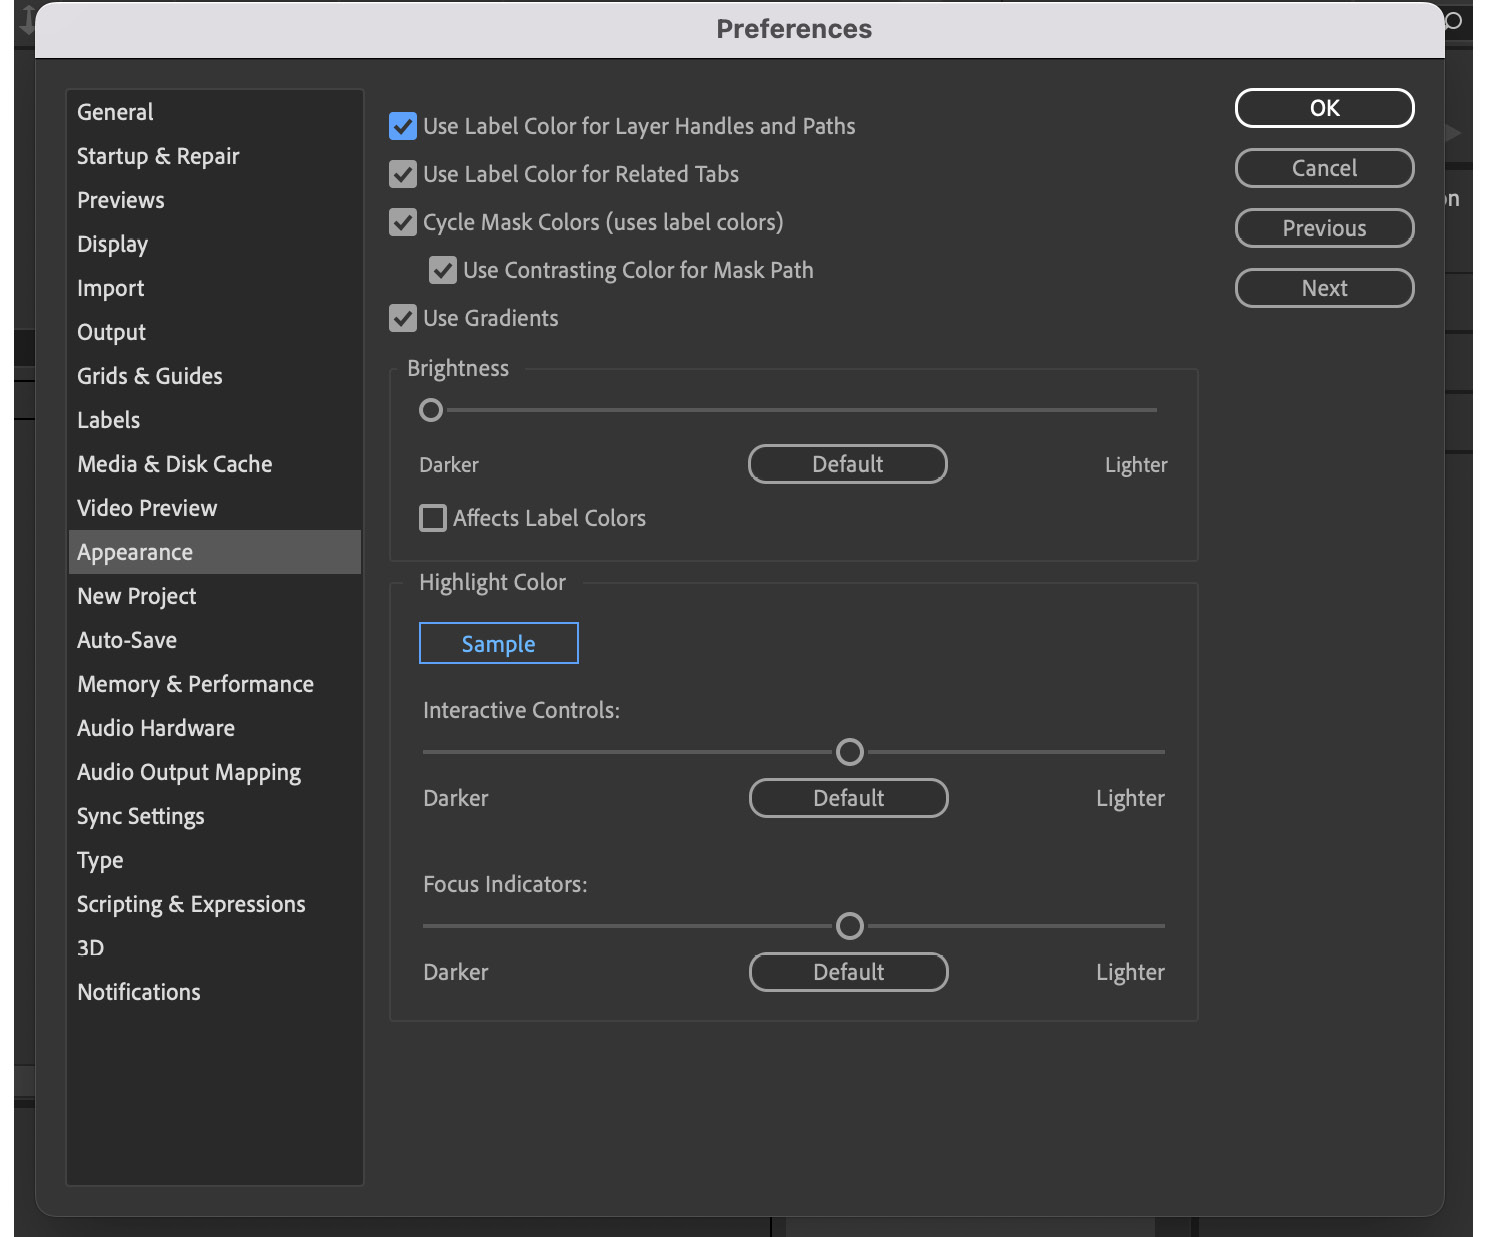
Figure 1.3: The Preferences window
Here you’ll find a list of Adobe After Effects’ numerous options. The brightness of the default workspace background can be adjusted, ranging from completely dark to gradually becoming brighter. Simply move the slider to your preferred brightness setting to accomplish this. You can also customize the look of the interactive controls and focus indicators.
In the next section, let us see how to save your After Effects project.