

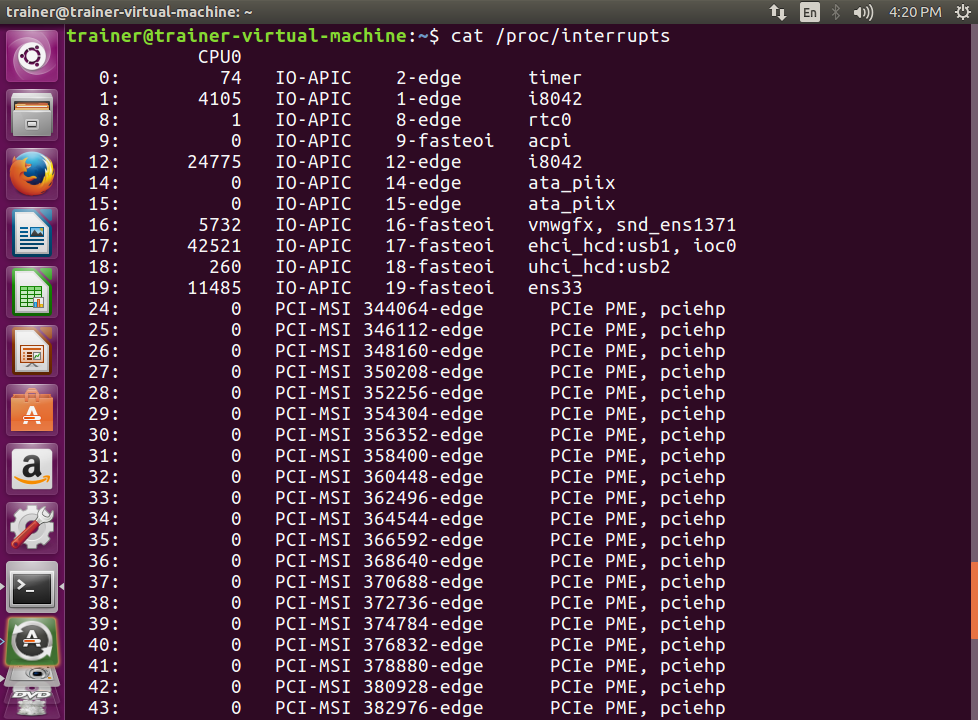
Now let's switch gears and look at the Interrupt Requests (IRQs) and devices that are available in our Linux system. You can think of an interrupt as a service hotline that we would use whenever we need a particular item. We would ring a service hotline. The theory remains the same for devices within a Linux system; whenever it requires the CPU's attention, it sends out signals via interrupts. Traditional 32-bit architectures support up to 16 interrupts (0-15, as shown in the following screenshot). Newer architectures support far more than 16 interrupts.
Let's take a look at the /proc directory once again, honing in on /proc/interrupts:
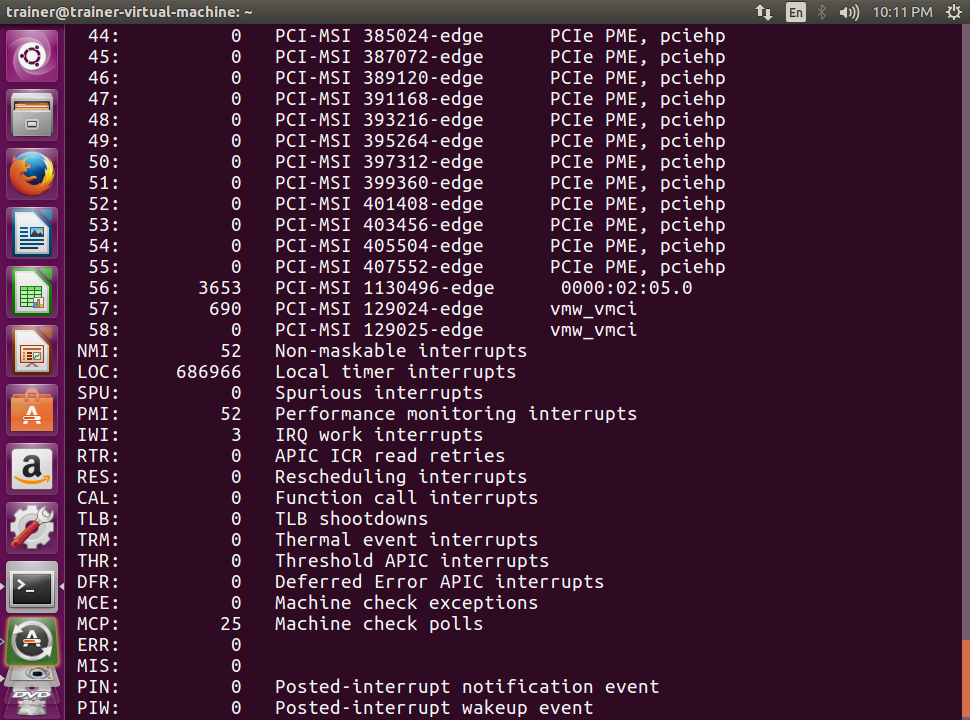
More interrupts are shown in the following screenshot:
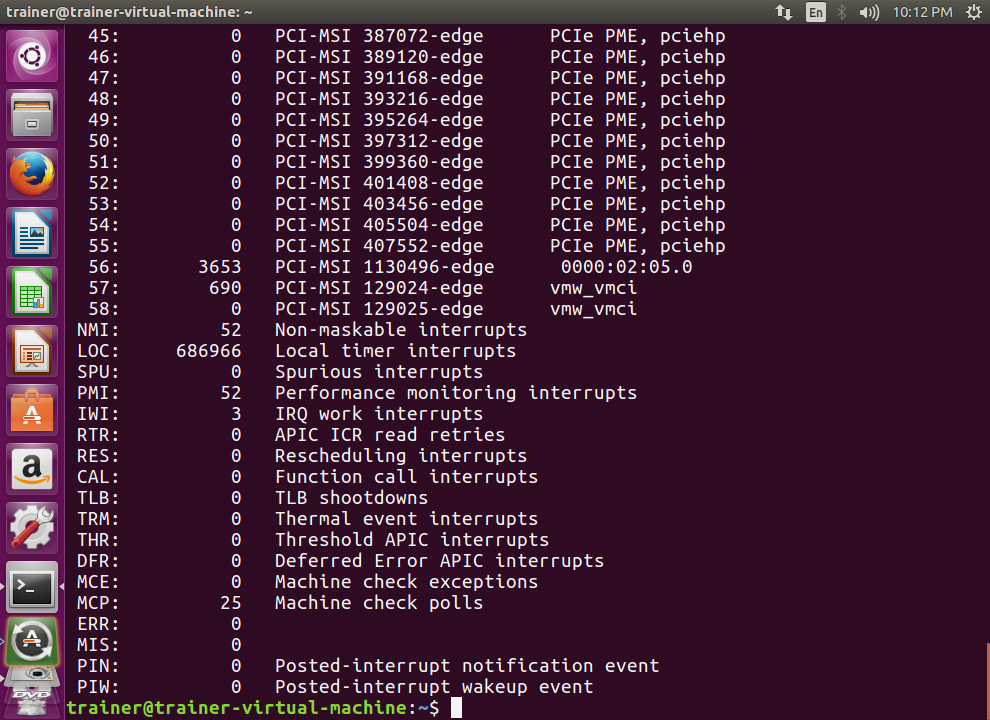
Some more interrupts are shown in the following screenshot:
From the preceding output, we can see that there are far more interrupts available. The output is read from left to right, where left represents the interrupt number, and moving to the right indicates the devices or services that are using the interrupts. We can see that the timer is using interrupt 0.
Now, let's turn our attention to devices. When we work with devices in a Linux system, the devices are represented by files. This enables us to communicate with the actual hardware in the system. There are some commonly used devices, such as hard disks, DVDs, and USBs, to name a few. Hard disks are represented as sd(n). For example: /dev/sda, /dev/sdb, /dev/sdc, and so on. Hard disk partitions are represented in the form of sd(n). For example: /dev/sda1, /dev/sda2, /dev/sdb1, and so on. Similarly, floppy disks are represented as fd. There are some special use-case files, such as /dev/null, /dev/zero, and /dev/tty*. You would use /dev/null when you want to send output from another command and the output is not needed. This is known as redirecting. /dev/zero is used in conjunction with the dd command that we covered earlier for creating blank files. /dev/tty* is used for remote logins. Let's take a look at how devices are shown in the Linux environment.
We will take a look at /proc/devices using our test Linux system:
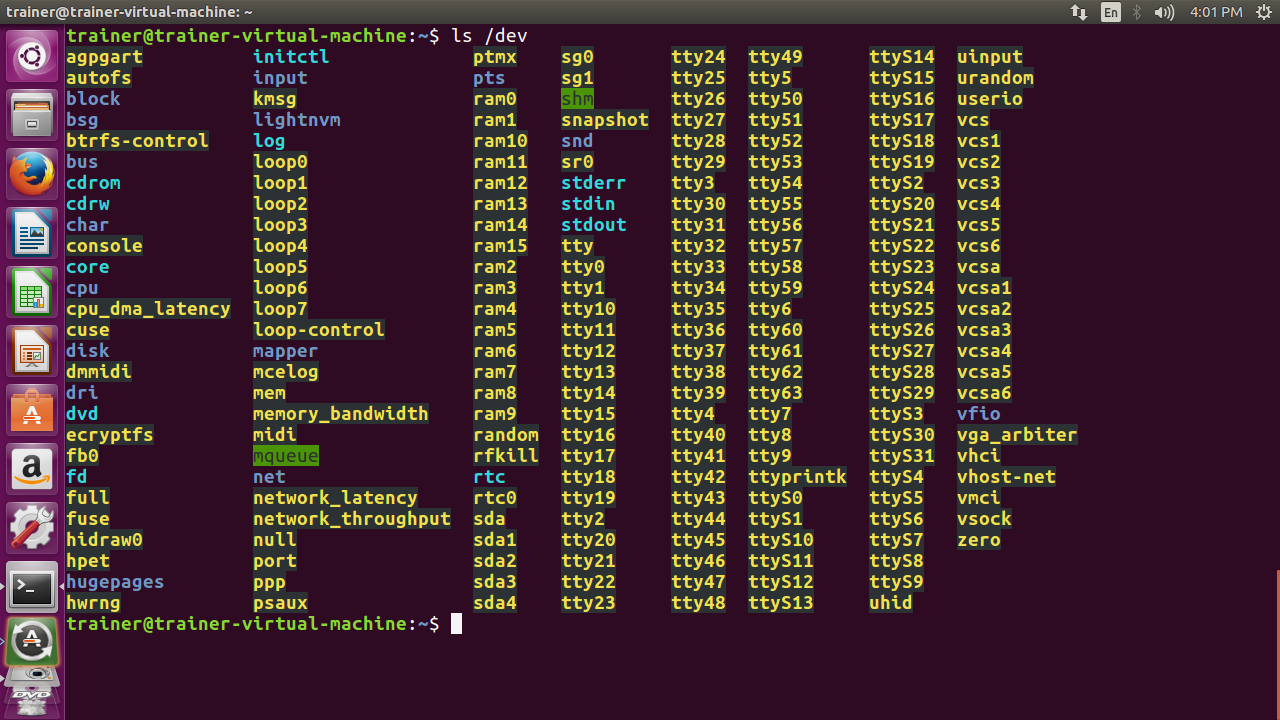
From the preceding output, the hard disk and partition are represented in the format of /dev/sdXY, where X represents the hard disk and Y represents the partition. We can tell the ls command to filter the output to only the hard disk and partition information as follows:
root@trainer-virtual-machine:~# ls /dev/sd*
/dev/sda  /dev/sda1  /dev/sda2  /dev/sda3  /dev/sda4
root@trainer-virtual-machine:~#