

Have you ever wondered what happened to the term drivers in a Linux environment? Well, wonder no more. Most people coming from a Microsoft Windows background are accustomed to interacting with hardware through the use of drivers. In Linux, we refer to drivers as modules. This isn't as scary as it sounds. We load and unload modules whenever we are working with a piece of hardware. For example, when we plug in a USB drive, a module is loaded into the backend and is unloaded automatically when we remove the USB drive. It's that flexible.
Let's take a look at how we can view the modules that are installed in the Linux system using the lsmod command:

More modules that are available for use are shown in the following screenshot:
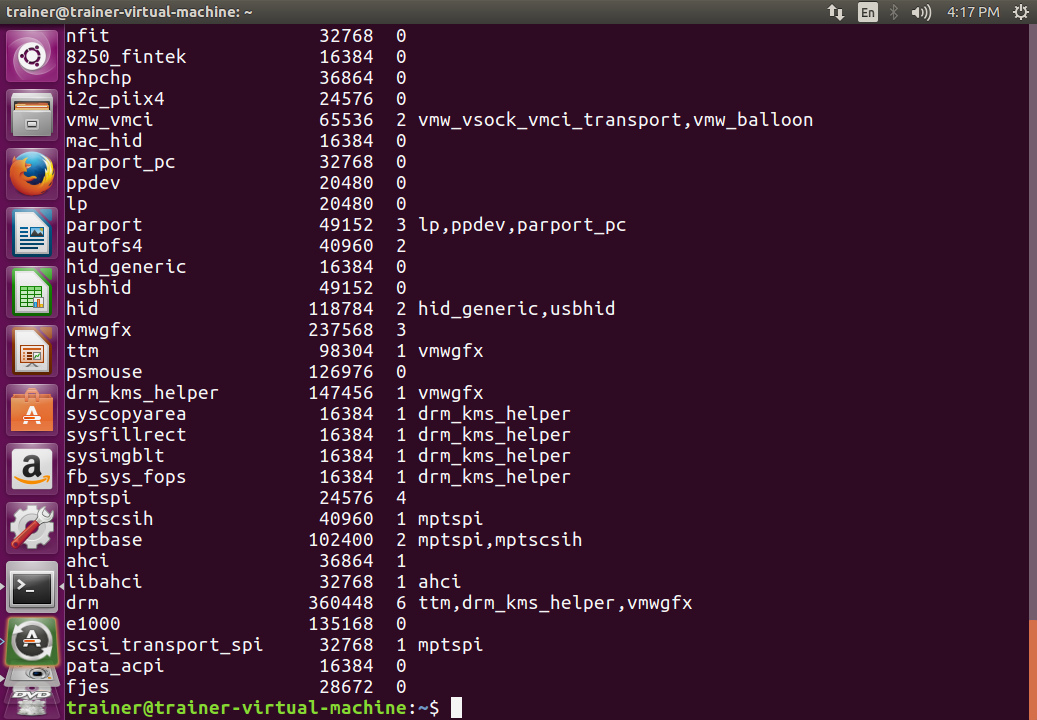
From the preceding output, we can see that a number of modules are available for use in this Linux system. We read the output from left to right. Wherever we see a 0 value under the Used by column, it means that the module is not currently in use.
Now let's look at the process to remove a module using the rmmod command. We will remove the usbhid module, since it's not currently in use. We can quickly verify this is not in use by using lsmod | grep usbhid:
root@trainer-virtual-machine:~# lsmod | grep usbhid
usbhid                 49152  0
Great! Let's go ahead and remove that module using the rmmod command:
root@trainer-virtual-machine:~# rmmod usbhid
root@trainer-virtual-machine:~#
root@trainer-virtual-machine:~# lsmod | grep usbhid
root@trainer-virtual-machine:~#
There we go; the usbhid module is no longer loaded in the Linux system. It still resides there, however, because it was compiled in the kernel. There are only a few options to pass with rmmod. Here, they are on an Ubuntu distro:
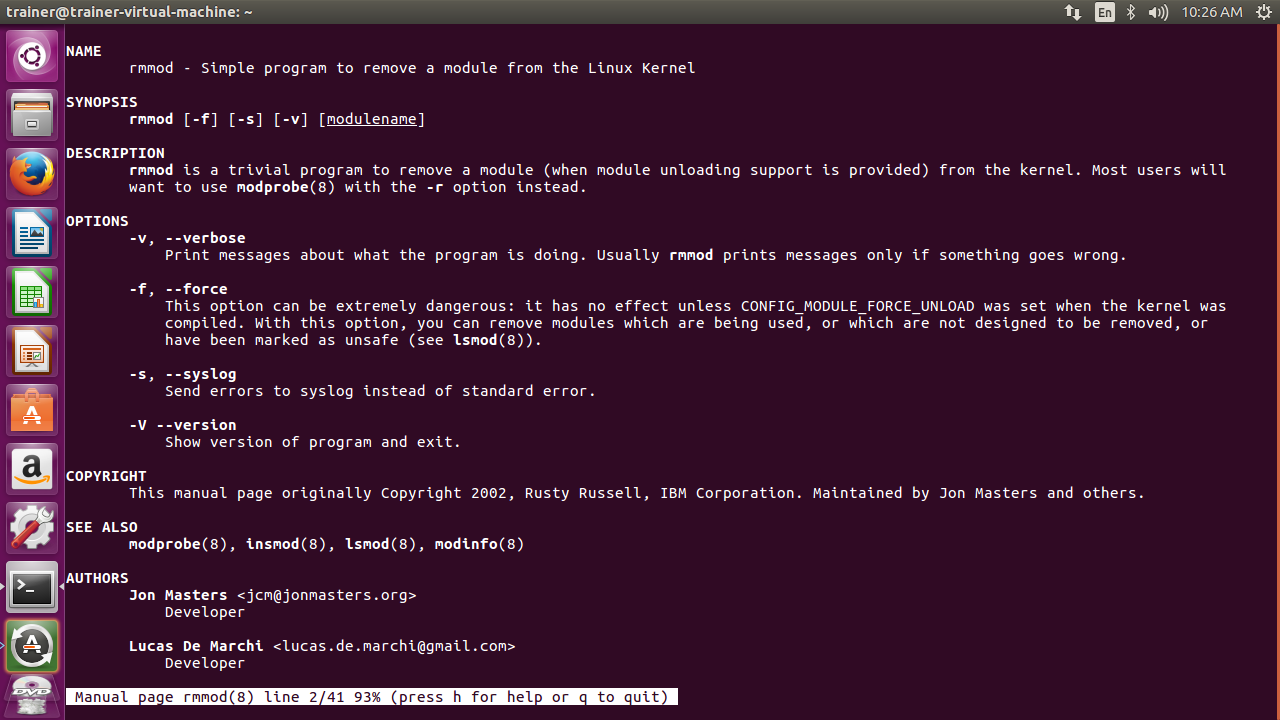
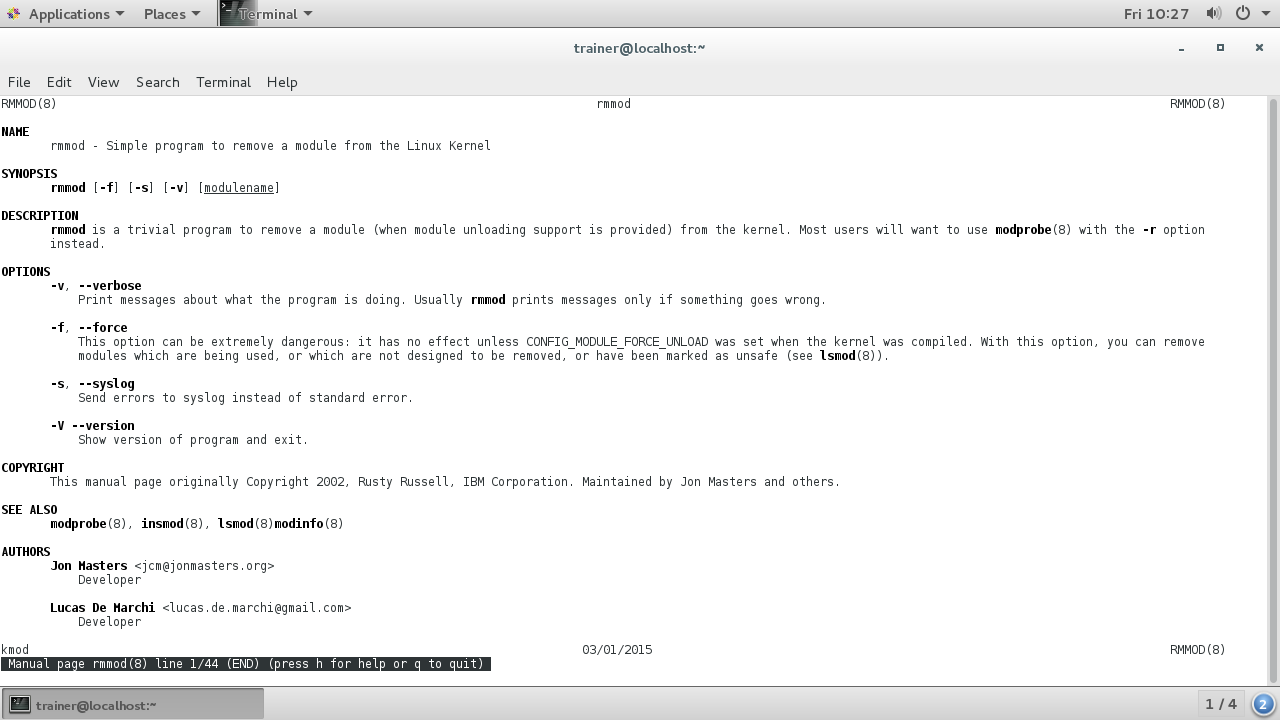
Similarly, here are the options to pass with the rmmod on a CentOS 7 distro:
In order for us to reinstall this usbhid module, we will use another popular command: insmod. Let's see how insmod works at the shell:
root@trainer-virtual-machine:~# insmod usbhid
insmod: ERROR: could not load module usbhid: No such file or directory
root@trainer-virtual-machine:~#
Now, based on the preceding output, it may seem to be contradictory that the insmod command is unable to find the usbhid module. Don't worry, this module is compiled in the kernel. That being said, we can use yet another helpful command, modprobe. This, by far, is more popular than insmod, as modprobe actually calls insmod in the backend whenever we add a module using modprobe. Interestingly enough, modprobe can be used to remove module(s) too. It does this by calling rmmod in the backend.
So, let's use modprobe to install the usbhid module at the shell.
root@trainer-virtual-machine:~# modprobe -v usbhid
insmod /lib/modules/4.4.0-24-generic/kernel/drivers/hid/usbhid/usbhid.ko
root@trainer-virtual-machine:~#
We used the (-v) option with modprobe because, by default, it will not show what is happening in the background. As you can see, modprobe is indeed calling insmod in the backend. Now we can remove this usbhid module using modprobe, and we will see that it is calling rmmod in the backend:
root@trainer-virtual-machine:~# modprobe -r -v usbhid
rmmod usbhid
root@trainer-virtual-machine:~#
From the preceding output, it is evident that modprobe is calling rmmod to remove a module.
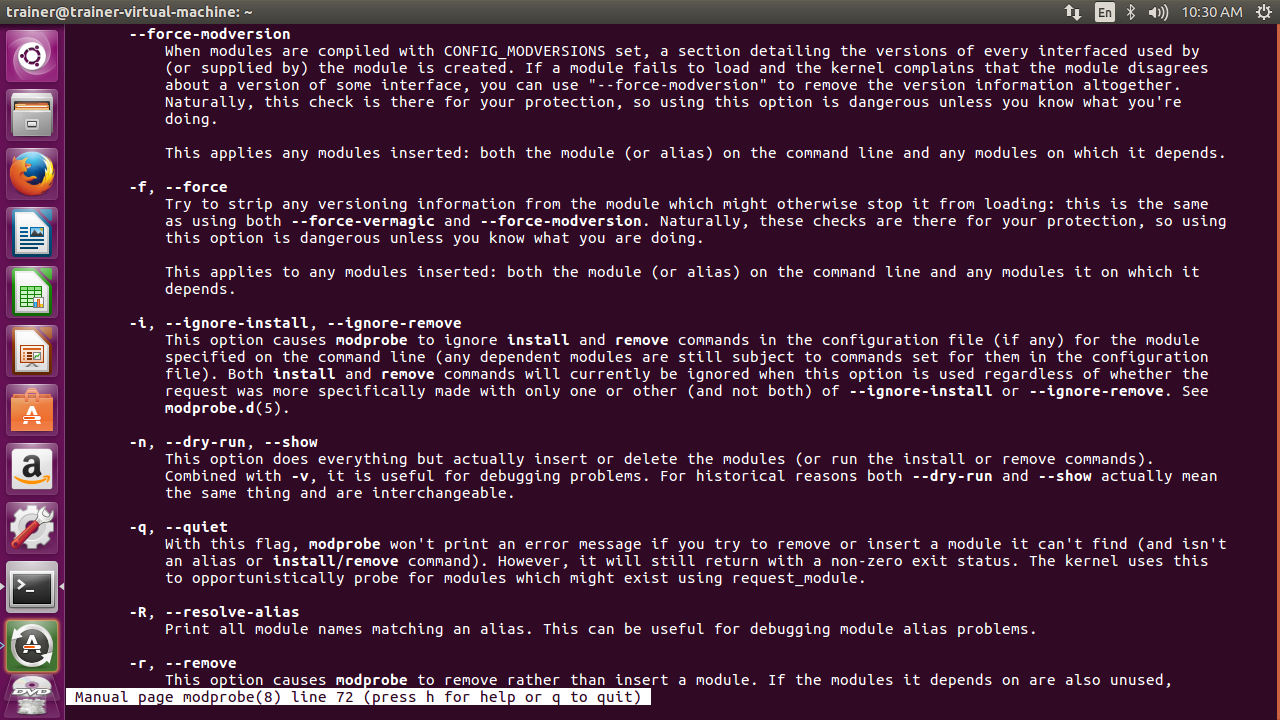
Here are some options that can be used with the modprobe command on an Ubuntu distro:
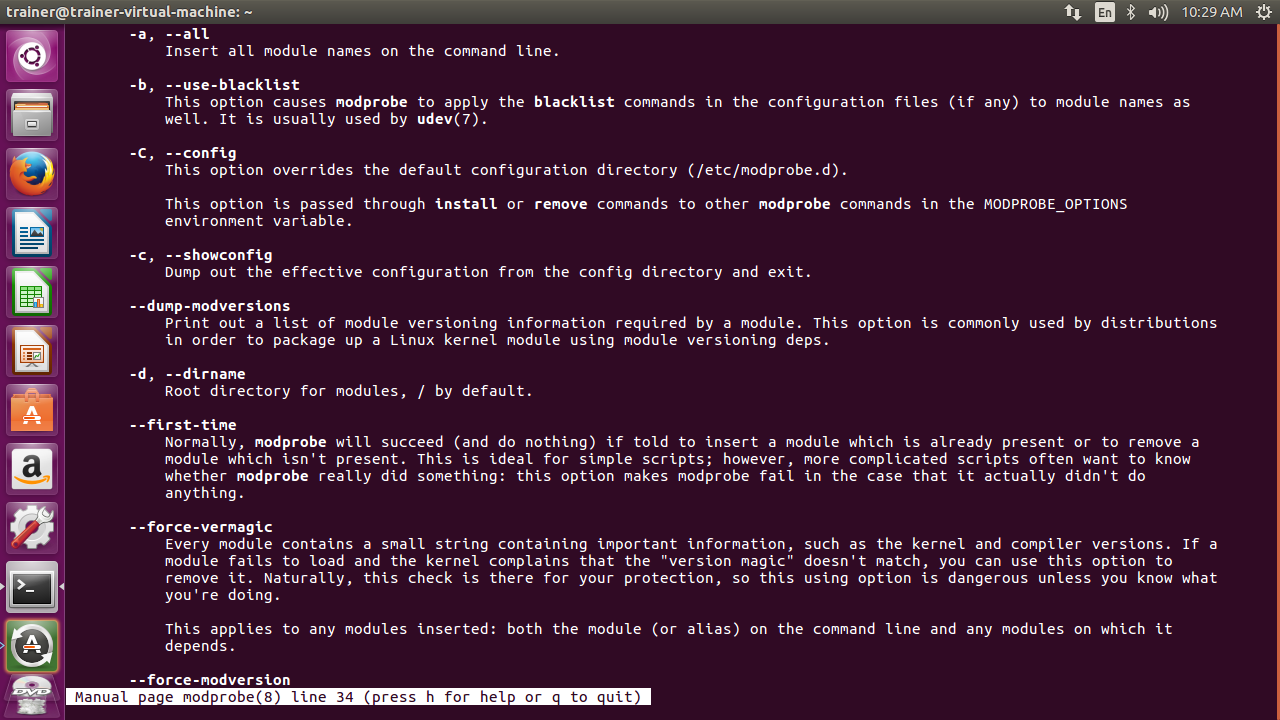
More options that can be passed with the modprobe command are shown in the following screenshot:
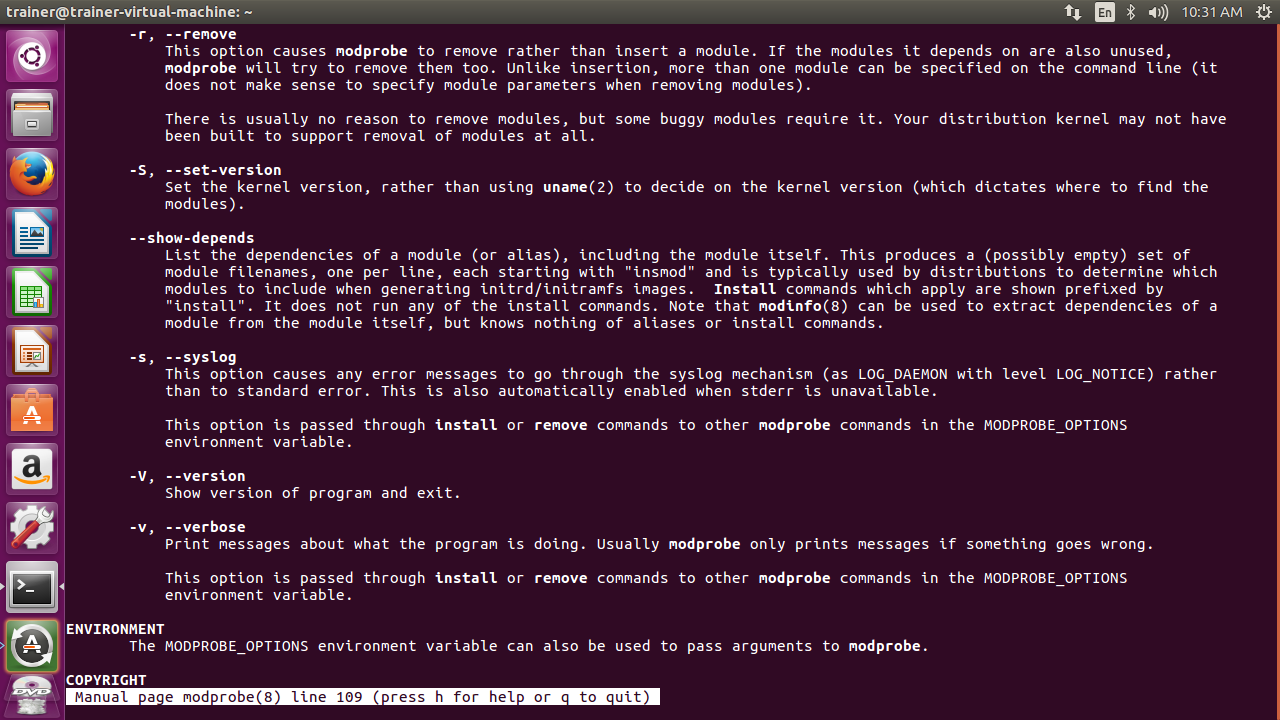
Some more options that can be passed with the modprobe command are shown in the following screenshot:
Here are some options that can be used with the modprobe command on a CentOS 7 distro:
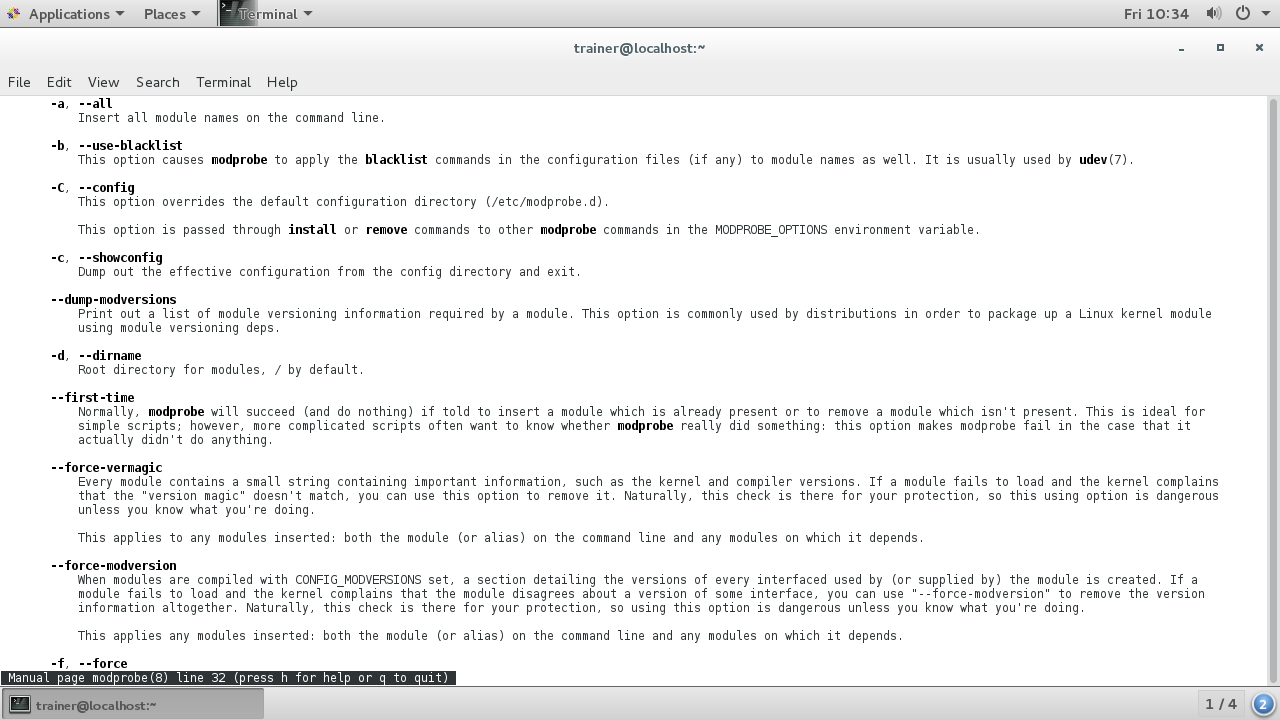
Some more options that can be passed with the modprobe command are shown in the following screenshot:
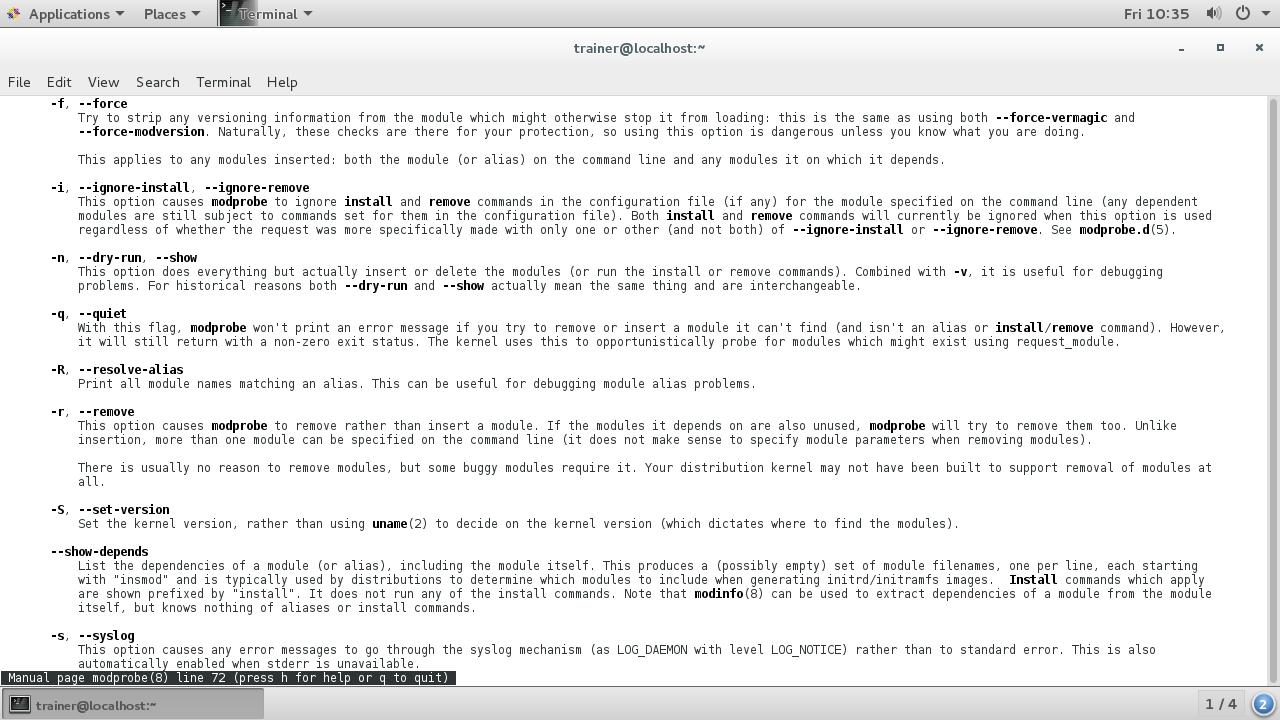
More options that can be passed with the modprobe command are shown in the following screenshot:
