

Starting from this chapter, and continuing in the next two, we will work on our first project. It is a Platformer game that resembles the original Mario game.
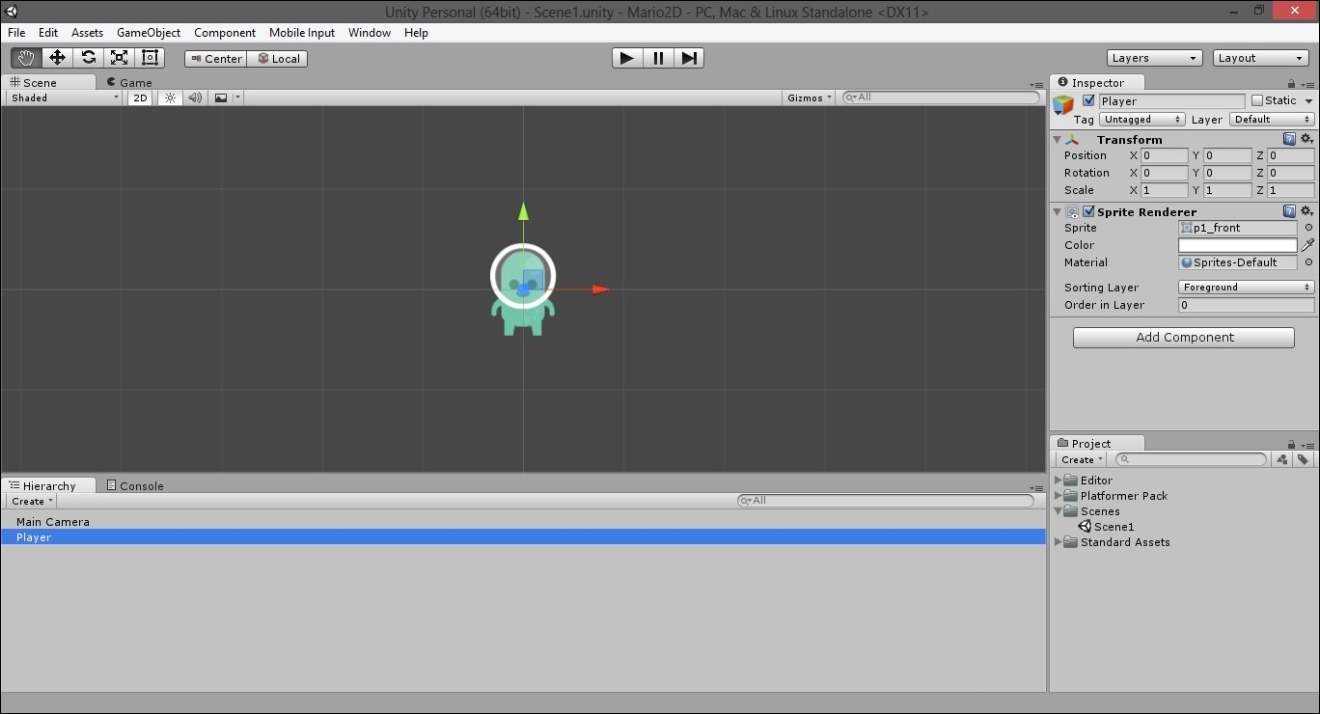
In this chapter our objective is to create a character that will move on a platform across the x-axis. We can achieve this by using the player input. Now, let's continue from where we stopped. We should have a game object named p1_front, now we can rename it as Player. As a result, your scene should look like the following:
However, our character is now floating in the middle of nowhere. Therefore, adding some ground for him to move on is a good start. To achieve this, go to the Project panel and from the Platformer Pack folder select tiles_spritesheet. We can see its Import Settings in the Inspector. We need to change the Sprite Mode to Multiple and then click on Apply.
Open the Sprite Editor for our selected asset by clicking on the Sprite Editor button. As we did before, we can slice the image by using the Automatic method and it will work fine. Now that each sprite has been sliced, click on Apply and close the editor. You will now notice that more sprites have been generated under tiles_spritesheet, as shown here:

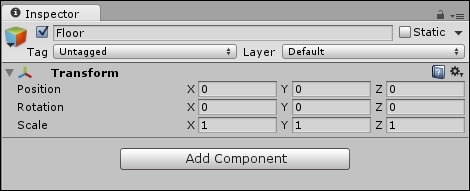
In order to keep things organized, let's create a new empty game object. It can be done by right-clicking in the Hierarchy panel, and then selecting Empty game object. In the Inspector, we can rename this Floor and change its position in (0,0,0), as shown in the following image:
Now we can drag the sprite named tiles_spritesheet_9 onto the Floor object we just created. Rename the file to Floor_1 and set its position to (-2,-0.65, 0). Now we also need to change the sorting layer to Foreground and the sorting order to 1 so it doesn't overlap with our player.
As you can see, we have the first tile of our floor under the player and now we want to create more tiles in order to create a floor that the player can walk on. We could scale the Floor_1 object to make it larger. However, the advantage to having titles is the possibility to use more of them next to each other in a seamless way. Therefore, let's duplicate it. To achieve this, select the Floor_1 object and then you can duplicate either by right-clicking and selecting Duplicate, or by using Ctrl + D (for Mac users cmd + D). You will notice that the new object is automatically named Floor_2, which is what we would like to have to keep things organized. Click on the new object and by using the Rect tool, move it to the left from the scene view, next to the original object. Now, to get our floor, let's repeat this procedure and move the tiles, until we have something like the following:
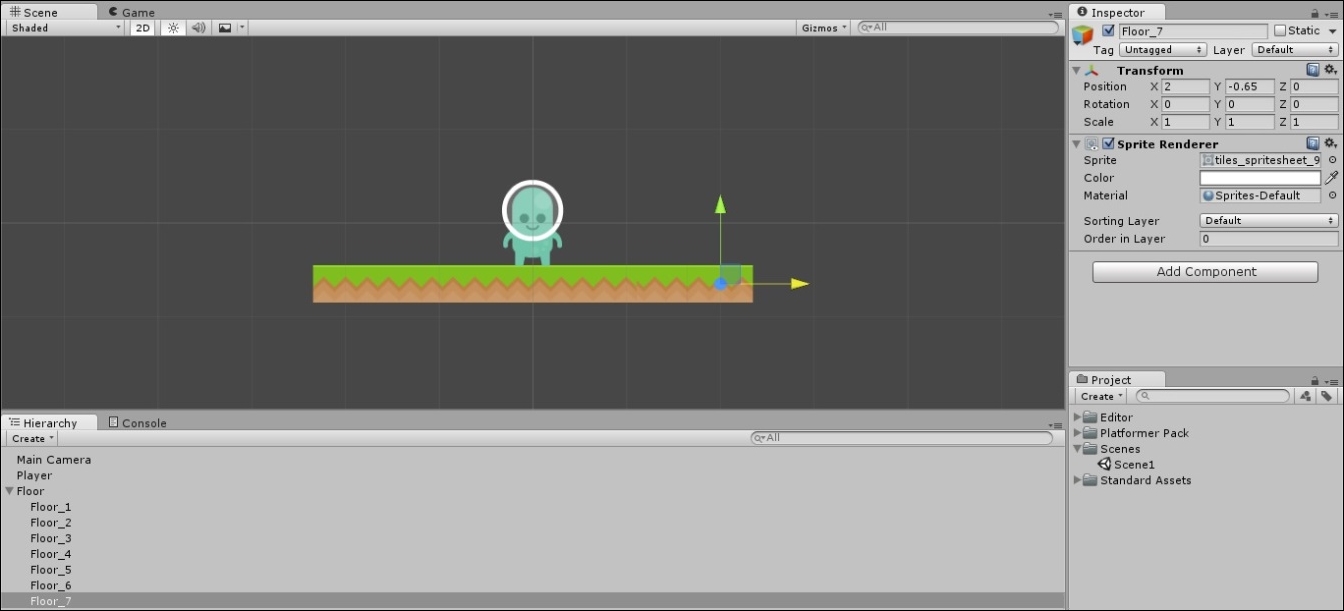
If you want to reproduce the scene like in the previous image, the last tile on the right is positioned at (2,-0.65,0).
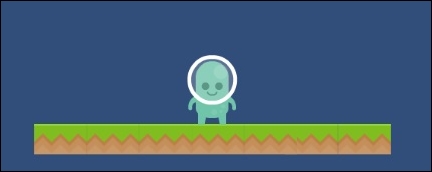
After finishing the floor tiles, let's check the game view. It appears that the objects are rather small. We can fix this by scaling the game objects. This is not best practice, because usually the graphics should already be created without the need to scale. On the other hand, we may want to change the camera settings to look at our world more closely. However, for the purpose of learning something new, we can change the scale of the player to (2, 2, 1). This way, we can make our player bigger. Repeat the same with the Floor game object by setting its scale to (2, 2, 1). As a result, all of its children (for example, the single tiles of the floor) will be scaled. As a result, the game view should look like the following:
Our next step is allowing the player to move the character, in this case, along the x-axis. To achieve this, we need to create a script. In the Project panel, create a new folder and rename it as Scripts. In this new folder, let's create a new C# script by right-clicking and then selecting Create | C# Script. Rename it to PlayerMovement and then attach the script to our player by dragging and dropping it onto the player object. Double-click on the script to open it.
First, we need to add some variables to control the movement. In particular, one for the speed, and another two for the boundary of our world. Let's add the following variables:
    // The Player's speed
    public float speed = 10.0f;

    //Game boundaries
    private float leftWall = -4f;
    private float rightWall = 4f;
Now, in the Update() function we first need to calculate how far it will be translated and where, based on the input of the player. In this case, we take the horizontal axis, which, by default, is bound to the arrow keys. In order to calculate this, we need to take into consideration how much time is passed from the last frame. This can be done by adding Time.deltaTime into the equation. Then, we need to translate the character so it doesn't fall off the boundary after the translation. So we will write the following:
  // Update is called once per frame
  void Update () {
        // Get the horizontal axis that by default is bound to the arrow keys
        // The value is in the range -1 to 1
        // Make it move per seconds instead of frames
        float translation = Input.GetAxis("Horizontal") * speed * Time.deltaTime;
        // Move along the object's x-axis within the floor bounds
        if (transform.position.x + translation < rightWall &&
           transform.position.x + translation > leftWall)
            transform.Translate(translation, 0, 0);
    }
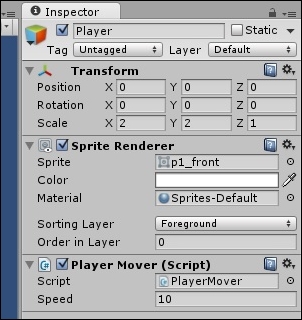
Save the changes and hit the play button. By using the left and right arrow (alternatively A and D), you will be able to move the character across the platform. You can change the speed of the player by adjusting the speed value from the Inspector, as shown here:
Now, our scene needs a background. In the Project panel in the Platformer Pack folder drag the file bg into the scene. Rename the game object to Background and set the scale to (5,3,0). As a result, the game view should look like the following:
