

When you've reached a clear decision on the initial concept and design, you're ready to prototype! This means building a Unity project demonstrating the core mechanic and game rules in action as a playable sample. After this, you typically refine the design more, and repeat prototyping until arriving at an artifact you want to pursue. From here, the art team must produce assets (meshes and textures) based on the concept art, the game design, and photographic references. When producing meshes and textures for Unity, some important guidelines should be followed to achieve optimal graphical performance in-game. This is about structuring and building assets in a smart way so that they export cleanly and easily from their originating software and can then be imported with minimal fuss, performing as best as they can at runtime. Let's take a look at some of these guidelines for meshes and textures.
Asset preparation
Meshes - Work only with good topology
A good mesh topology consists of all polygons having only three or four sides in the model (not more). Additionally, edge loops should flow in an ordered, regular way along the contours of the model, defining its shape and form:
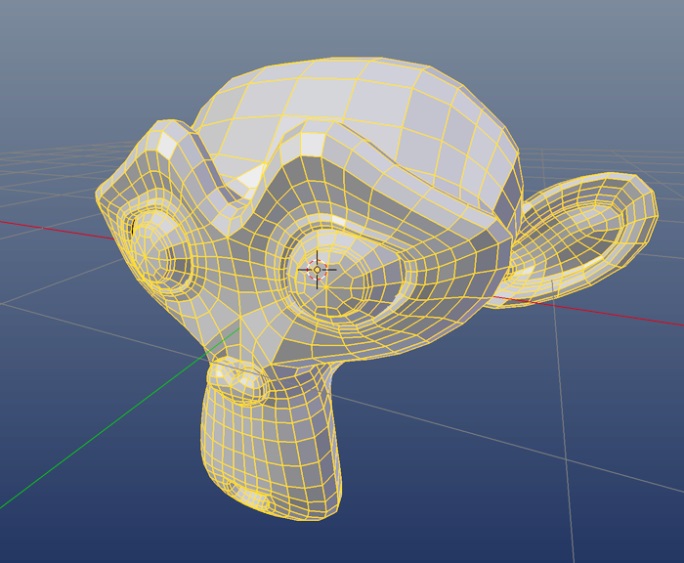
On import, Unity automatically converts any NGons (polygons with more than four sides) into triangles, if the mesh has any. However, it's better to build meshes without NGons as opposed to relying on Unity's automated methods. Not only does this cultivate good habits at the modeling phase, it also avoids any automatic and unpredictable re-topology of the mesh, which affects how it's shaded and animated.
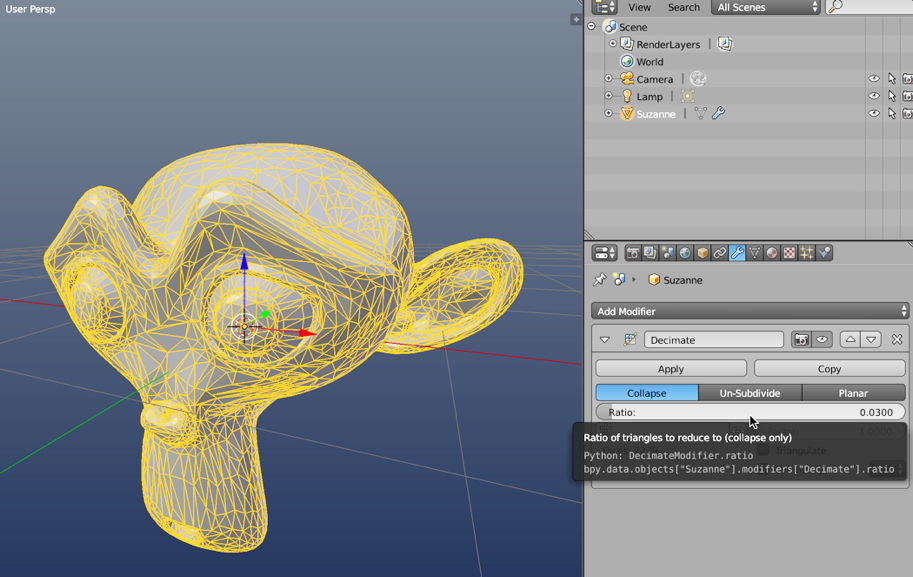
Meshes - Minimize polygon count
Every polygon in a mesh entails a rendering performance hit insofar as a GPU needs time to process and render each polygon. Consequently, it's sensible to minimize the number of a polygons in a mesh, even though modern graphics hardware is adept at working with many polygons. It's a good practice to minimize polygons wherever possible and to the degree that it doesn't detract from your central artistic vision and style:
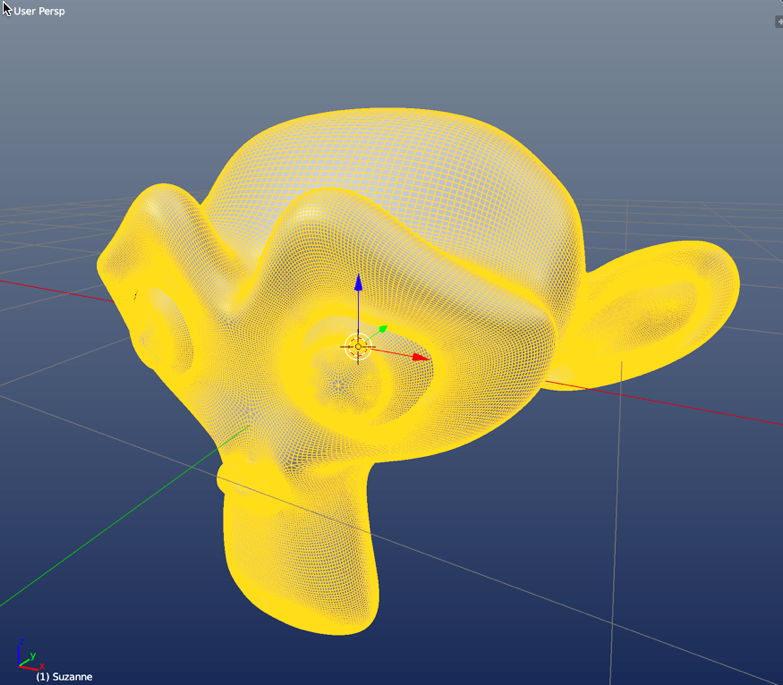
There are many techniques available to reduce polygon counts. Most 3D applications (such as 3Ds Max, Maya, and Blender) offer automated tools that decimate polygons in a mesh while retaining their basic shape and outline. However, these methods frequently make a mess of topology, leaving you with faces and edge loops leading in all directions. Even so, this can still be useful for reducing polygons in static meshes (meshes that never animate), such as statues, houses, or chairs. However, it's typically bad for animated meshes where topology is especially important:
Meshes - Simulating bump details without geometry
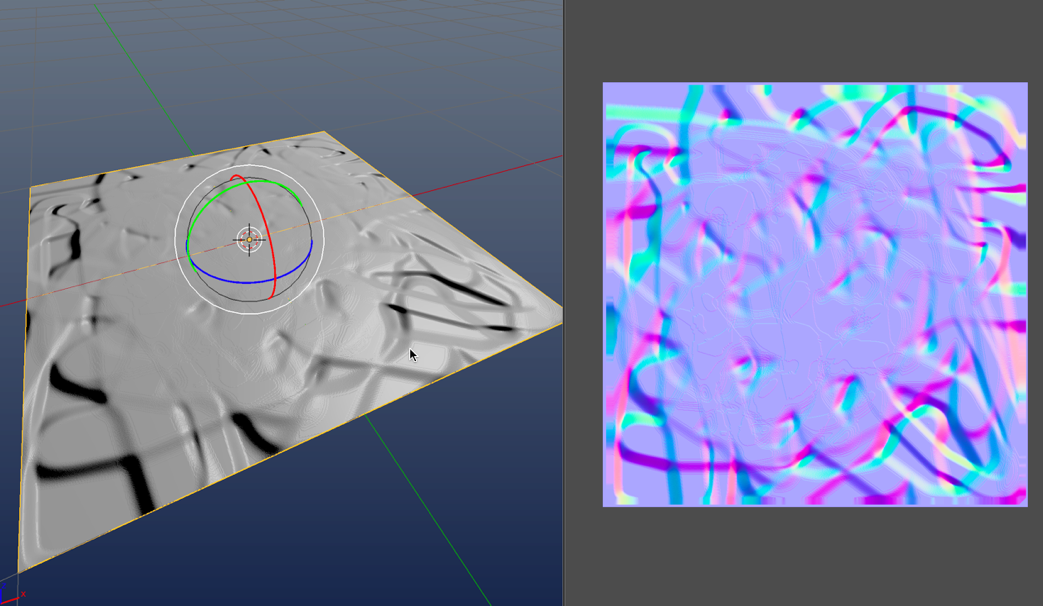
As mentioned, try keeping meshes as low-poly as possible. Low-poly meshes are, however, of lower quality than higher-resolution meshes. They have fewer polygons and thereby hold fewer details. Yet, this need not be problematic. Techniques exist for simulating detail in low-poly meshes, making them appear at a higher resolution than they really are. Normal Mapping is one example of this. Normal Maps are special textures that define the orientation and roughness of a mesh surface across its polygons and how those polygons interact with lighting. In short, a Normal Map specifies how lighting interacts over a mesh and ultimately effects how the mesh is shaded in game. This influences how we perceive the details--how bumpy and rough a surface is. The extent of bump and detail is controlled by pixels in the Normal Map. You can produce Normal Maps in many ways, for example, typically using 3D modeling software. By producing two mesh versions in 3D Modelling Software (namely, a high-poly version containing all the required details sculpted into the model, and a low-poly version to receive the details), you can bake normal information from the high-poly mesh to the low-poly mesh via a texture file. That is, you can sculpt a high-resolution mesh and then transfer the details from the high-res to the low-res version by saving the detail to a Normal Map. This approach (known as Normal Map Baking) can lead to stunningly accurate and believable results, as follows:
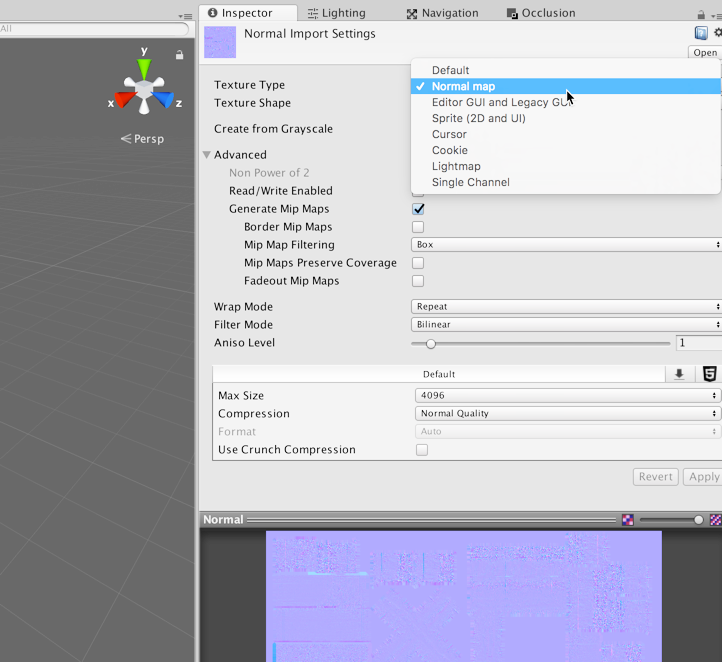
However, if you don't have any Normal Map for an imported mesh, Unity can generate them from a standard, diffuse texture via the Normal Import Settings. This may not produce the most believable and physically accurate results, like Normal Map Baking, but it's useful to quickly and easily generate displacement details, enhancing the mood and realism of a scene. To create a Normal map from a diffuse texture, first select the imported texture from the Project panel and duplicate it; ensure that the original version is not invalidated or affected. Then, from the object Inspector, change the Texture Type (for the duplicate texture) from texture to Normal map. This changes how Unity understands and works with the texture:
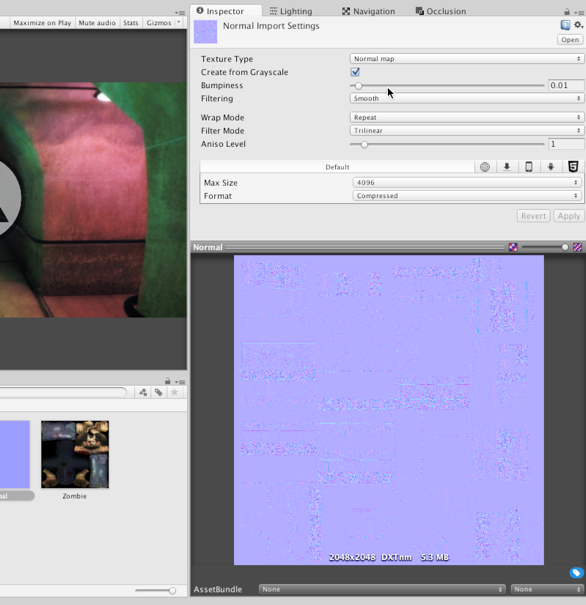
Specifying Normal Map for a texture configures Unity to use and work with that texture in a specialized, optimized way for generating bump details on your model. However, when creating a Normal Map from a diffuse texture, you'll also need to enable the Create from Grayscale checkbox. When enabled, Unity generates a Normal Map from a grayscale version of the diffuse texture, using the Bumpiness and Filtering settings, as follows:
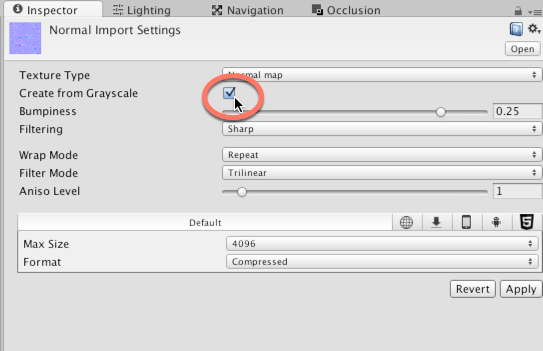
With Create from Grayscale enabled, you can use the Bumpiness slider to intensify and weaken the bump effect and the Filtering setting to control the roughness or smoothness of the bump. When you've adjusted the settings as needed, confirm the changes and preview the result by clicking on the Apply button from the Inspector object:
Meshes - Minimize UV seams
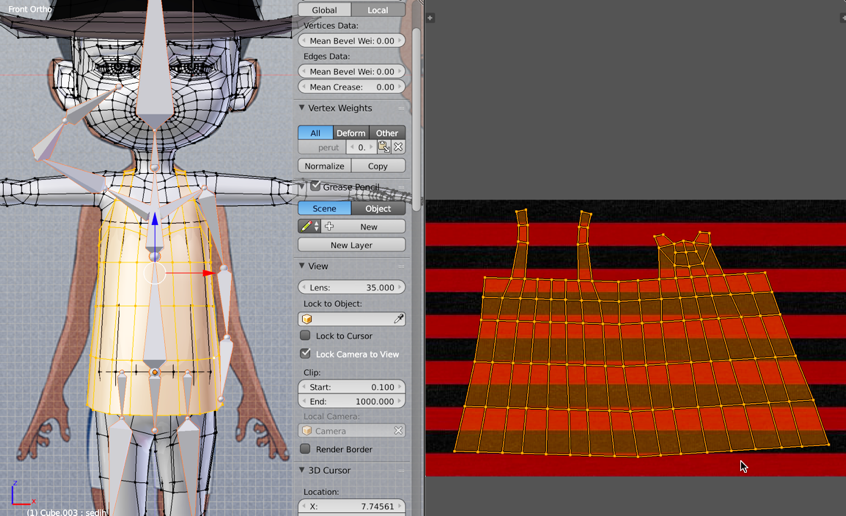
Seams are edge cuts inserted into a mesh during UV mapping to help it unfold, flattening out into a 2D space for the purpose of texture assignment. This process is achieved in 3D modeling software, but the cuts it makes are highly important for properly unfolding a model and getting it to look as intended inside Unity. An edge is classified as a seam in UV space when it has only one neighboring face, as opposed to two. Essentially, the seams determine how a mesh's UVs are cut apart into separate UV shells or UV islands, which are arranged into a final UV layout. This layout maps a texture onto the mesh surface, as follows:
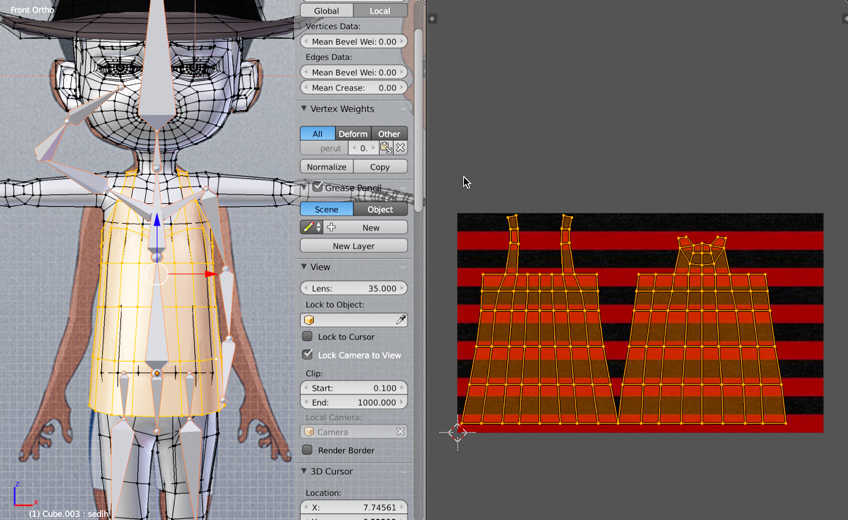
Always minimize UV seams where feasible by joining together disparate edges, shells, or islands, forming larger units. This is not something you do in Unity, but in your 3D modeling software. Even so, by doing this, you potentially reduce the vertex count and complexity of your mesh. This leads to improved runtime performance in Unity. This is because Unity must duplicate all vertices along the seams to accommodate the rendering standards for most real-time graphics hardware. Thus, wherever there are seams, there will be a doubling up of vertices, as shown here:
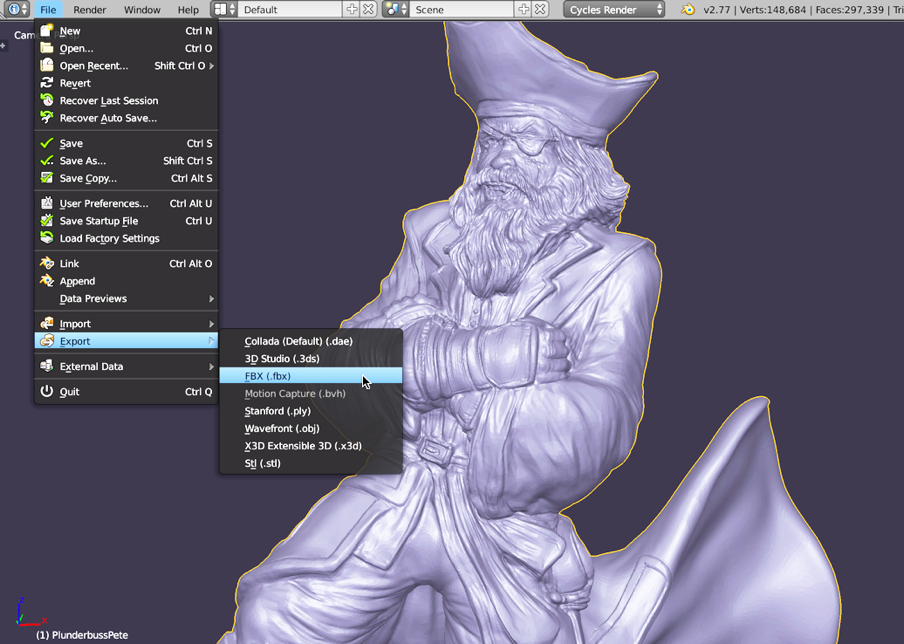
Meshes - Export as FBX
Unity officially supports many mesh import formats, including .ma, .mb, .max, .blend, and others. Details and comparisons of these are found online at: http://docs.unity3d.com/Manual/3D-formats.html. Unity divides mesh formats into two main groups: exported and proprietary. The exported formats include .fbx and .dae. These are meshes exported manually from 3D modeling software into an independent data-interchange format, which is industry recognized. It's feature limited, but widely supported. The proprietary formats, in contrast, are application-specific formats that support a wider range of features, but at the cost of compatibility. In short, you should almost always use the exported FBX file format. This is the most widely supported, used, and tested format within the Unity community and supports imported meshes of all types, both static and animated; it gives the best results. If you choose a proprietary format, you'll frequently end up importing additional 3D objects that you'll never use in your game, and your Unity project is automatically tied to the 3D software itself. That is, you'll need a fully licensed copy of your 3D software on every machine for which you intend to open your Unity project; this is annoying:
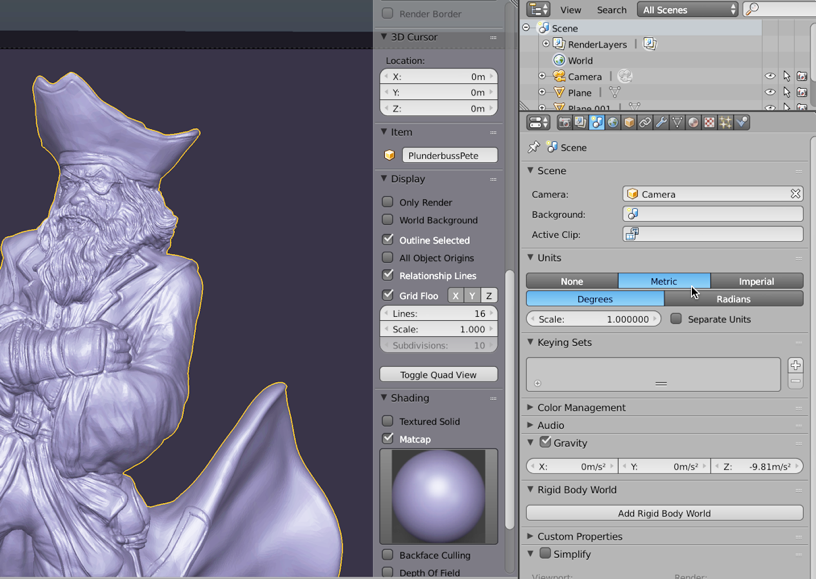
Meshes - Use meters scale (metric)
Unity measures 3D space using the metric system, and 1 world unit is understood, by the physics system, to mean 1 meter. Unity is configured to work with models from most 3D applications using their default settings. However, sometimes your models will appear too big or small when imported. This usually happens when your world units are not configured to metric in your 3D modeling software. The details of how to change units varies for each piece of software, such as Blender, Maya, or 3Ds Max. Each program allows unit customization from the Preferences menu:
Textures - Never use lossy compression
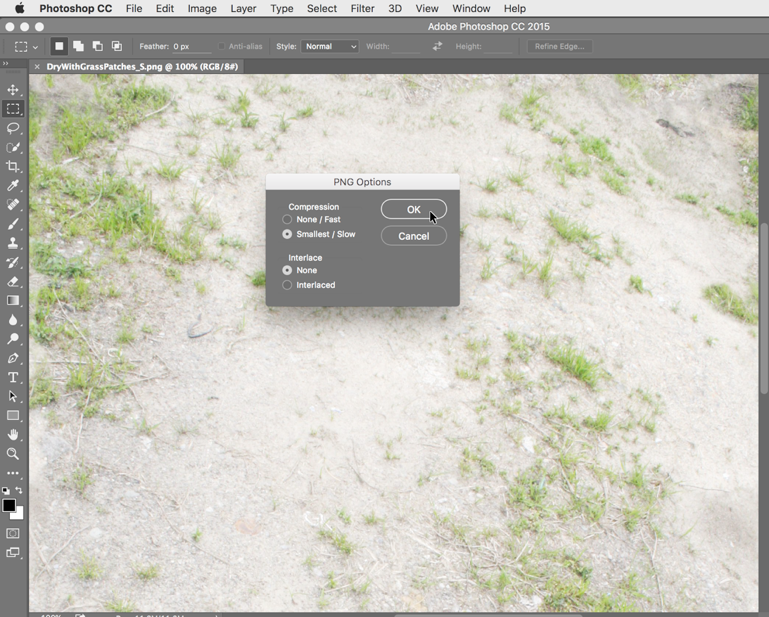
Always save your textures in lossless formats, such as PNG, TGA, or PSD; avoid lossy formats such as JPG, even though they're typically smaller in file size. JPG may be ideal for website images or for sending holiday snaps to your friends and family but for creating video game textures, they are problematic--they lose quality exponentially with each successive save operation. By using lossless formats and removing JPG from every step of your workflow (including the intermediary steps), your textures can remain crisp and sharp:
Textures - Power of 2 sizes
If your textures are for 3D models and meshes (not sprites or GUI elements), then make their dimensions power-2 size for best results. The textures needn't be square (equal in width and height), but each dimension should be from a range of power-2 sizes--though some target platforms and situations make this a requirement. Valid sizes include 32, 64, 128, 256, 512, 1024, 2048, 4096, and 8192. Sizing textures to a power-2 dimension helps Unity scale textures up and down as well as copy pixels between textures as needed, across the widest range of graphical hardware:
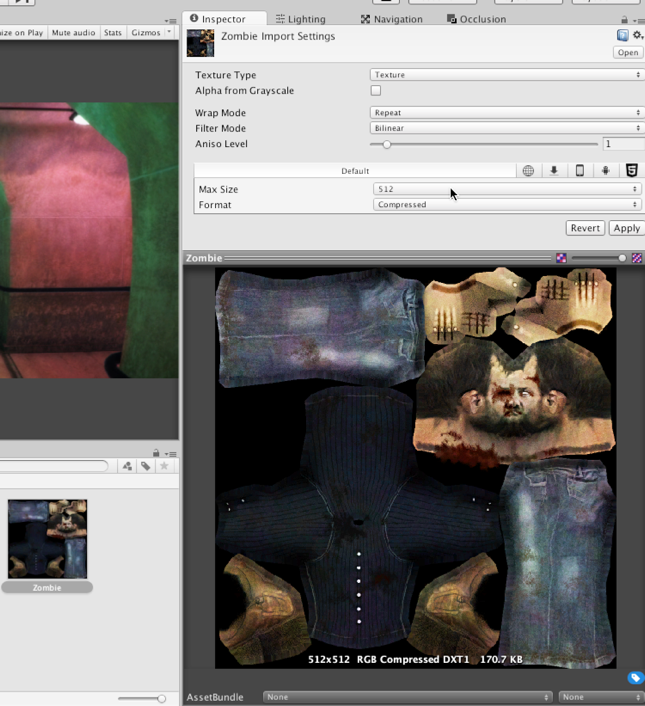
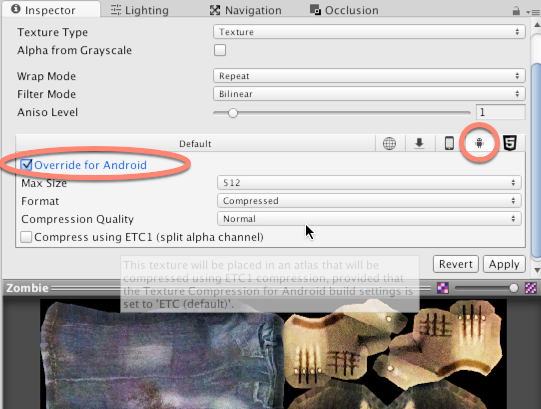
When creating textures, it's always best to design for the largest possible power-2 size you'll need (as opposed to the largest possible size allowed), and then to downscale wherever appropriate to smaller power-2 sizes for older hardware and weaker systems, such as mobile devices. For each imported texture, you can use the Unity platform tabs from the Inspector object to specify an appropriate maximum size for each texture on a specific platform: one for desktop systems, one for Android, one for iOS, and so on. This caps the maximum size allowed for the selected target on a per-platform basis. This value should be the smallest size that is compatible with your artistic intentions and intended quality:
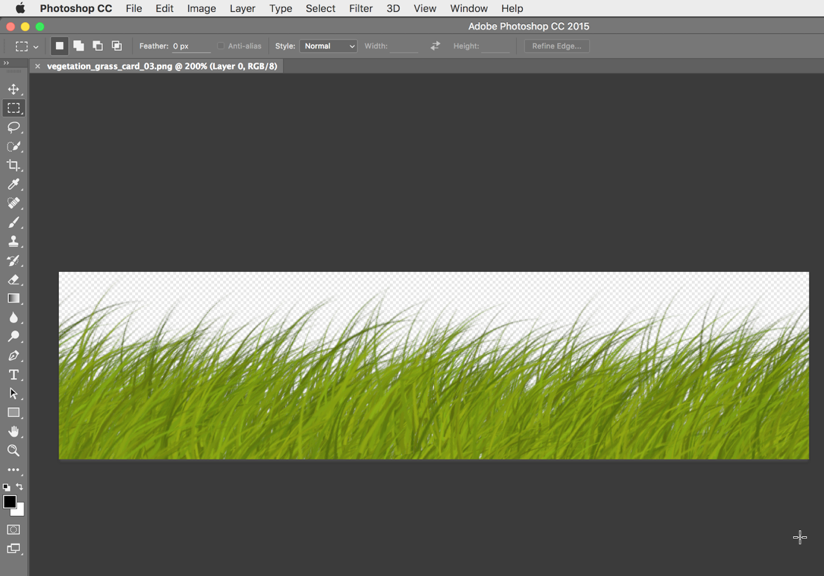
Textures - Alpha textures
Alpha textures are textures with transparency. When applied to 3D models, they make areas of the model transparent, allowing objects behind it to show through. Alpha textures can be either TGA files with dedicated alpha channels or PNG files with transparent pixels. In either case, alpha textures can render with artifacts in Unity if they're not created and imported correctly:
If you need to use alpha textures, ensure that you check out the official Unity documentation on how to export them for optimal results at: http://docs.unity3d.com/Manual/HOWTO-alphamaps.html.