The procedure for installing Blender varies with the operating system. Like most applications, installers for Microsoft Windows and Apple macOS are provided. Also, portable versions, such as archives that can be uncompressed and executed everywhere in the system, are available for Linux and Windows.
The version of Blender used in this book, 3.3, might differ from other versions already installed on the system. In that case, we can install different versions of Blender on the same machine.
Installing Blender on Windows
There are more ways to install a program on Microsoft Windows: Windows Installer, Microsoft Store, and using a portable archive. While most application publishers choose one of those options, all of them are available for Blender.
Installing multiple versions via Windows Installer
The most common way to install Blender on Windows is to download Windows Installer from Blender’s download page. Executing the downloaded .msi file installs Blender. Before Blender 3.4, only one of the multiple installed versions was available in the Start menu.
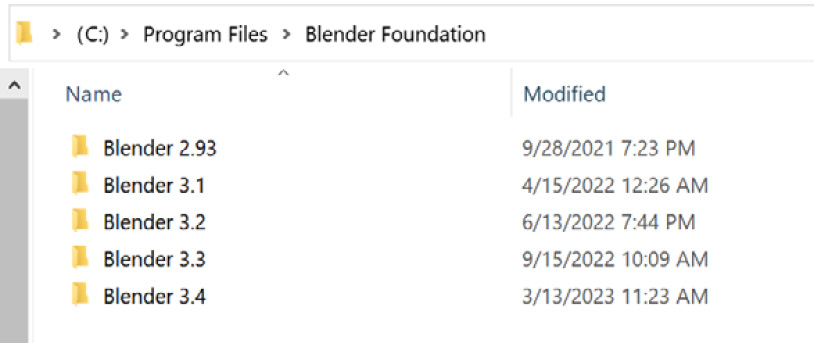
If that is the case for you, the other versions can be accessed by navigating to the Program Files folder, usually C:\Program Files\Blender Foundation, using Windows Explorer.
We can execute blender.exe directly from the Blender 3.3 folder or use right-click > New > Shortcut in Windows Explorer and create a shortcut to it:
Figure 1.1: Multiple versions of Blender in Program Files
Alternatively, since version 3.3 is a Long-term Support version, it is also available in the Microsoft Store.
Installing Blender from the Microsoft Store
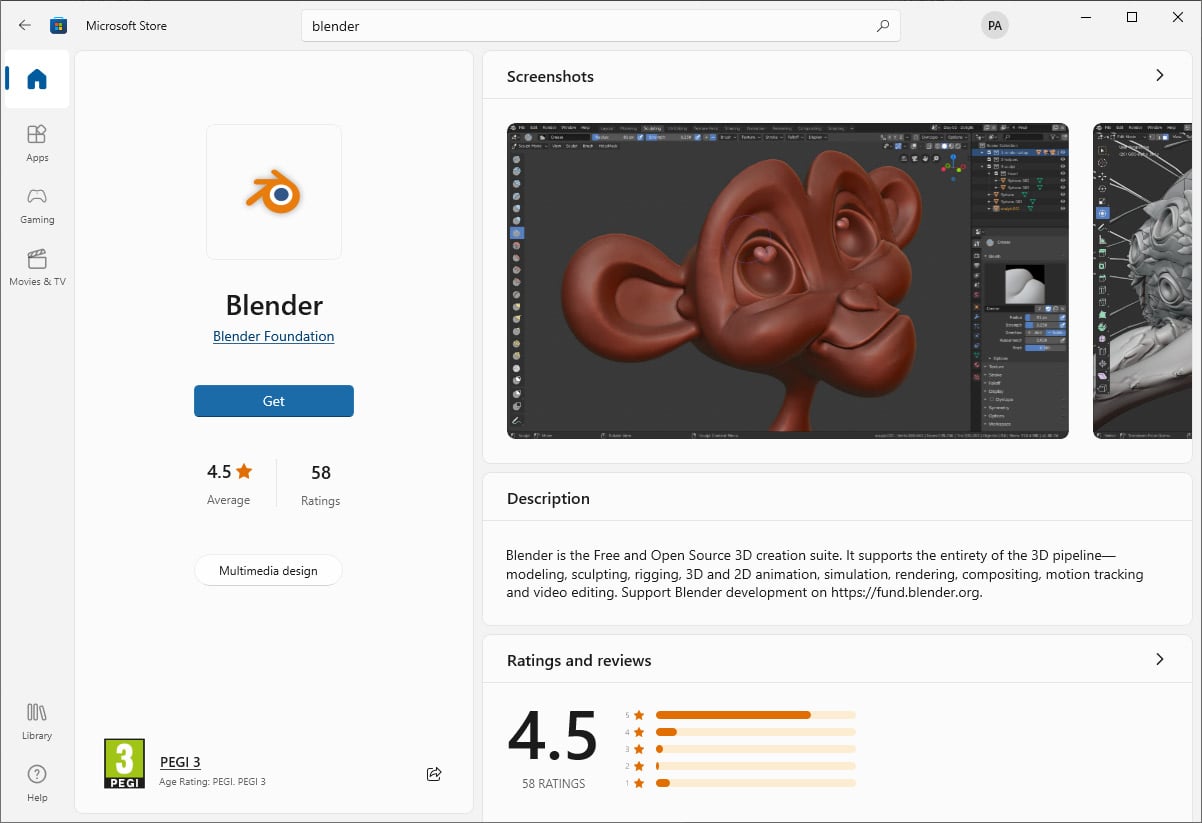
The download page of Blender 3.3 provides a link to the Microsoft Store installer. Alternatively, we can start Microsoft Store from the Start menu and look up blender in the top bar. Once we get to the Blender page, we make sure that it’s published by Blender Foundation and click the Get button:
Figure 1.2: Installing Blender from the Microsoft Store
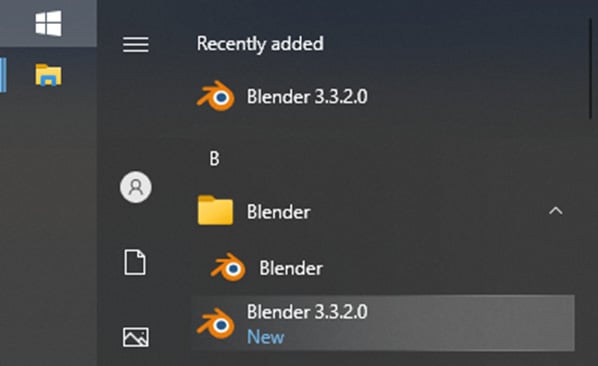
That will add a Blender 3.3 entry in the Start menu:
Figure 1.3: Multiple versions in the Start menu
Microsoft Store gives the advantage of always adding a shortcut for the installed version. If, for some reason, Microsoft Store is not an option, we can download a portable archive.
Downloading a portable archive
To avoid any application packaging, we can download a Windows portable .zip file, or a Linux .tar.xz archive.
Portable versions can be used from any location of the system, even removable drives. We only need to extract the archive in a directory of choice via right-clicking -> Extract in the file manager and then executing the blender.exe or blender executable in the unpacked folder.
Installing multiple versions on macOS
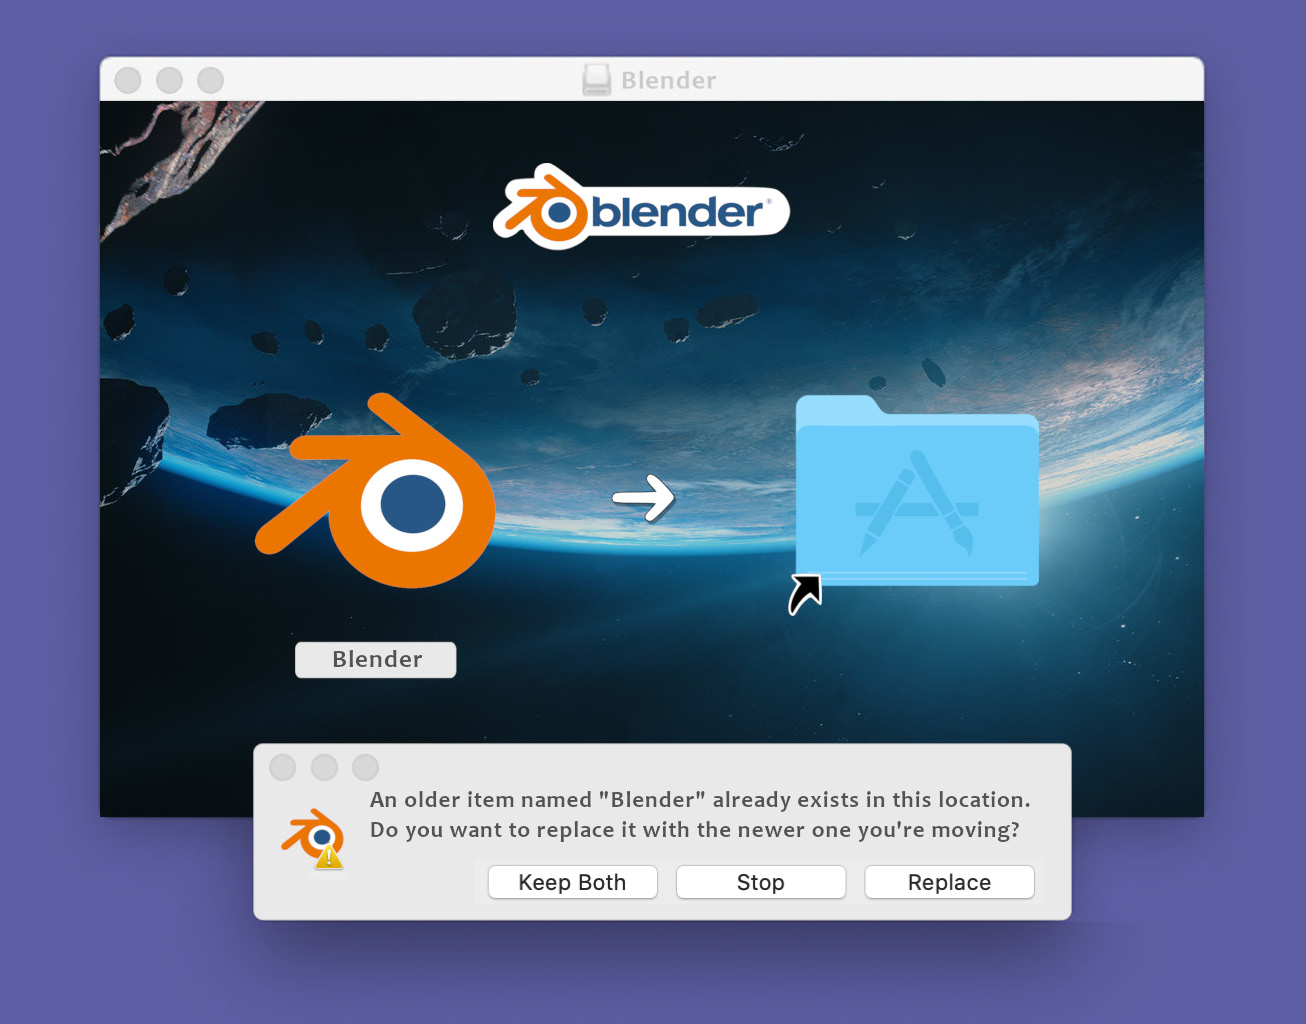
We can download the .dmg packages for Apple Intel or Apple Silicon computers. Once downloaded, double-clicking the file will open the installer window. If another version of Blender is already present in the system, a prompt dialog will ask whether we want to keep both or replace the installed version with the new one.
Selecting Keep Both will install the new version as Blender 2. The digit depends on the installation order and doesn’t reflect the actual version of Blender. We can rename it Blender 3.3 using right-click -> Rename on the Application entry in the file manager:
Figure 1.4: Installing an additional version of Blender on macOS
There are many other ways to install Blender: a link to stores such as Steam (Windows, macOS, or Linux) or Snapcraft (Linux only) is provided on the download page, not to mention the package manager of Linux distribution (apt on Ubuntu, yum on CentOS, and so on). It is worth mentioning that it is possible to build Blender from the source code, but that’s an advanced topic beyond the scope of this book.
While this book sticks to version 3.3, the examples should work on future releases of the 3.x series with minor corrections at worst.
A future major release, such as Blender 4 or 5, is almost guaranteed to break compatibility with past scripts. Still, the knowledge from this book about best practices and thought patterns will stand the test of time.
Now that we have installed Blender on our system, we can dive into its scripting capabilities.



 Free Chapter

