

Introduction to the brush studio panel
Fundamentally, our exploration of brushes should begin with the studio panel that houses the brushes, so we will start by exploring the Brushes panel. The Brushes panel is a Studio panel that can be accessed by going to View | Studio.
Make sure the check is next to Brushes – if it is not checked, check it.
This is the Brushes panel, and it is your gateway to the various brushes that you have in Affinity Photo that you can use to add visual interest to your art.
Now that we have the Brushes panel present, let’s learn how to read the panel and dive into exactly what it is telling us.
Reading the Brushes panel
The Brushes panel is divided into a few areas. These three areas can be seen in Figure 9.1 and are coded by number:
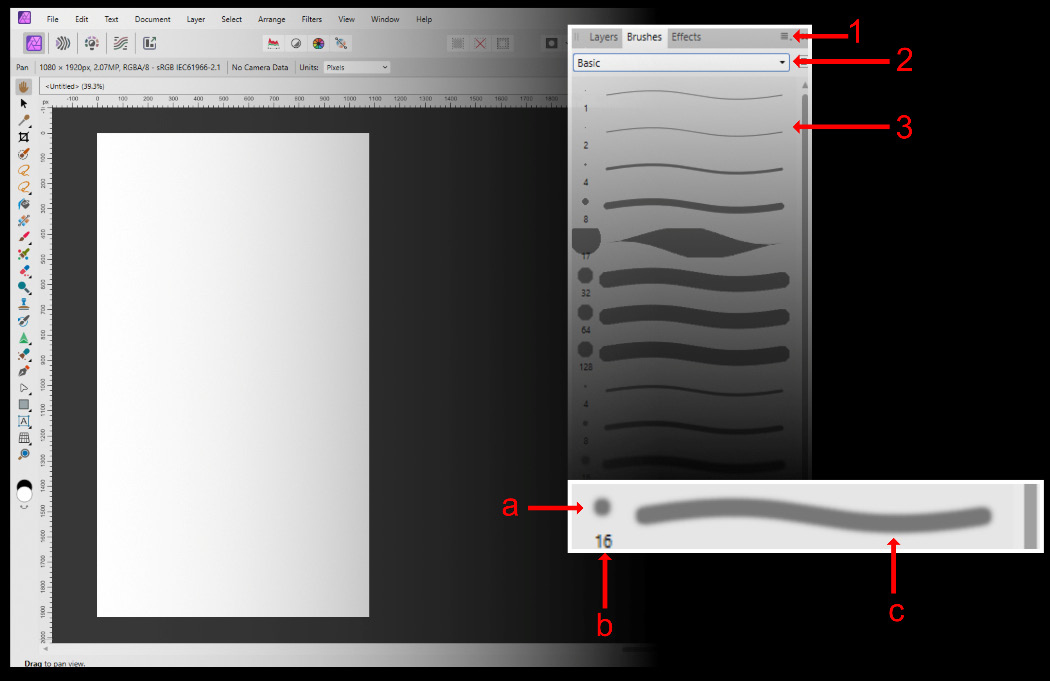
Figure 9.1 – The Brushes panel
Let’s explore this menu in more detail:
- (1): The menu for the Brushes panel: