

Understanding layers
All digital art programs are based on a concept called layers, and all digital art comes from a unique combination of layers. Think of layers like sheets of paper, so these sheets are stacked on top of one another to form the image.
Layers are handled in Affinity Photo in the Layers studio tab (see Figure 3.1). Remember, if you do not have this panel, you can turn it on by going to Window | Studio and then checking the box next to the Layers panel. This will most likely place it on the right-hand side of the screen (as shown in Figure 3.1). I am going to click and drag my Layers panel out of the studio and place it in the workspace for ease of viewing during this book (if you want to follow along, just click and drag it out into the workspace):
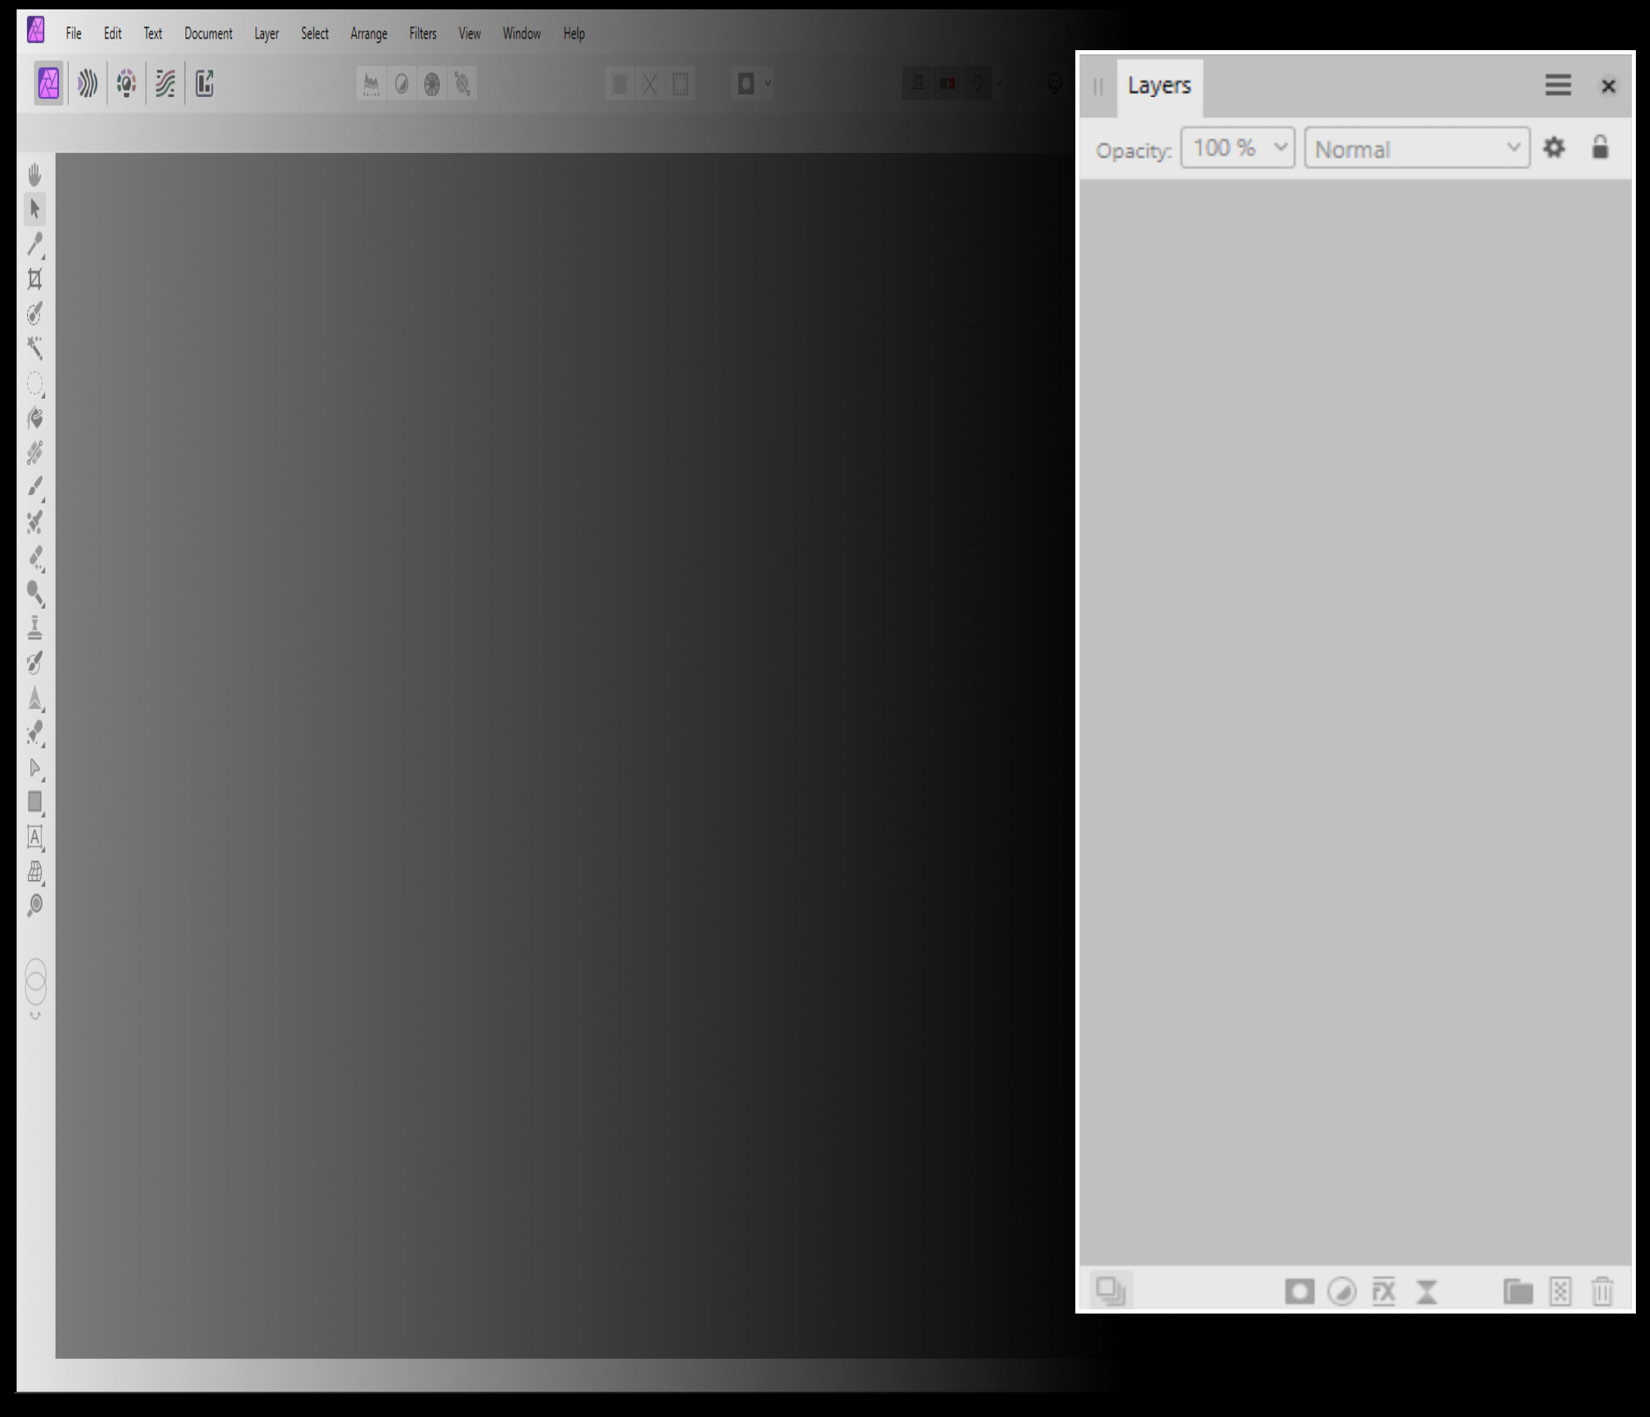
Figure 3.1 – Studio overview
Let’s begin by opening a new document. I am going to open up our first downloadable image (refer to Figure 3.1). I am going to go to File | Open...