

Applying the pillars
As a practical example, let’s look at Figure 7.1 and see if we can use the three pillars mentioned in the previous section.
This untouched image is available as a download for this chapter so that you can follow along (the name of the image is Atmospheric Perspective image.JPG; go ahead and download it to get started with the steps). We will only use four steps in this edit to illustrate the concepts, but notice how we use the concept of masking using a gradient from previous chapters.
The flow is simple. Figure 7.1 shows the completed image side by side. (Can you spot the three pillars in the application?) Notice the increased sharpness of the petals closest to the foreground:
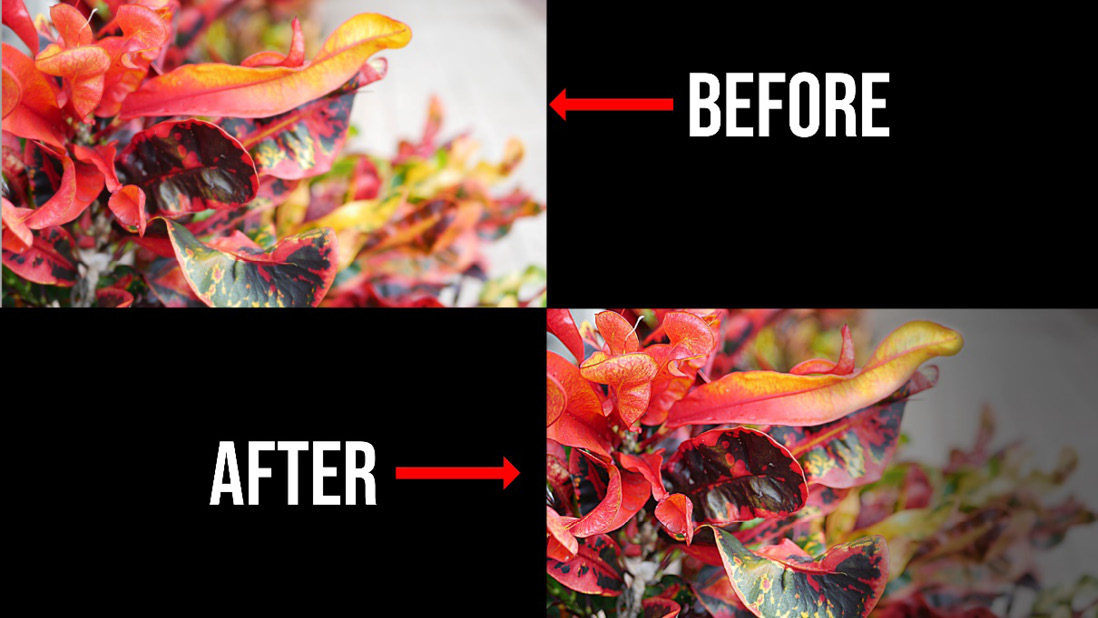
Figure 7.1 – The three pillars applied to an actual edit
Let’s get started with the steps, where I will tell you how I achieved the result shown in Figure 7.1.
A practical edit walkthrough for the workflow
Figure 7.2 shows my...