

Getting to know Adobe Learning Manager
By default, you should be logged in as an administrator. This is indicated at the top of the screen, as shown in the following screenshot:
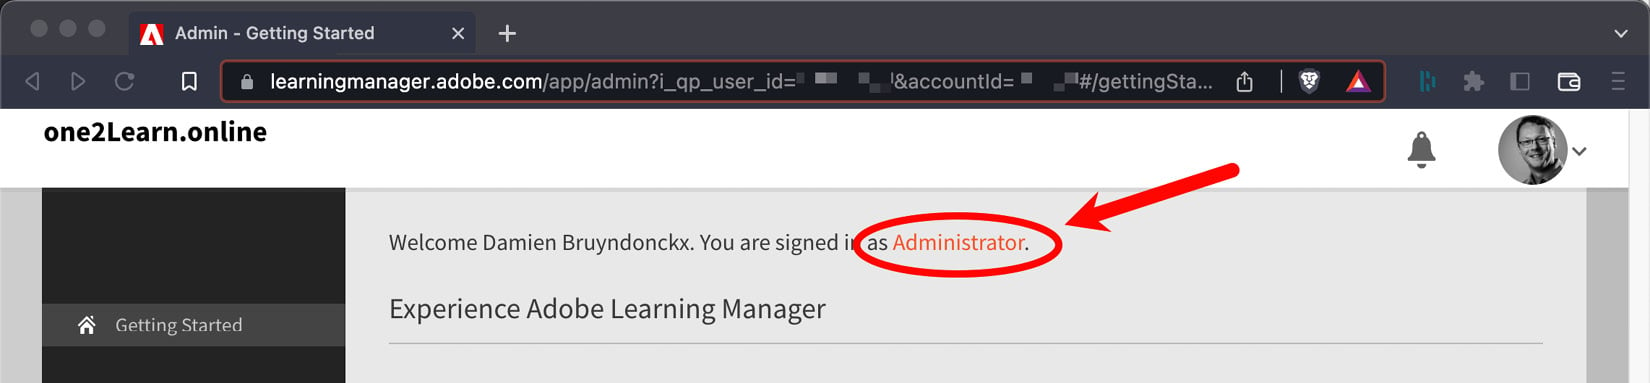
Figure 1.2 – By default, you are signed in as an administrator
The Adobe Learning interface is divided into three main areas:
- The header, across the top of the screen, shows the name of your ALM account on the left and an icon for your user profile on the right. Also, notice the bell-shaped notification icon.
- The dark sidebar on the left-hand side of the interface contains links to the various areas of the system.
- Finally, the main content area displays the most common activities of an ALM administrator. From there, you can create courses, add users, manage skills, and view reports. These activities are the most common administrative tasks. They can also be accessed through the dark sidebar on the left.
Now, let’s review the main settings of your new ALM account.
Modifying your user profile
Before going any further, you must take your first steps into customizing your Learning Manager user profile:
- Click the user profile icon located in the upper-right corner of the screen.
- In the drop-down menu, select Profile Settings.
This opens a dialog box containing your main profile settings. From here, you can customize your user profile. You can also choose your time zone, which is particularly useful when you’re scheduling or attending live training events.
But the most important features of this dialog box are the two language choices that it allows you to make:
- Interface Language defines the language of the ALM application itself.
- Content Language lets you define the default language of the content that will be delivered to you. This can be different from the interface language.
In Chapter 3, Uploading Learning Content and Managing the Content Library, you will learn how to deploy several language versions of the same course module. The language version of a course depends on the Content Language choice the user has made in the Profile Settings dialog box.
Let’s take the following screenshot as an example:
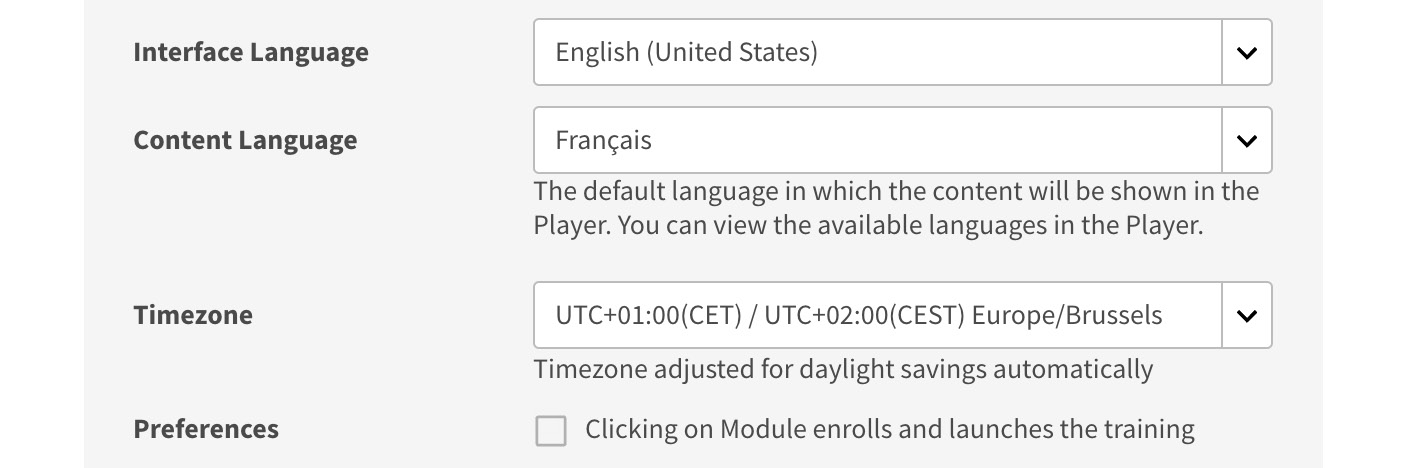
Figure 1.3 – Interface Language and Content Language in the Profile Settings dialog
In the preceding screenshot, Interface Language has been set to English (United States). This means that, for that user, the Learning Manager application is displayed in American English.
Content Language has been set to French (Français is the French word for… French). This means that, when this particular user takes a course, the course content will be displayed in French by default (providing, of course, that a French version of the course module is available). If a French version of the course is not available, Learning Manager falls back to the default language of the account.
Another important feature of the Profile Settings dialog is the Download My Learning Transcript (XLS) link at the bottom of the box. This feature allows each user to download an Excel worksheet containing their personal learning data.
Changing the default language of your account
In the previous section, you learned that Learning Manager distinguishes the interface language (the language of the application) from the content language (the default language of the course modules delivered to the user). You also learned that if the chosen language version of a course does not exist, Learning Manager falls back to the default language of the account. So, in this section, you’ll learn how to choose the default language of your ALM account using the following steps:
- Make sure you are logged in as an administrator, that the Profile Settings dialog box is closed, and that you are on the administrator home page.
- Scroll down to the bottom of the page and click the Settings link located at the very bottom of the left column, as illustrated in the following screenshot:
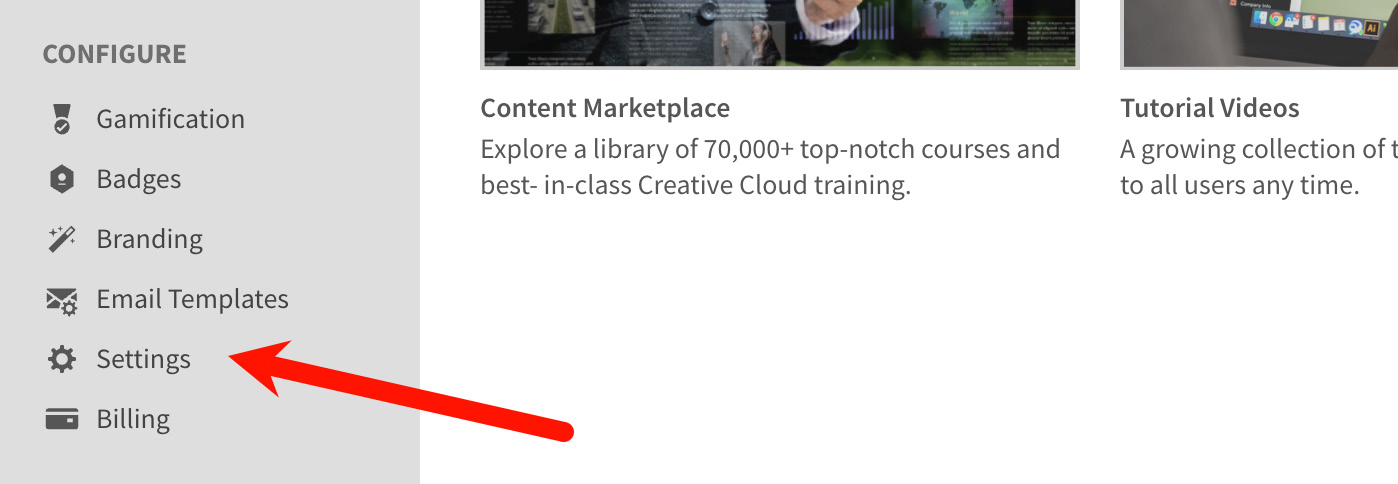
Figure 1.4 – Click the Settings link near the bottom of the left column
This takes you to the Basic Info page. Notice that the content in the left column has changed. Also, notice the Back link at the very top of the left column, which takes you back to the previous screen.
- Click the Change link located in the upper-right corner of the Basic Info area.
- To change the default language, open the Locale drop-down and choose the appropriate default language.
- Click the Save button located in the bottom-right corner of the Basic Info form to save your changes and return to the previous screen.
Take some time to read the Language Change Confirmation message. This message should be displayed both in the old and new language. It clearly states that each user can override the default platform language using their Profile Settings.
- Click the OK button to discard the Language Change Confirmation message.
After ALM automatically reloads, the new language should be applied to the system. Note that if you have changed Interface Language in your Profile Settings, the language that’s used is the one of your profile, not the default language of the platform that you just changed.
- Click the Change button in the upper-right corner of the Basic Info area again.
Take some time to review the other Basic Info properties that can be changed on this page. The Timezone property you choose here is the default time zone of the system. Remember that this is yet another setting that each user can override via their Profile Settings:
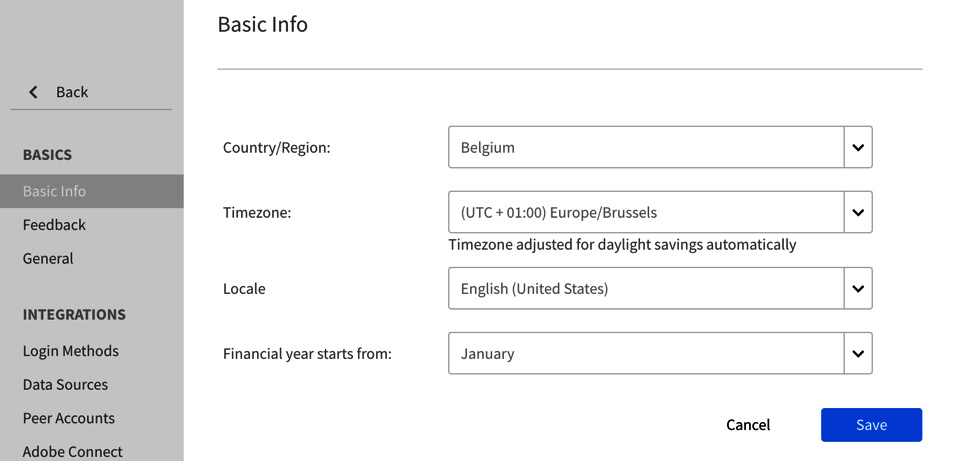
Figure 1.5 – Review the Basic Info properties that can be changed on this page
For the remainder of this book, it is assumed that English (United States) is the default locale of your account. It is also assumed that your admin profile uses English (United States) as both Interface Language and Content Language.
- If necessary, revert to English (United States) for the default locale of the platform, as well as for the default languages of your user profile.
- Make sure you return to the administrator home page before moving on to the next section.
With that, you have examined the options that are available in your user profile, as well as the basic information of your Learning Manager account.
Understanding the main roles
You are currently logged in as an administrator. The main tasks of an ALM administrator are those visible in the top section of the administrator home page:
- Creating courses
- Adding users
- Managing skills
- Viewing reports
In addition to these basic administrative tasks, the administrator is also responsible for maintaining the platform as a whole. Take a look at the links available in the left column to get a better idea of the tasks that fall under the responsibility of an account administrator.
Note that creating course content, managing student activities, grading students, and more are not part of the tasks available to administrators. These tasks are assigned to other types of users in the system.
Let’s take a quick look at the other roles available by default in Adobe Learning Manager:
- Click the user profile icon located in the upper-right corner of the interface.
In the menu that opens, take note of the four roles available by default in Adobe Learning Manager. You are currently logged in as an administrator, as shown in the following screenshot:
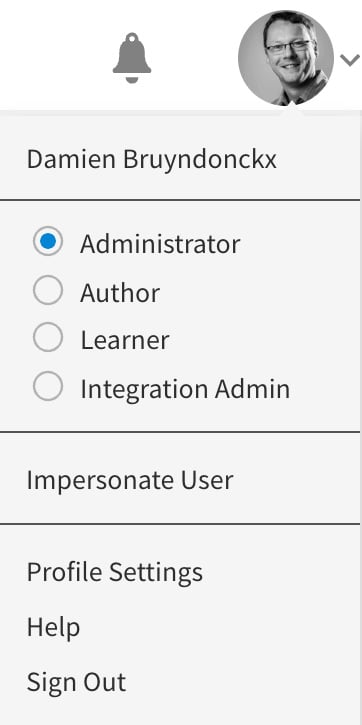
Figure 1.6 – The four default roles that are available in Learning Manager
Now, let’s explore the other three roles one by one.
- Click Author in the opened menu. When Learning Manager reloads, you are logged in as an author, as indicated in the welcome message at the top of the main area.
The upper portion of the main content area displays the two basic tasks devoted to an ALM author: Creating Content and Creating Courses.
Notice that the links available in the left column are not the same as those that were available when you were logged in as an administrator. Take some time to inspect the available links to get a better idea of the tasks assigned to an ALM author.
Now, let’s explore the Learner role.
- Click the user icon located in the upper-right corner of the screen.
- In the menu that opens, choose the Learner role.
When Learning Manager reloads, you discover the default learner experience provided by Adobe Learning Manager. This is a very important area of ALM as this is where most users spend most of their time.
Take good note of the areas available on the learner home page. In Chapter 2, Customizing the Look and Feel of Adobe Learning Manager, you will learn how to customize this home page.
Also, notice the course recommendations available at the bottom of the learner home page. These are powered by Adobe’s own AI technology called Adobe Sensei. You will explore the AI-powered features of ALM in more detail in Chapter 13, AI-Powered Recommendations for Learners.
Now, let’s explore the last default role of Adobe Learning Manager.
- Click the user icon located in the upper-right corner of the screen one more time.
- In the menu that opens, choose the Integration Admin role.
In Learning Manager, the Integration Admin is responsible for connecting your account to the other IT systems used in the organization. The Integration Admin is usually a member of the IT department or a developer. Take some time to review the available connectors. Notice the Adobe Commerce, Adobe Connect, and Marketo Engage connectors, which we’ve already talked about. Also, notice the Azure ADFS connector, which allows you to connect ALM to your corporate Active Directory for user authentication.
- From the left column, click the Applications link.
This is where you can associate your account with Adobe Experience Manager – Sites.
You will explore the Integration Admin role in more detail in Chapter 16, Exploring the Integration Admin Role. But for now, let’s return to your default role of platform administrator.
- Click the user icon in the upper-right corner of the screen one last time.
- In the menu that opens, choose the Administrator role.
When the system reloads, you are back to the default Administrator home page.
In this section, we have briefly reviewed the four default roles available in Adobe Learning Manager.