

Testing the lobby
To test this out, we are going to run three instances of the game:
- Go to Debug | Run Multiple Instances and select Run 3 Instances.

Figure 3.3 – Choosing to run three instances in the Run Multiple Instances menu
- Then, open the
res://03.making-lobby-to-gather-players/MainMenu.tscnscene and hit the Play button. - Pick one of the instances to be the game’s server. To do that, just click on the Server button.
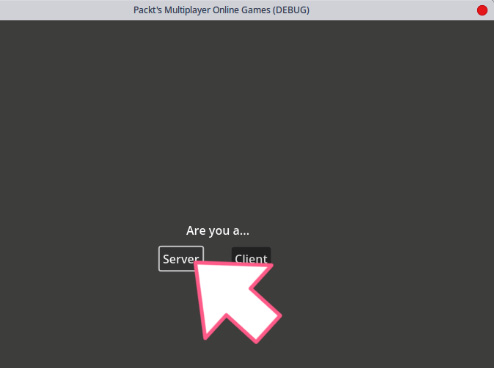
Figure 3.4 – Pressing the Server button on the MainMenu screen
- Now, pick another instance and click on the Client button. It will take you to the
LobbyLoginscreen, where you can enter the first fake player’s credentials. - Insert
user1in the username field andtestin the password field. These are the credentials we added toFakeDatabase.jsonfor our first user. Then, press the Login button. It will take you to theLobbyClientscreen with a single...