
Using brushes for retouching
We have already seen the flexibility of brushes in this chapter in terms of adding basic marks or painterly effects to images. However, brushes can also be used for retouching, and in the following exercise, you will create a snowflake brush and a stubble brush.
Creating a snowflake brush
Follow the steps given below:
- Go to File → Open and browse to the
10-Brushesfolder. SelectSnow.jpgandWinter.jpgand click Open. - With the document active, go to Edit → Define Brush Preset. Name it
Snowand click OK. Then, close the document.
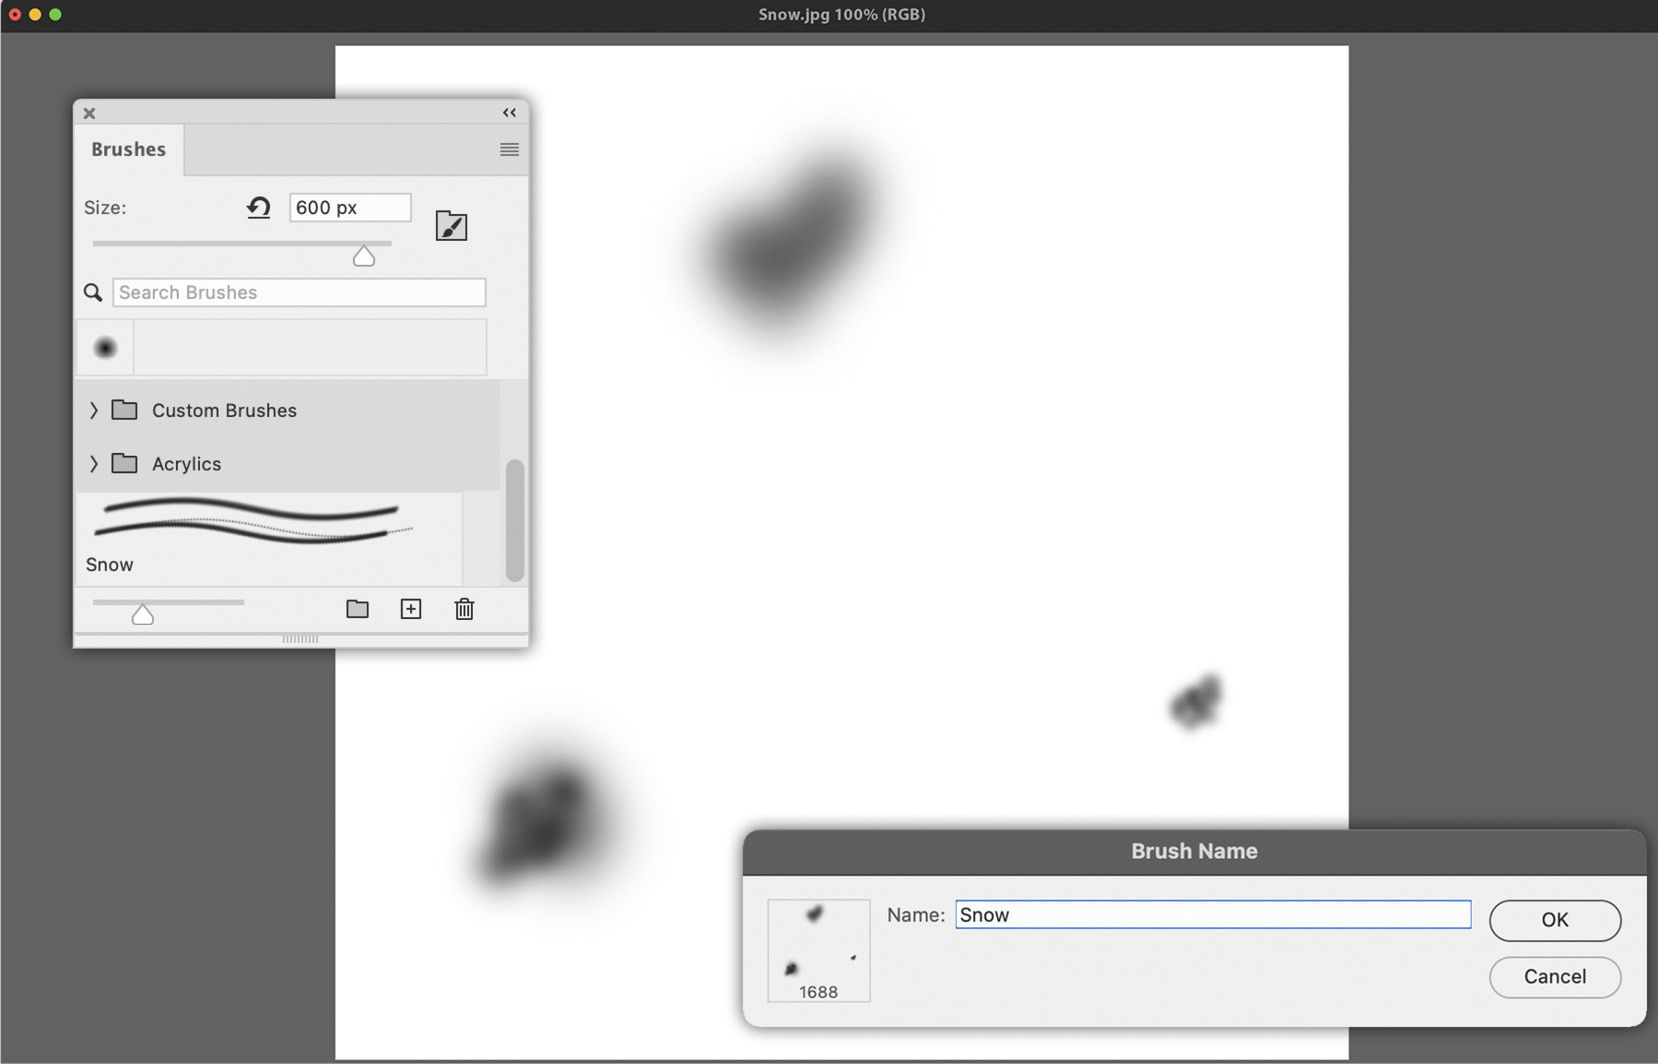
Figure 10.20: The initial snow brush after capturing from an image
- Click on the
Snowbrush, located at the bottom of the Brushes panel to make it active. Then, go to Window → Brush Settings. - Switch to the Brush tool from the Tools panel. Set the Blend Mode to Normal, Opacity to
100%, and Flow to85%.

Figure 10.21: The...