Book Image

Unreal Engine 5 Game Development with C++ Scripting

By : ZHENYU GEORGE LI
Book Image

Unreal Engine 5 Game Development with C++ Scripting

By: ZHENYU GEORGE LI

Overview of this book

Unreal Engine is one of the most popular and accessible game engines in the industry, creating multiple job opportunities. Owing to C++ scripting's high performance, advanced algorithms, and engineering maintenance, it has become the industry standard for developing commercial games. However, C++ scripting can be overwhelming for anyone without a programming background. Unreal Engine 5 Game Development with C++ Scripting will help you master C++ and get a head start on your game development journey. 
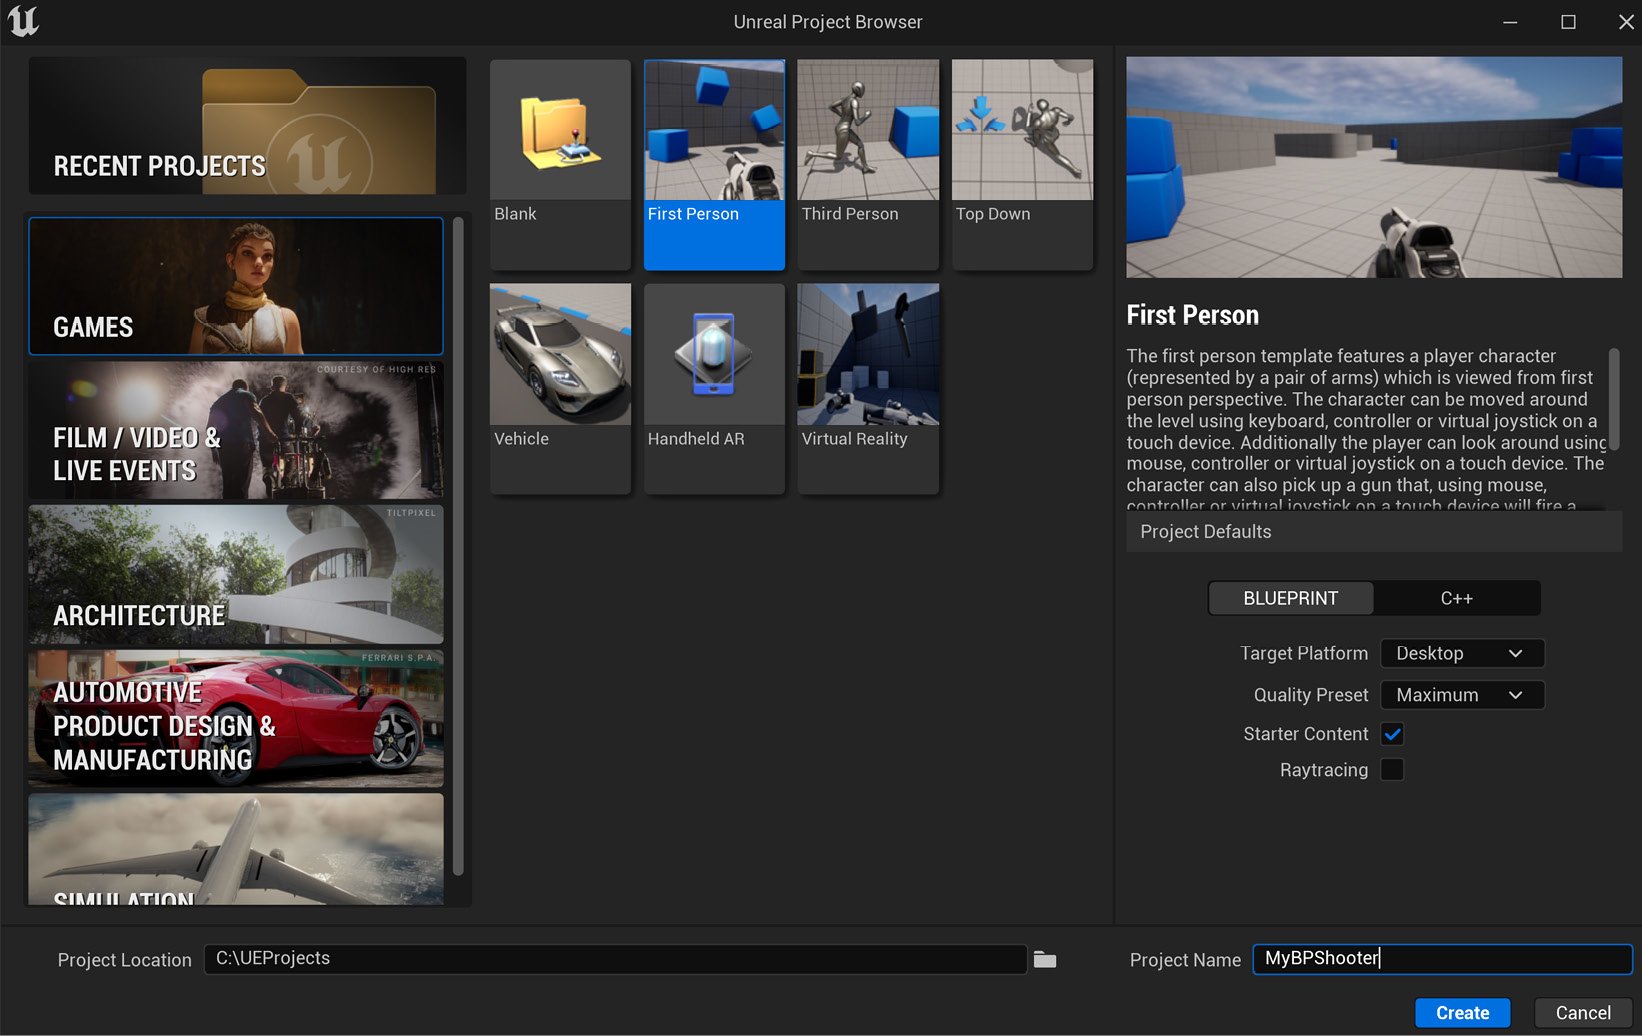
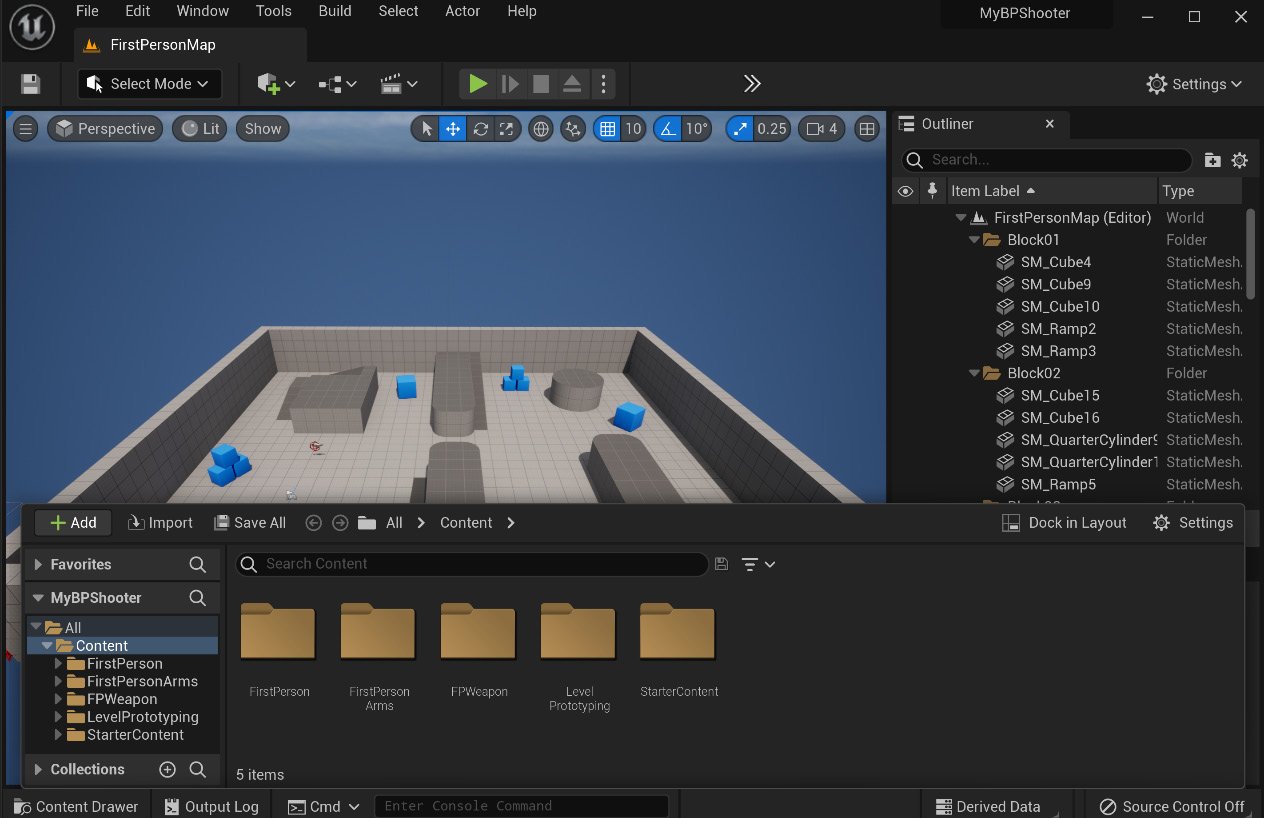
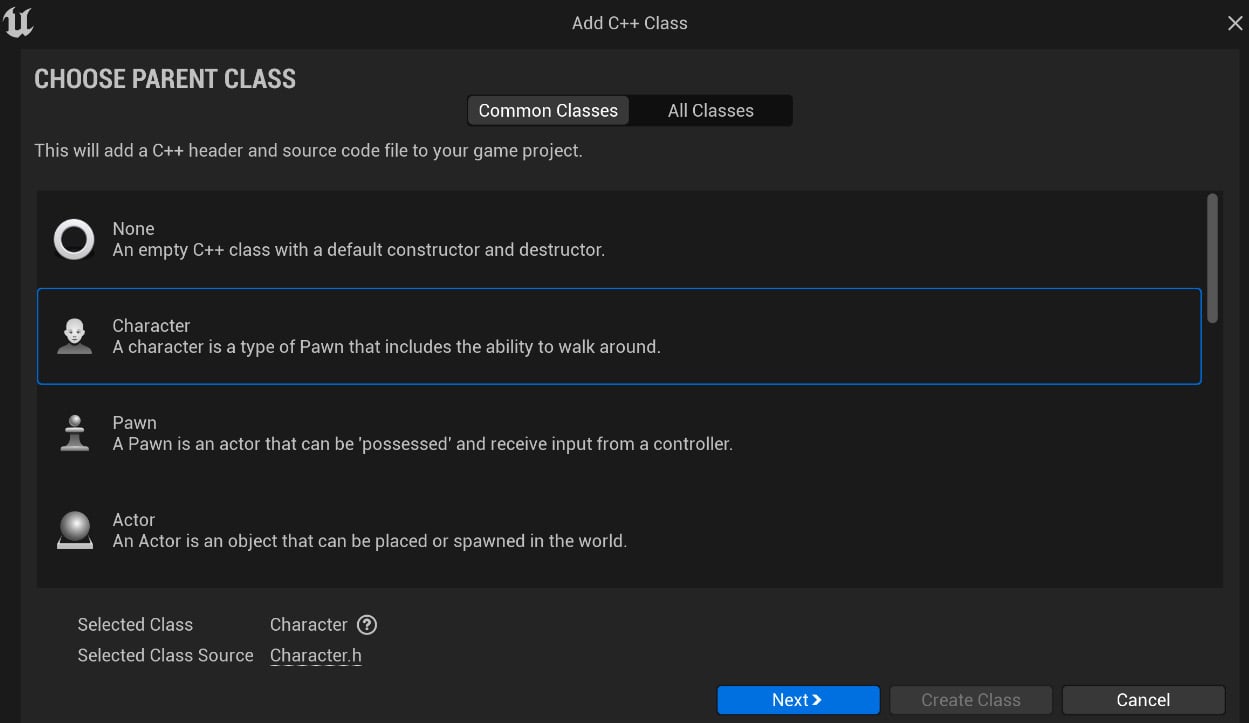
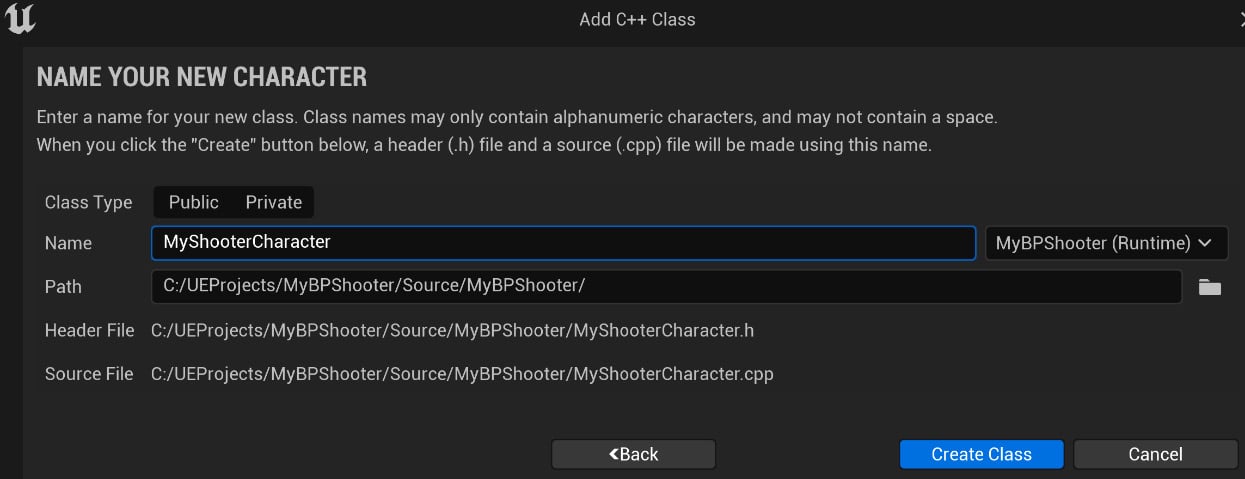
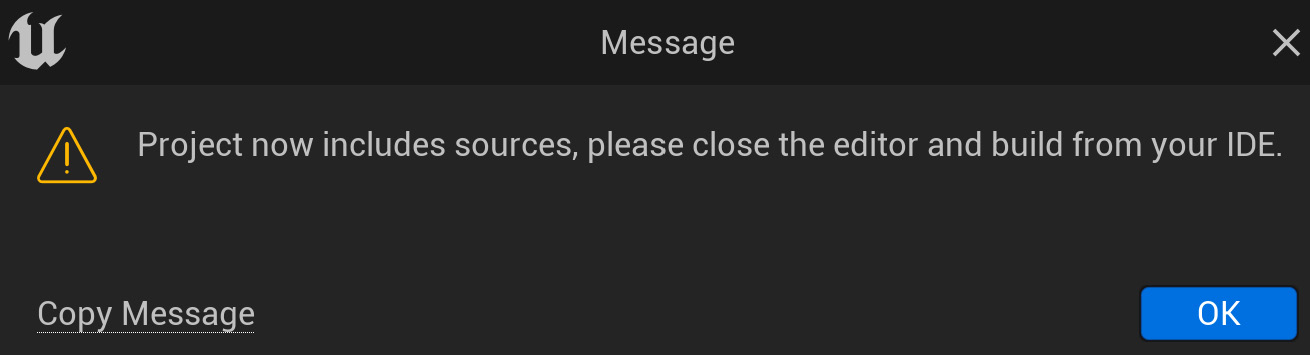
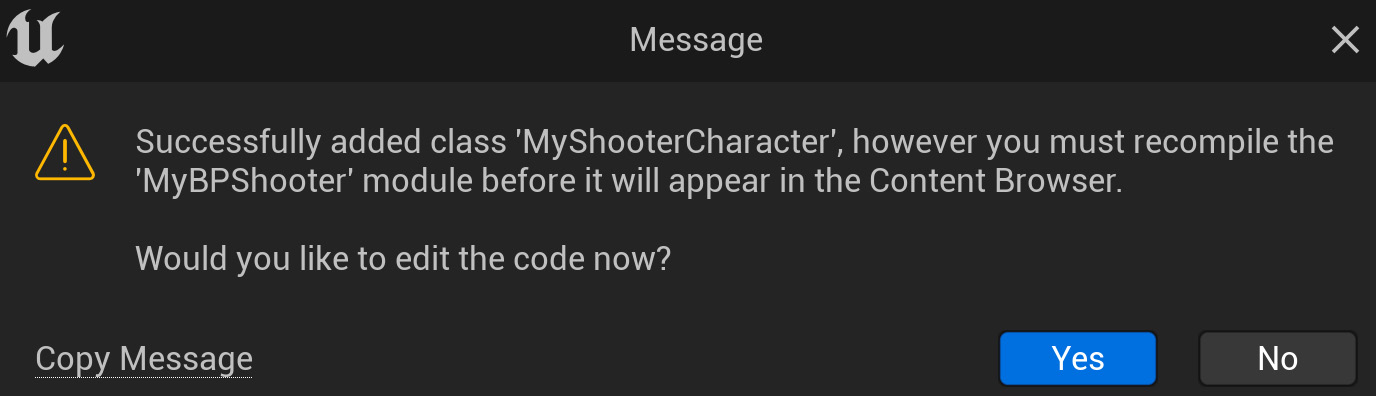
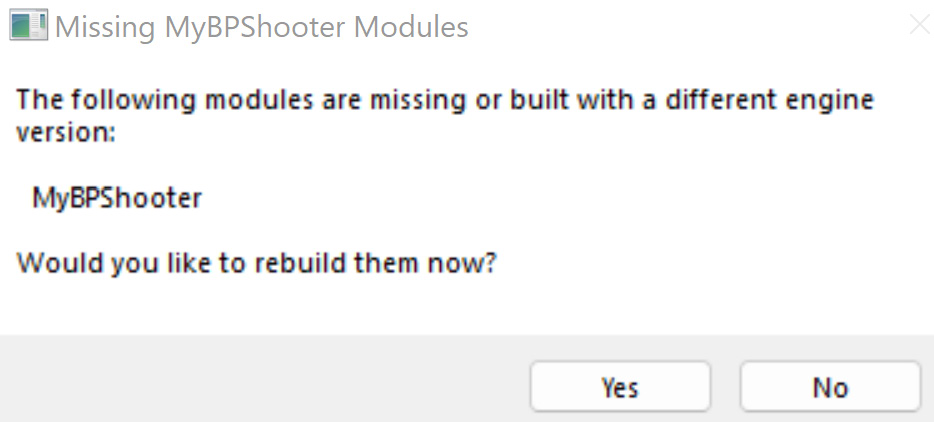
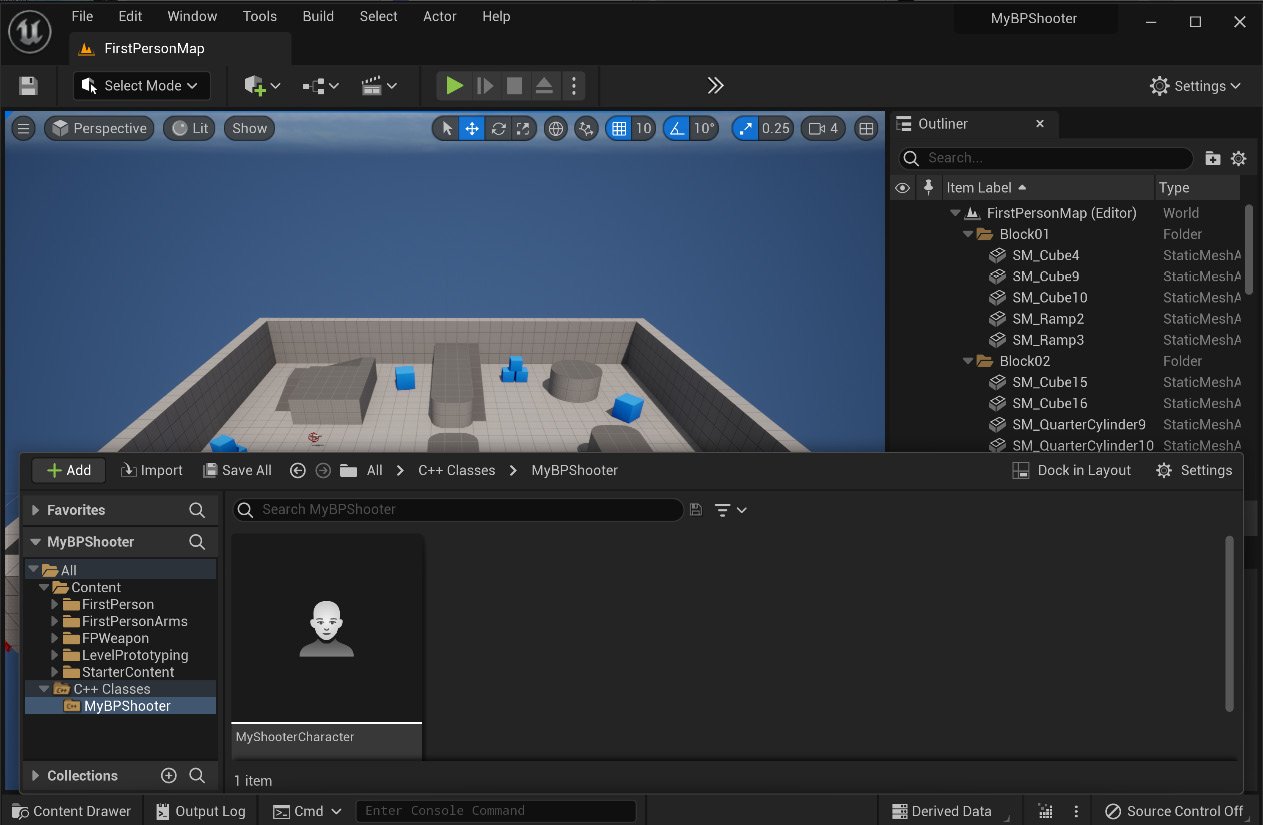
You’ll start by creating an Unreal Engine C++ project from the shooter template and then move on to building the C++ project and the C++ code inside the Visual Studio editor. You’ll be introduced to the fundamental C++ syntax and essential object-oriented programming concepts. For a holistic understanding of game development, you’ll also uncover various aspects of the game, including character creation, player input and character control, gameplay, collision detection, UI, networking, and packaging a completed multiplayer game. By the end of this book, you’ll be well-equipped to create professional, high-quality games using Unreal Engine 5 with C++, and will have built a solid foundation for more advanced C++ programming and game development technologies.
Table of Contents (18 chapters)
1
Part 1 – Getting Started with Unreal C++ Scripting
6
Part 2 – C++ Scripting for Unreal Engine
12
Part 3: Making a Complete Multiplayer Game

Converting an existing Blueprint project to a C++ project

UE provides a very straightforward way to convert an existing Blueprint project to a C++ project. All you need to do is add a C++ class to your project and then let UE take care of the conversion and add the needed project files:

  1. First of all, you have to create a Blueprint project, MyBPShoopter, under C:\UEProjects (you can choose a different path to create the new project). Use the same steps introduced in the Creating the MyShooter C++ project section, but choose BLUEPRINT instead of C++ for the creation of the MyBPShooter project.
Figure 1.12 – Creating MyBPShooter in UE5

Figure 1.12 – Creating MyBPShooter in UE5

  1. Secondly, open the new project in UE5. Pay attention to the project tree; it doesn’t have the C++ Classes node at this stage.
Figure 1.13 – Open MyBPShooter in UE5

Figure 1.13 – Open MyBPShooter in UE5

  1. Select Tools | New C++ Class from the editor’s main menu, and then, in the Add C++ Class window (see Figure 1.14), choose Character as the base class (a class that contains common attributes and methods that are shared by its derived classes) to create the MyShooterCharacter class.
Figure 1.14 – Adding a new C++ class from the Character class

Figure 1.14 – Adding a new C++ class from the Character class

Once you click the Next> button, it will navigate to the NAME YOUR NEW CHARACTER screen.

  1. On the NAME YOUR NEW CHARACTER screen, type MyBPShooterCharacter into the Name field.
Figure 1.15 – Adding the MyBPShooterCharacter C++ class

Figure 1.15 – Adding the MyBPShooterCharacter C++ class

Please pay attention to the path where the header and the source files will be placed. They look different from the MyShooter project because the C++ node hasn’t been created yet. Don’t worry about it at the moment. Once the conversion job is done, the system will automatically move the files to the right place.

  1. After clicking the Create Class button, you will see a progress bar.
Figure 1.16 – The MyBPShooterCharacter C++ class Adding code to project… progress bar

Figure 1.16 – The MyBPShooterCharacter C++ class Adding code to project… progress bar

Wait for the pop-up message, which indicates that the C++ class job has been added.

Figure 1.17 – A message saying that the MyBPShooterCharacter C++ class is now added

Figure 1.17 – A message saying that the MyBPShooterCharacter C++ class is now added

  1. Click the OK button. Now, you will see the message dialog, which asks you whether you want to edit the code (see Figure 1.18). Choose No here.
Figure 1.18 – Dialog for editing the MyBPShooterCharacter source code

Figure 1.18 – Dialog for editing the MyBPShooterCharacter source code

  1. Shut down your UE editor and reopen MyBPShooter. When you see a dialog that asks whether you want to rebuild the project, answer Yes here.
Figure 1.19 – The rebuilding MyBPShooter dialog

Figure 1.19 – The rebuilding MyBPShooter dialog

When it is done, you will find the new C++ Classes node on the project tree, and the MyShooterCharacter class is already placed in the MyBPShooter folder:

Figure 1.20 – The converted MyBPShooter C++ project

Figure 1.20 – The converted MyBPShooter C++ project

You may have noticed that some other files, such as MyBPShooterGameMode are missing, in comparison with the MyShooter project. That is because the Blueprint versions already exist, so the corresponding C++ versions are not automatically generated. You can choose to manually convert those blueprints to C++ classes only when necessary; otherwise, you just keep the blueprints.