
Now that we have an active Microsoft Office 365 account, we need to add a Dynamics CRM Online subscription.
Note
Dynamics CRM On-Premise deployments will integrate with Power BI using an Internet-facing deployment (IFD) configuration, but in this book, we will use the online version of Dynamics CRM.
To add Dynamics CRM Online to the Office 365 instance, perform the following steps:
Navigate to Purchase Services in Admin Portal and locate the Microsoft Dynamics CRM subscription offering.
In this book, we will use the Microsoft Dynamics CRM Online Professional 30-day trial.
Before users can connect to a Dynamics CRM Online instance, a license needs to be assigned to a user account. After you assign this license to the user account, you must also assign a security role so that the user can access your Dynamics CRM Organization. Here is how it's done:


Once the user role is assigned, you should now see the data in Dynamics CRM:
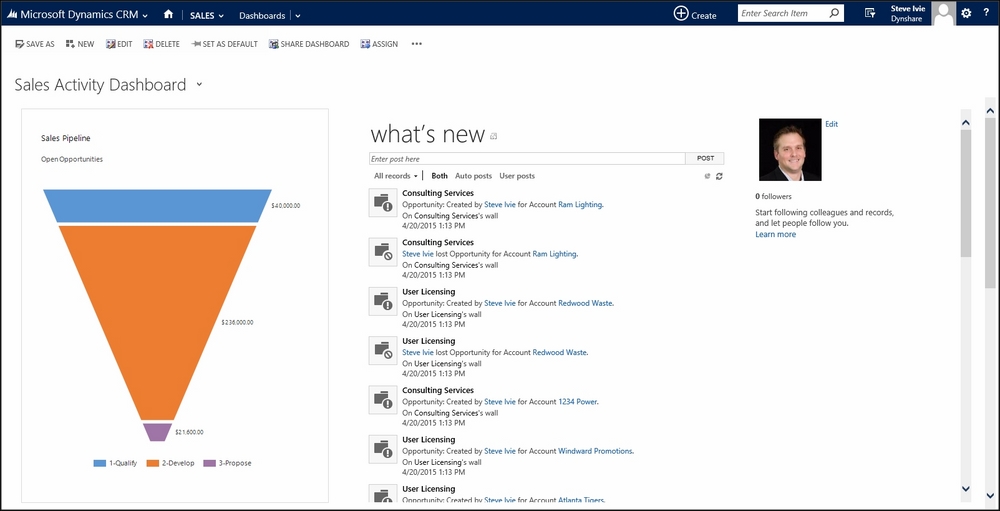
Data as seen in the Sales Activity Dashboard
In this book, we will build datasets for a sales productivity dashboard using data from Dynamics CRM the Lead, Account, Opportunity entities. To add the sample data, download the .csv files and import them into Dynamics CRM Online with the native import tool.
Here is how you import the sample data:
Download the sample
.csvfile fromContactLead.csv,Accounts.csv, andOpportunities.csv.Tip
You can download the sample files from your account at http://www.packtpub.com for all the Packt Publishing books you have purchased. If you purchased this book elsewhere, you can visit http://www.packtpub.com/support and register to have the files e-mailed directly to you.
In Dynamics CRM, open the import tool located under any list view:

Upload the sample
.csvfiles and begin the import: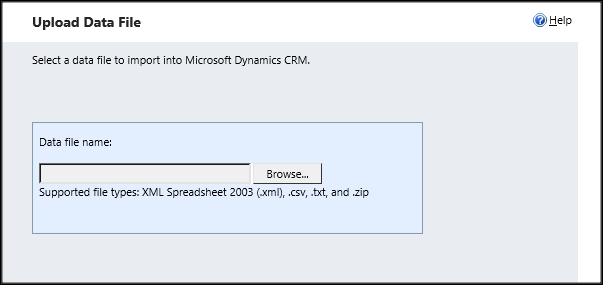
Dynamics CRM is a web-based application built on a set of web services. For this book, we will focus on the Organizational Data Service, using the Protocol OData (REST) protocol to connect Power BI to Dynamics CRM.
Here is how we locate the OData URL in Dynamics CRM to use with Power BI later:
In Dynamics CRM, select Setting | Customizations in the top navigation bar to access the Customizations area.
Once in the Customizations area, select Developer Resources and navigate to Organizational Data Service located at the bottom of the browser window:

In Developer Resources, scroll down to the bottom of the window and copy the OData (REST) URL link. This URL will be used later when you configure the Power BI connection:
