-
Book Overview & Buying

-
Table Of Contents

Hands-On Visual Studio 2022
By :
Hands-On Visual Studio 2022
By:
Overview of this book
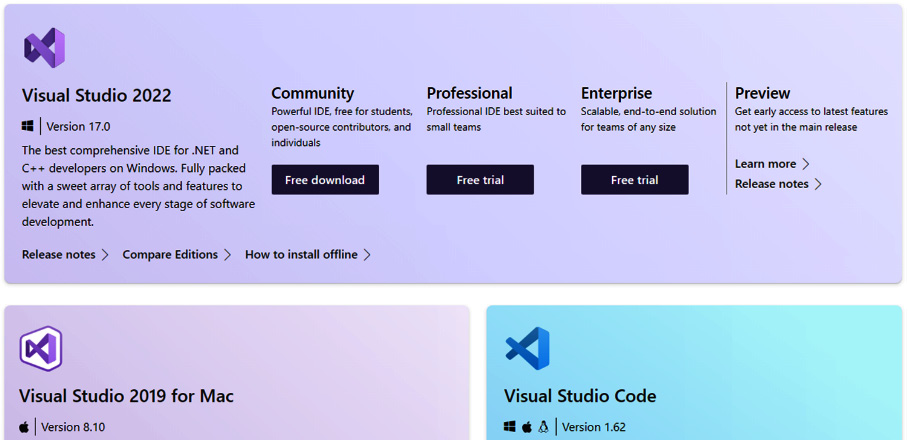
Visual Studio 2022 is the complete and ideal integrated development environment (IDE) for creating large, complex, and scalable applications. It is one of the most complete tools available for development, especially with Microsoft technologies.
This book will teach you how to take advantage of the tools available with this IDE to write clean code faster. You’ll begin by learning how to set up and start Visual Studio 2022 and how to use all the tools provided by this IDE. You will then explore key combinations, tips, and additional utilities that can help you to code faster and review your code constantly. Next, you will see how to compile, debug, and inspect your project to analyze its current behavior using Visual Studio. The book also shows you how to insert reusable blocks of code writing simple statements. Later, you will learn about visual aids and artificial intelligence that will help you improve productivity and understand what is going on in the project.
By the end of this book, you will be able to set up your development environment using Visual Studio 2022, personalize the tools and layout, and use shortcuts and extensions to improve your productivity.
Table of Contents (20 chapters)
Preface

Part 1: Visual Studio Overview
 Free Chapter
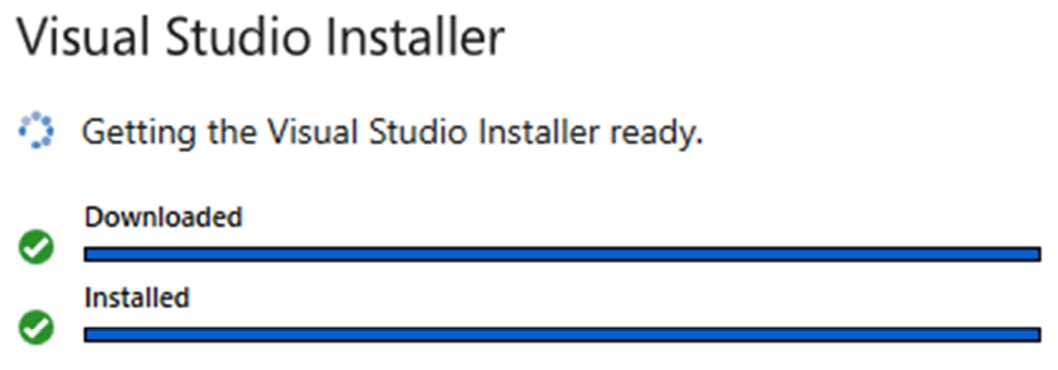
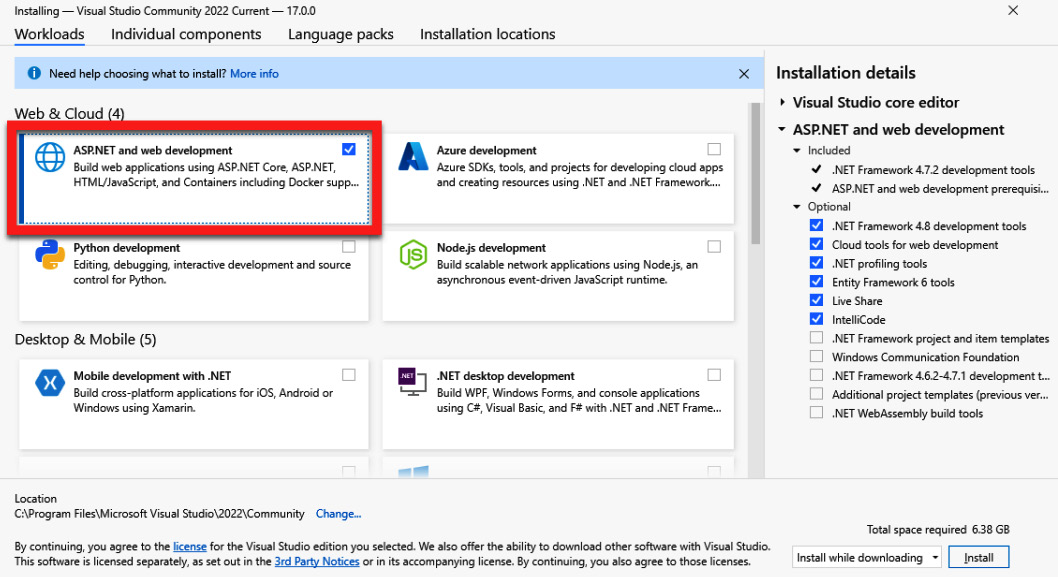
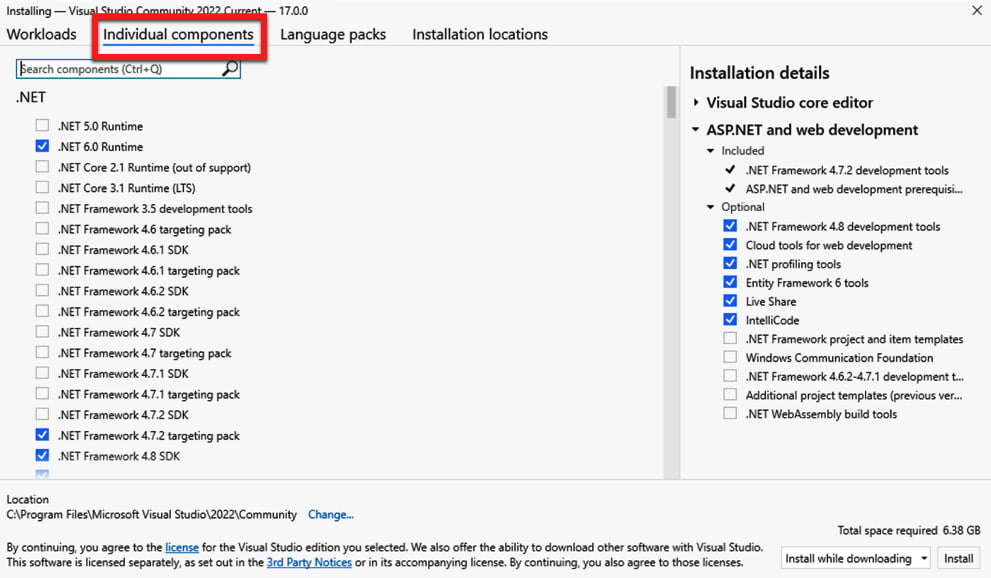
Chapter 1: Getting Started with Visual Studio 2022
Chapter 2: Configuring the IDE
Chapter 3: Improvements in Visual Studio 2022
Chapter 4: Creating Projects and Templates
Chapter 5: Debugging and Compiling Your Projects
Part 2: Tools and Productivity
Chapter 6: Adding Code Snippets
Chapter 7: Coding Efficiently with AI and Code Views
Chapter 8: Web Tools and Hot Reload
Chapter 9: Styling and Cleanup Tools
Chapter 10: Publishing Projects
Part 3: GitHub Integration and Extensions
Chapter 11: Implementing Git Integration
Chapter 12: Sharing Code with Live Share
Chapter 13: Working with Extensions in Visual Studio
Chapter 14: Using Popular Extensions
Chapter 15: Learning Keyboard Shortcuts
Other Books You May Enjoy