

Once downloaded (the current file is about 25MB in size), you simply drop this executable file onto a server that already has Windows Server installed, and double-click on the icon to start the install. Once you do, you will see this dialog box on your display:
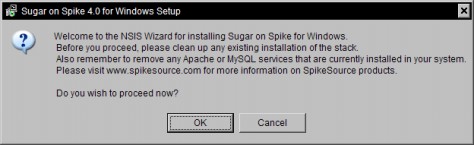
Sugar on Spike Welcome Screen
Click on the OK button to proceed, assuming you have no leftover Apache or MySQL installations on your server. You now see this SpikeSource License dialog box:
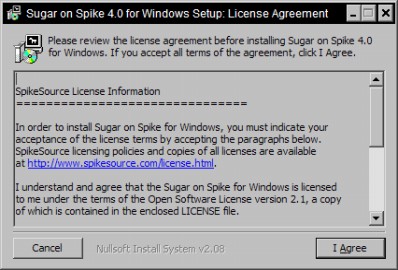
SpikeSource License Screen
This is the SpikeSource license agreement. You must click on the button labeled I Agree in order to proceed. You then see this dialog box:
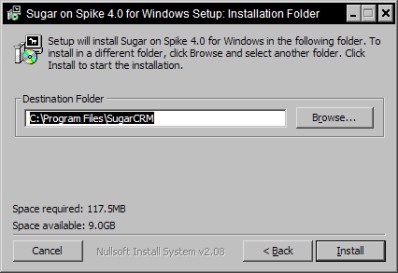
Select Installation Folder
Accept the default installation folder, or edit it to another folder you prefer. Then click on the Install button. You will see this dialog box:
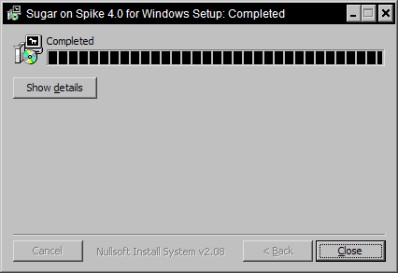
SpikeSource Install Completed
Click on the Close button to proceed to finish the installation. A black DOS CMD session dialog box will come up as the last of the installation is completed, and then you see the dialog box shown below:
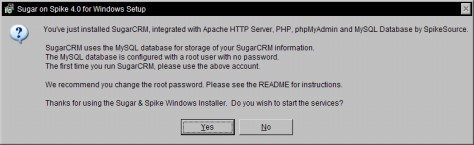
SpikeSource Install Completed: Start Services?
At this point, click on Yes to start the Apache and MySQL services. A DOS CMD window comes up again to start the services, and then two browser windows open. The first window contains the SpikeSource Sugar on Spike Readme notes, which also provide the instructions for completing this installation:
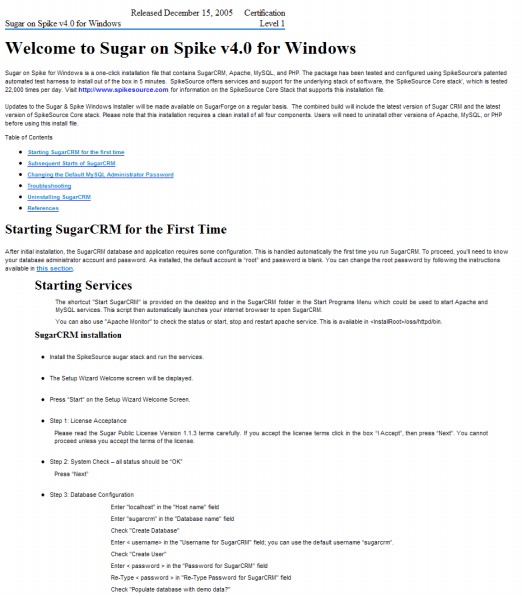
SpikeSource Readme Notes
The second browser window that opens contains the Welcome Screen for the SugarCRM Setup Wizard:
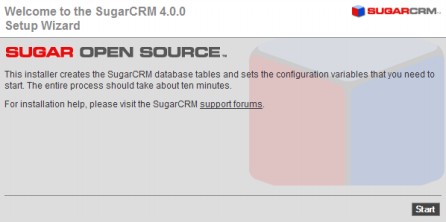
Click on the Start button to begin the SugarCRM installation process.
The SugarCRM license acceptance screen is the next screen you will see:

Click on the I Accept checkbox, and then on the Next button.
Next you see the SugarCRM system check screen. The SugarCRM installer checks several aspects of the installation environment, and reports their status to you on this screen. You will see a series of green (and perhaps a few red) status messages down the right-hand side of the screen. They need to be all green for the installation to proceed.

Now click on the Next button to proceed to the next step of the SugarCRM installation process.
The database configuration screen helps you to configure MySQL properly for its role in supporting the SugarCRM installation. You need to create a database for MySQL to use for SugarCRM, and a database user name, with a password for that user as well.
The first time you install, you will likely want to install the demo data as well.
You also have to provide the name and password for a privileged database user, so that the installer has the power to create a new database and user within MySQL.
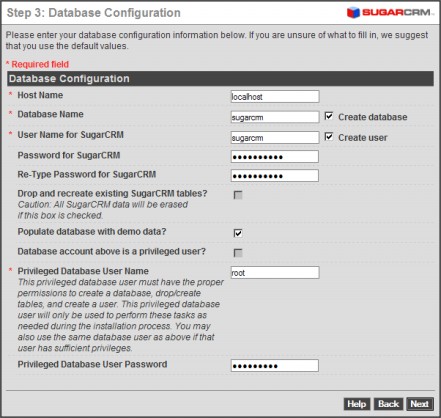
SugarCRM Database Configuration Screen
Once this screen is filled out properly (see the SpikeSource readme notes for more details on how to complete this screen if you are unsure), click on the Next button to proceed to the Site Configuration screen. Note that the Privileged Database User Password defaults initially to blank.
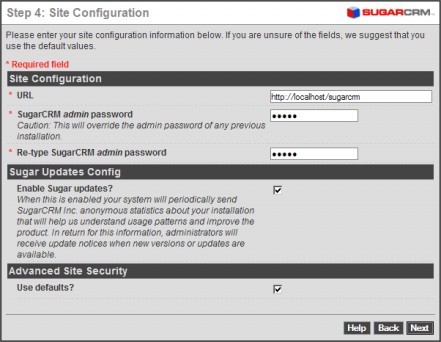
SugarCRM Site Configuration Screen
Enter the password you intend to use for the initial admin user within your SugarCRM installation, and then re-enter it for confirmation. Then click on the Next button to proceed to the Confirm Settings screen.
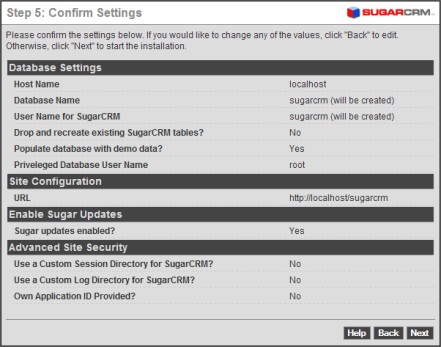
SugarCRM Confirm Settings Screen
This screen simply shows you all the settings you have provided for the SugarCRM installation. If they look correct, click on the Next button to proceed with the actual SugarCRM installation.
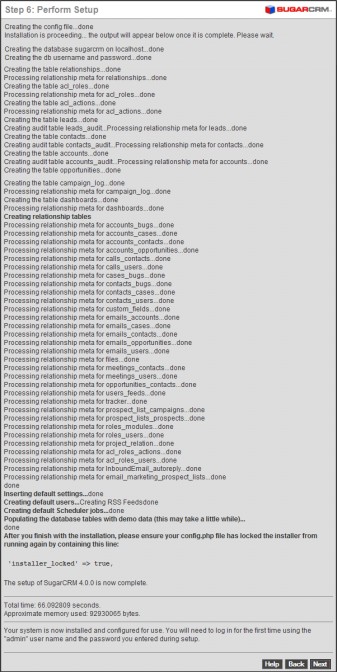
SugarCRM Perform Setup Screen
The Perform Setup screen shows you the actions taken by the SugarCRM installer as it builds the database for your SugarCRM installation. Once it completes the process (which can take up to 2-3 minutes)—congratulations, you are done. (Note that the screen image opposite has been abridged. The actual screen is even longer than shown.)
Click on the Next button, and you will see the optional Registration screen. If you wish, you may fill out the registration details, and click on the Send Registration button to register your installation with SugarCRM. Then click on the Finish button to log in to SugarCRM for the first time.
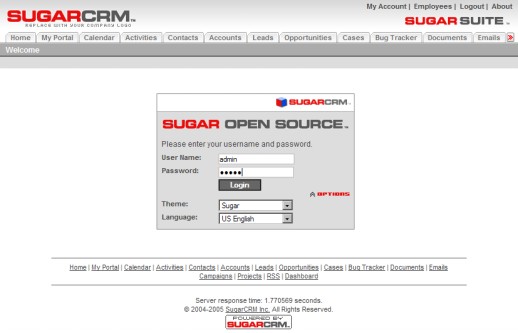
SugarCRM Log In Screen
Now type in the name of the admin user (admin), and the password you set for that user on the Site Configuration screen. You should now enter the SugarCRM application, and see the home page for the system administrator.
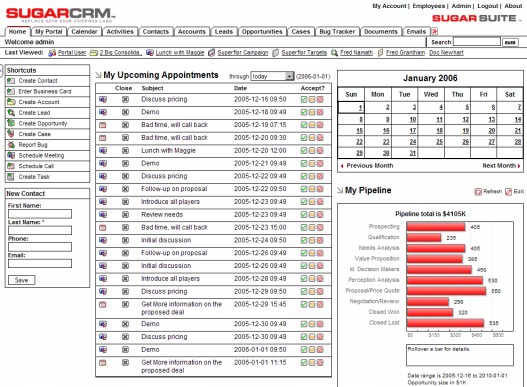
SugarCRM Home Page