

The Photo Filter View is where we show the selected image and a collection view, from which the user can choose different filters to apply to the image. Let's create the Photo Filter View:
- Select the View Controller for the Photo Filter View and, in the Attributes inspector, uncheck both
Under Top BarsandUnder Bottom Bars. We do not want this page to scroll, so we do not need it to go under the Top and Bottom Bars. - In the
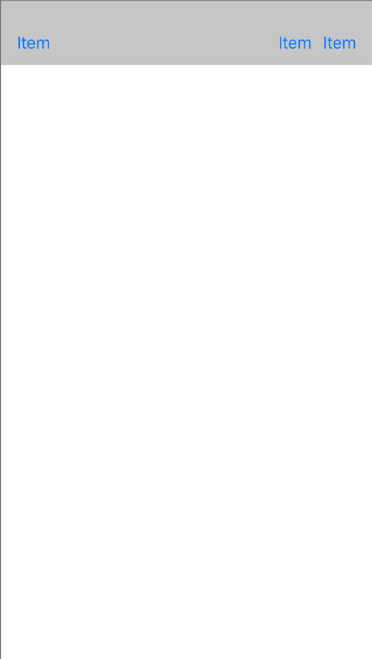
Main.storyboard, typebar buttoninto thefilterfield of the object library in the Utilities panel. - Drag out three
Bar Button Items. One will go to the top left and two on the top right. When you are done, you should see the following:
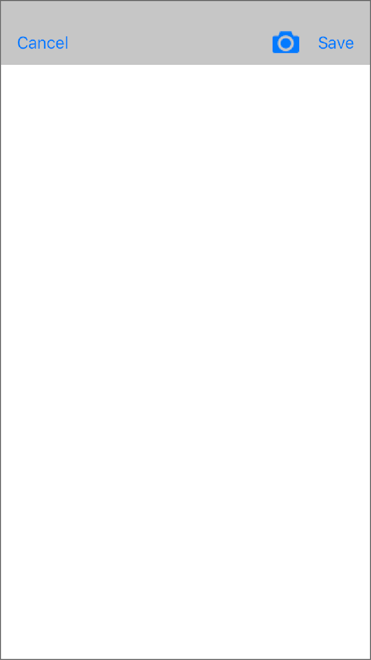
Our button to the left is a Cancel button. Our button to the right is a Camera icon and a save button. You can update each one by selecting one at a time and opening the Attributes inspector.
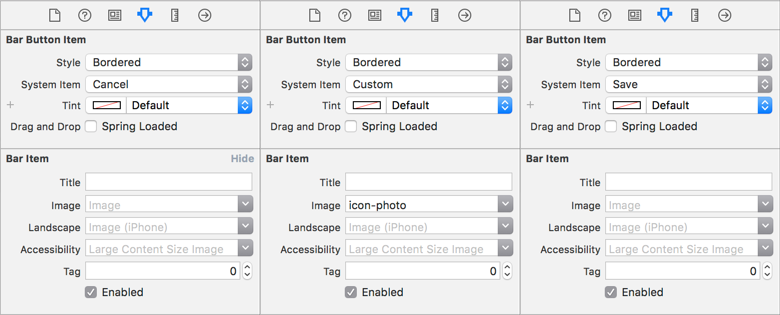
When you are done, you should see the following:
- Next, type
imageinto thefilterfield of the object library...