Book Image

Learn iOS 11 Programming with Swift 4 - Second Edition

By : Craig Clayton
Book Image

Learn iOS 11 Programming with Swift 4 - Second Edition

By: Craig Clayton

Overview of this book

<p>You want to build iOS applications but where do you start? Forget sifting through tutorials and blog posts, this book is a direct route into iOS development, taking you through the basics and showing you how to put the principles into practice. So take advantage of this developer-friendly guide and start building applications that may just take the App Store by storm!</p> <p>Whether you're an experienced programmer or a complete novice, this book guides you through every facet of iOS development. From Xcode and Swift, the building blocks of modern iOS development, you'll quickly gain a solid foundation to begin venturing deeper into your development journey. Experienced programmers can jump right in and learn the latest iOS 11 features.</p> <p>You'll also learn advanced topics of iOS design, such as gestures and animations, to give your app the edge. Explore the latest developments in Swift 4 and iOS 11 by incorporating new features, custom-rich notifications, drag and drop features, and the latest developments in SiriKit. With further guidance on beta testing with TestFlight, you'll quickly learn everything you need to get your project on the App Store!</p>
Table of Contents (36 chapters)
Title Page
Copyright and Credits
Packt Upsell
Contributors
Preface
Free Chapter
1
Getting Familiar with Xcode
Index

Restaurant listing 


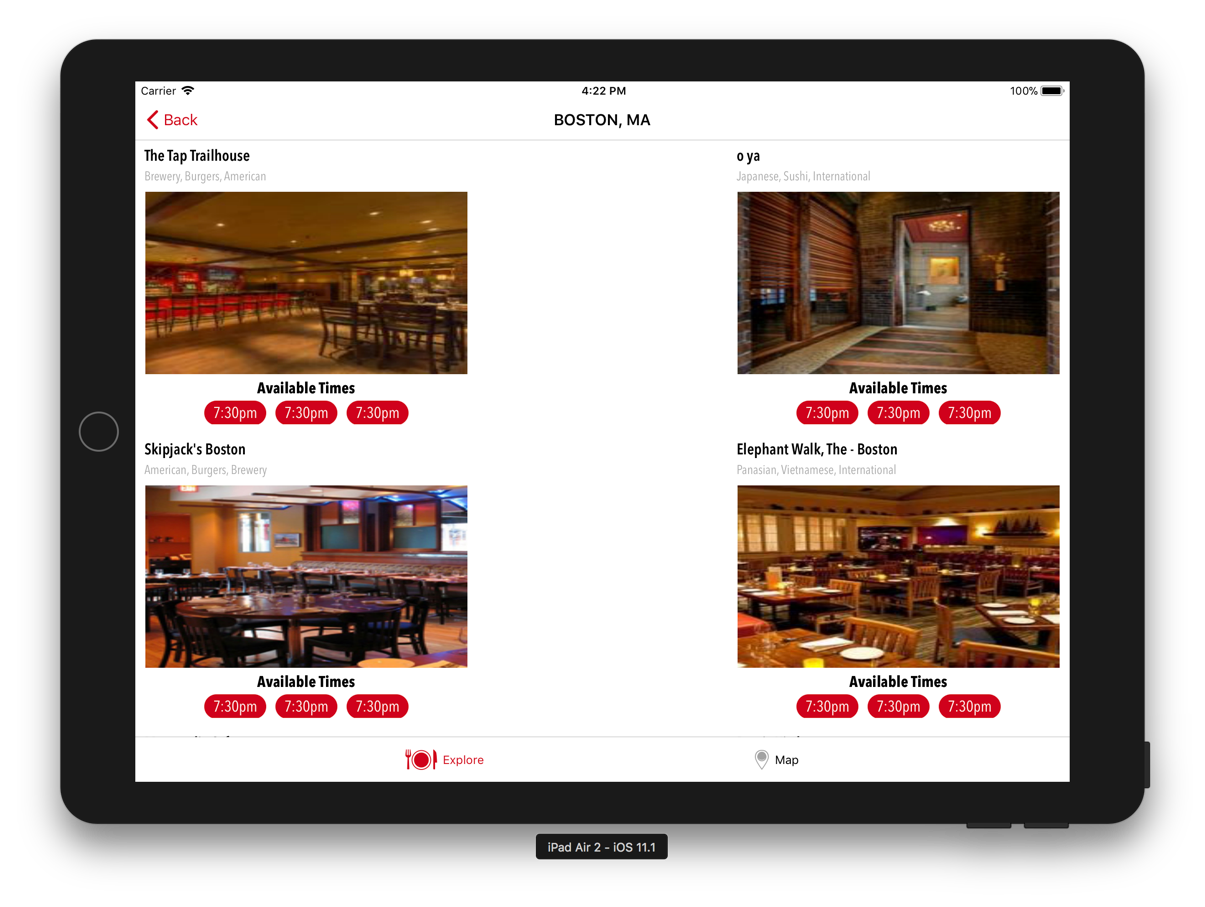
For our restaurant listing page, we want a one-column grid on all phones and a two-column grid on all iPads. If you build and run the project by hitting the Play button (or using ⌘ + R) and go to a restaurant listing page, you will see that we need to fix the spacing on the iPad to show two columns correctly:

Let's see how we can fix this. Remember that we still want one column on the iPhone and a grid on the iPad. Open the RestaurantViewController.swift file and add the following above the createData() method inside of the private extension:

func initialize() {
   createData()
   setupTitle()
   if Device.isPad{ setupCollectionView() }
}

You will get an error for the setupCollectionView() method. Ignore it for now, as we will fix it shortly. This method checks if the device is an iPad; if it is, it calls the method setupCollectionView(). Next, add the following under the initialize() method we just added:

func setupCollectionView() {
   let flow = UICollectionViewFlowLayout...