Book Image

Learn iOS 11 Programming with Swift 4 - Second Edition

By : Craig Clayton
Book Image

Learn iOS 11 Programming with Swift 4 - Second Edition

By: Craig Clayton

Overview of this book

<p>You want to build iOS applications but where do you start? Forget sifting through tutorials and blog posts, this book is a direct route into iOS development, taking you through the basics and showing you how to put the principles into practice. So take advantage of this developer-friendly guide and start building applications that may just take the App Store by storm!</p> <p>Whether you're an experienced programmer or a complete novice, this book guides you through every facet of iOS development. From Xcode and Swift, the building blocks of modern iOS development, you'll quickly gain a solid foundation to begin venturing deeper into your development journey. Experienced programmers can jump right in and learn the latest iOS 11 features.</p> <p>You'll also learn advanced topics of iOS design, such as gestures and animations, to give your app the edge. Explore the latest developments in Swift 4 and iOS 11 by incorporating new features, custom-rich notifications, drag and drop features, and the latest developments in SiriKit. With further guidance on beta testing with TestFlight, you'll quickly learn everything you need to get your project on the App Store!</p>
Table of Contents (36 chapters)
Title Page
Copyright and Credits
Packt Upsell
Contributors
Preface
Free Chapter
1
Getting Familiar with Xcode
Index

Hooking up our UI with IBOutlets


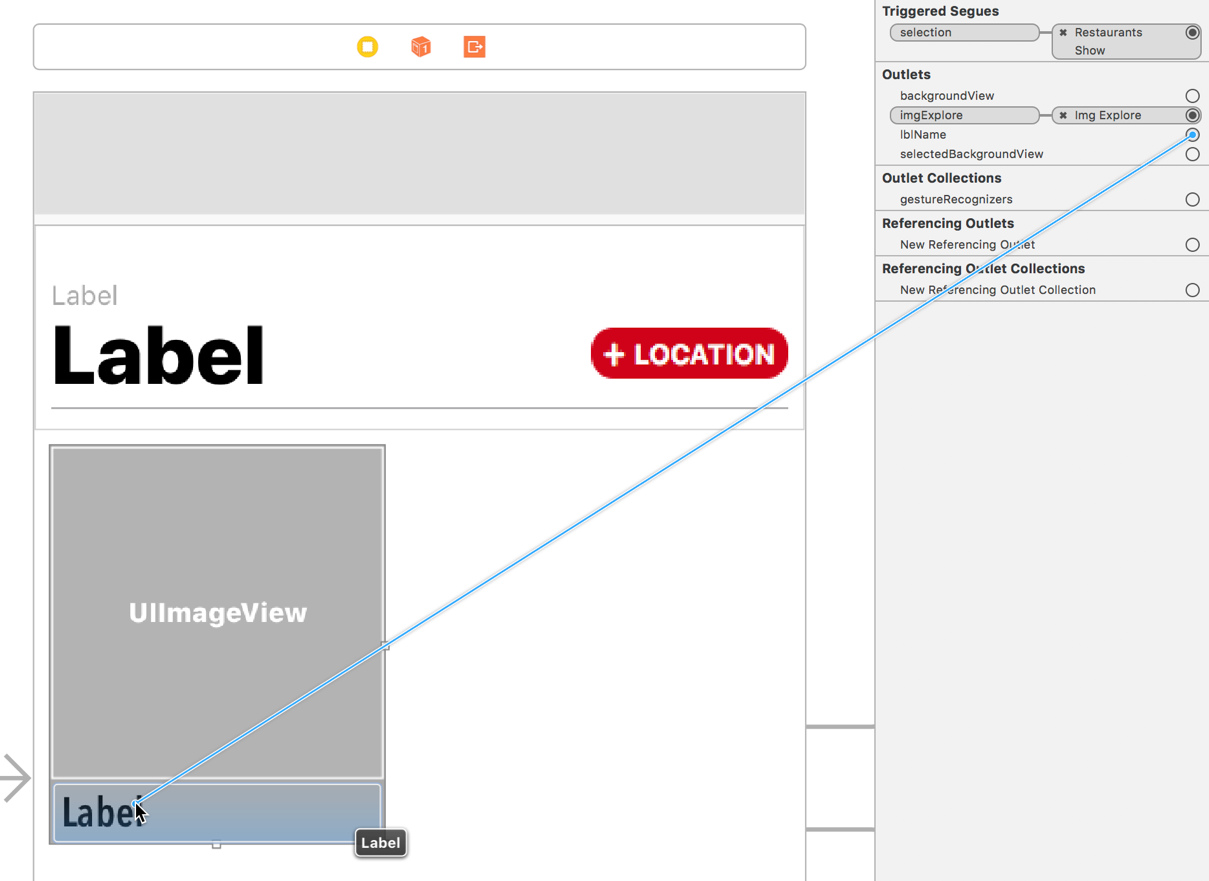
To access our UI elements, we need to connect them with IBOutlets.

  1. Open the ExploreCell.swift file in the Navigator panel (or use cmd + Shift + O, type ExploreCell, and then hit Enter).
  2. Inside of the class declaration, add the following:
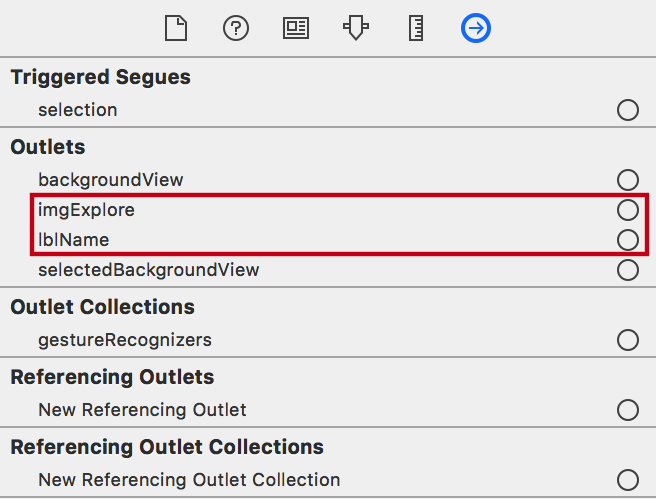
@IBOutlet var lblName:UILabel!
@IBOutlet var imgExplore:UIImageView!
  1. Open Explore.storyboard and select your exploreCell again.
  2. In the Utilities panel, select the Connection inspector. You should see both variables we just created, lblName and imgExplore, under Outlets:
  1. Now, Ctrl + drag fromimgExplore to the UIImageView we put in our cell:
  1. Repeat this step for lblName by CTL dragging fromlblName to the UILabel in our cell:

Great! Now that we have our cell set up, let's pull data into it. In our ExploreDataManager, add these two methods above the loadData() method:

func numberOfItems() -> Int {
   return items.count
}

func explore(at index:IndexPath) -> ExploreItem {
   return items[index.item]
}

We use the first method, numberOfItems...