Book Image

Learn iOS 11 Programming with Swift 4 - Second Edition

By : Craig Clayton
Book Image

Learn iOS 11 Programming with Swift 4 - Second Edition

By: Craig Clayton

Overview of this book

<p>You want to build iOS applications but where do you start? Forget sifting through tutorials and blog posts, this book is a direct route into iOS development, taking you through the basics and showing you how to put the principles into practice. So take advantage of this developer-friendly guide and start building applications that may just take the App Store by storm!</p> <p>Whether you're an experienced programmer or a complete novice, this book guides you through every facet of iOS development. From Xcode and Swift, the building blocks of modern iOS development, you'll quickly gain a solid foundation to begin venturing deeper into your development journey. Experienced programmers can jump right in and learn the latest iOS 11 features.</p> <p>You'll also learn advanced topics of iOS design, such as gestures and animations, to give your app the edge. Explore the latest developments in Swift 4 and iOS 11 by incorporating new features, custom-rich notifications, drag and drop features, and the latest developments in SiriKit. With further guidance on beta testing with TestFlight, you'll quickly learn everything you need to get your project on the App Store!</p>
Table of Contents (36 chapters)
Title Page
Copyright and Credits
Packt Upsell
Contributors
Preface
Free Chapter
1
Getting Familiar with Xcode
Index

Refactoring the storyboard 


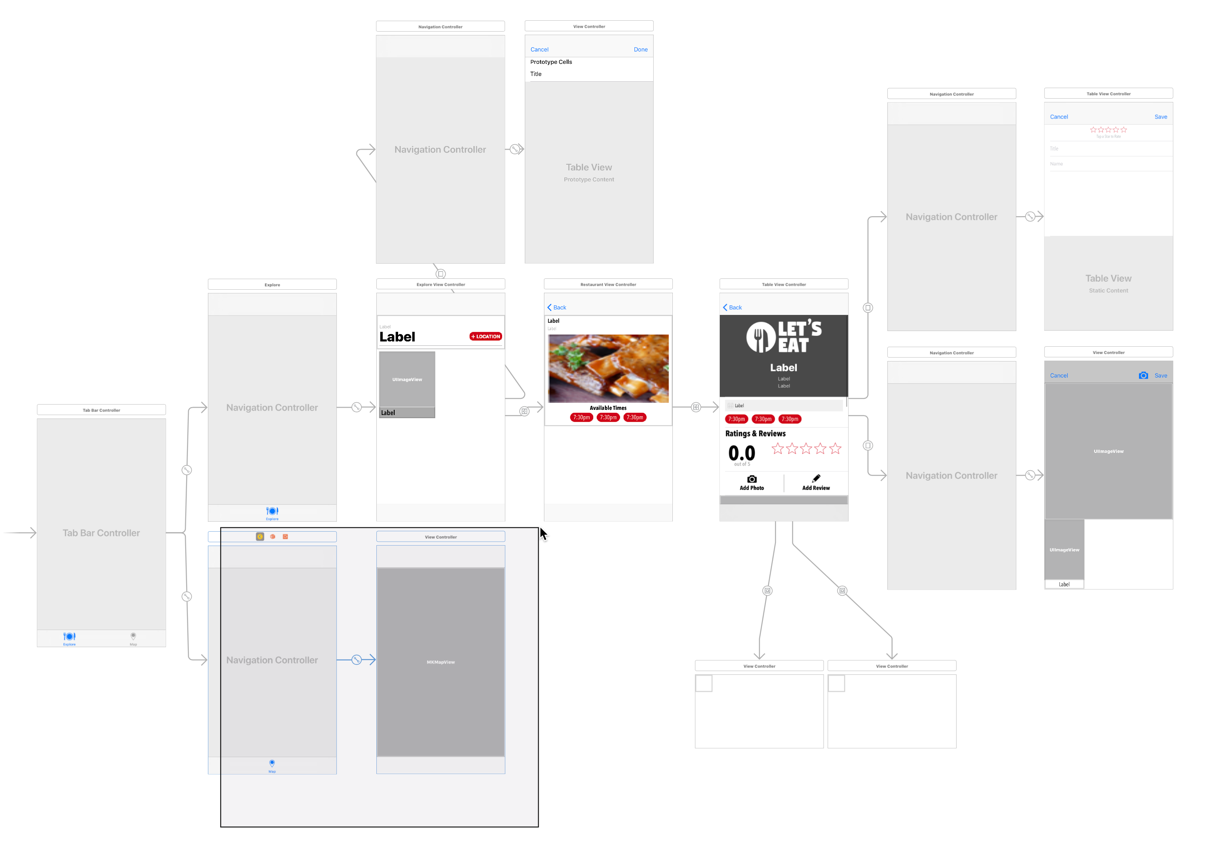
In programming, the term refactor means to take your existing code and improve on it without changing its behavior. We can apply refactoring to storyboards. We are going to refactor our storyboard so that each View Controller in our app has its own storyboard file. First we are going to separate by tabs (Map and Explore).

We will be using what is called storyboard reference, which is to add references between story-boards. A storyboard reference in one storyboard can point to an area in a different storyboard. This gives us a way to organize our storyboards, rather than having one massive storyboard with which to work. Open your Main.storyboard file.

Creating a new storyboard for the Map tab

  1. In Main.storyboard, click and drag over all of the scenes that go inside the Map tab.
  1. With the scenes selected, navigate to Editor | Refactor to Storyboard.
  2. You are prompted to name the storyboard. Name this Map.storyboard and then hit Save.


  1. Once you hit save, you are now inside...