
Weight painting
Weight painting is the process of manually controlling the area of influence (weight) of a specific bone. This method works by applying values that go from 1 (full influence) to 0 (no influence) around the bone. Here’s the gradient representing the values:
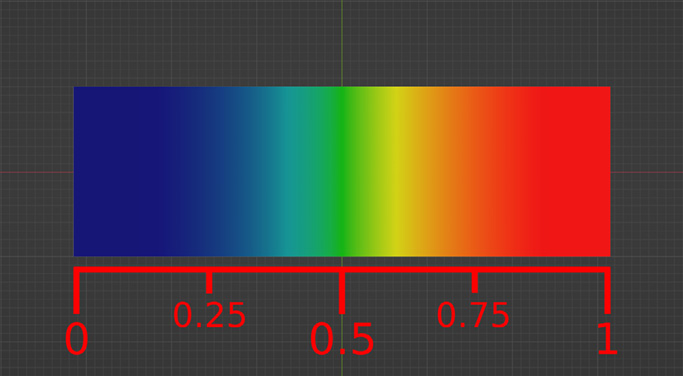
Figure 10.34 – Weight gradient from 0 to 1
To enter Weight Paint mode, we have to have our character selected and then switch to Weight Paint mode from the menu on the top left:
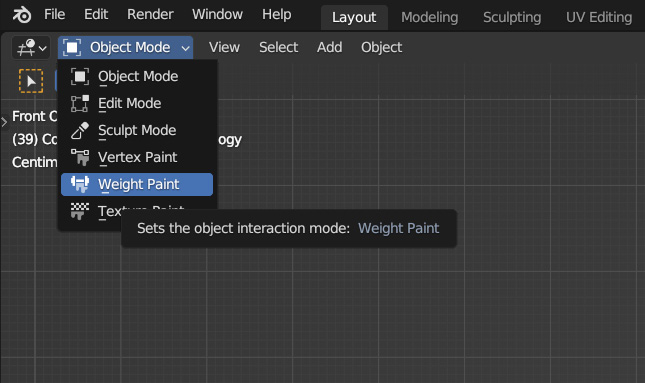
Figure 10.35 – Changing to Weight Paint mode
Upon selecting this mode, most of your character should turn blue (except for the eyes, which are a separate object), and the interface will change to this:
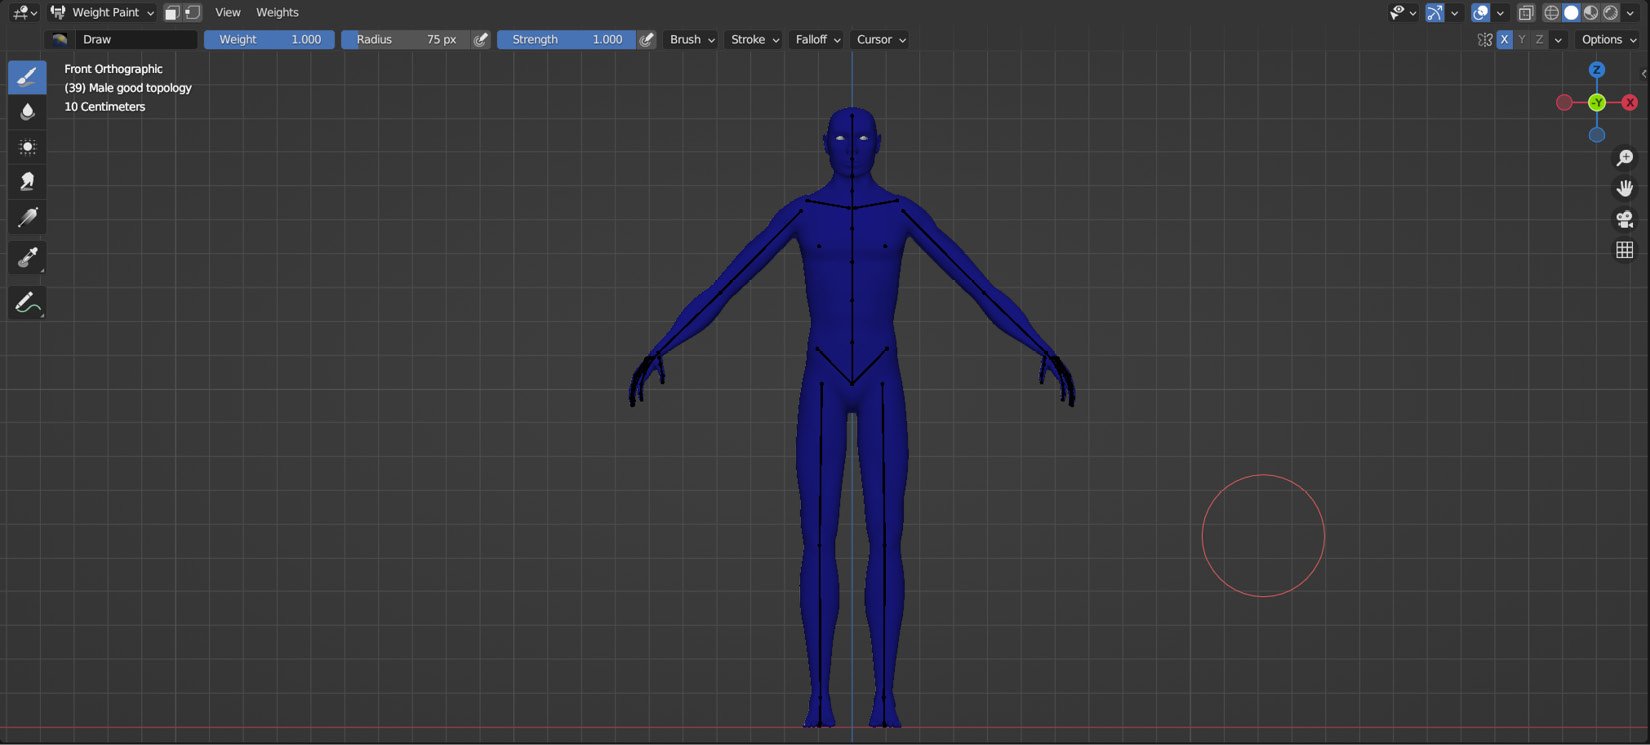
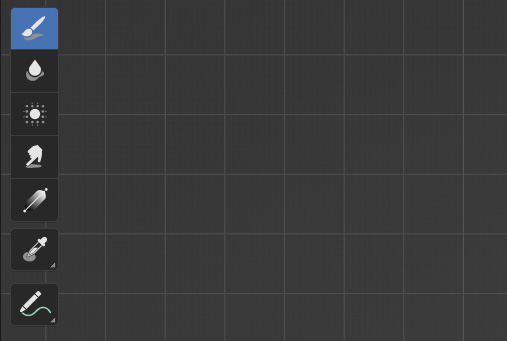
Figure 10.36 – Weight Paint interface
This works very, very similarly to texture painting, so we’ll only have a quick look at the main elements in the UI, starting with the column on the left: