

Creating the slider body
For the slider in the front, we will now make Holder 02 the active component and create another vertical bottle support. We will then move back to Holder 01 and cut out a section for Holder 02 to slide into as any geometric changes you make should be made within that component as it will make it easier to locate within the timeline. We will switch back to Holder 02 and create the slider portion and then add an as-built joint to it to allow it to slide. Follow these steps:
- Make
Holder 02the active component by going to BROWSER on the left side of the screen, mousing over theHolder 02name, and clicking on the dot that appears to make it solid. YourHolder 01model will become transparent.
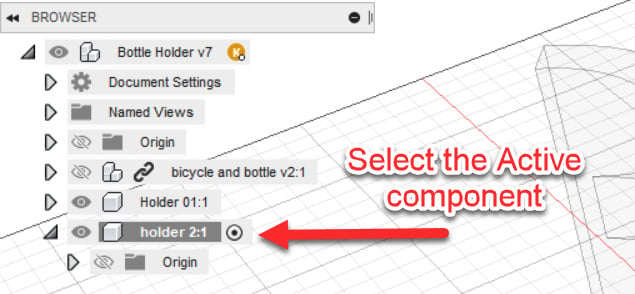
Figure 9.26 – Changing Holder 2 to the active component
- Click on the CREATE SKETCH tool and select the top face of the bottle holder. Your screen will change to an overhead view of the bottle holder.
...