

Creating the ghost
We will be using some more surface tools to create our ghost character. Feel free to go off-script if you want and create a ghost that you would like to use, using the same style as the one created here. Let’s get started:
- We need to create a new component by first activating the top level of the assembly. Hover the mouse over the tealight ghost, and select the dot to fill it in and make it active.
- Now, create a new component and give it the name
Ghost.
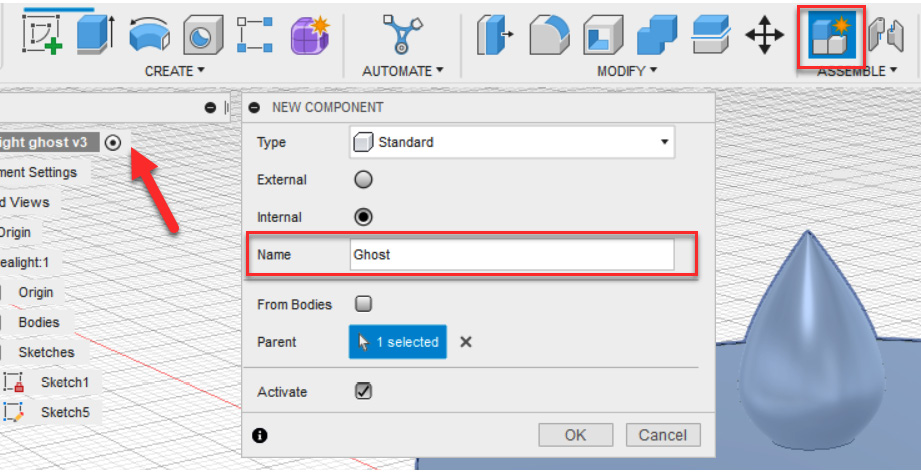
Figure 12.8 – Creating a new component
- Click on the Create Sketch tool and then select the front face. Be sure that the Ghost component is active.
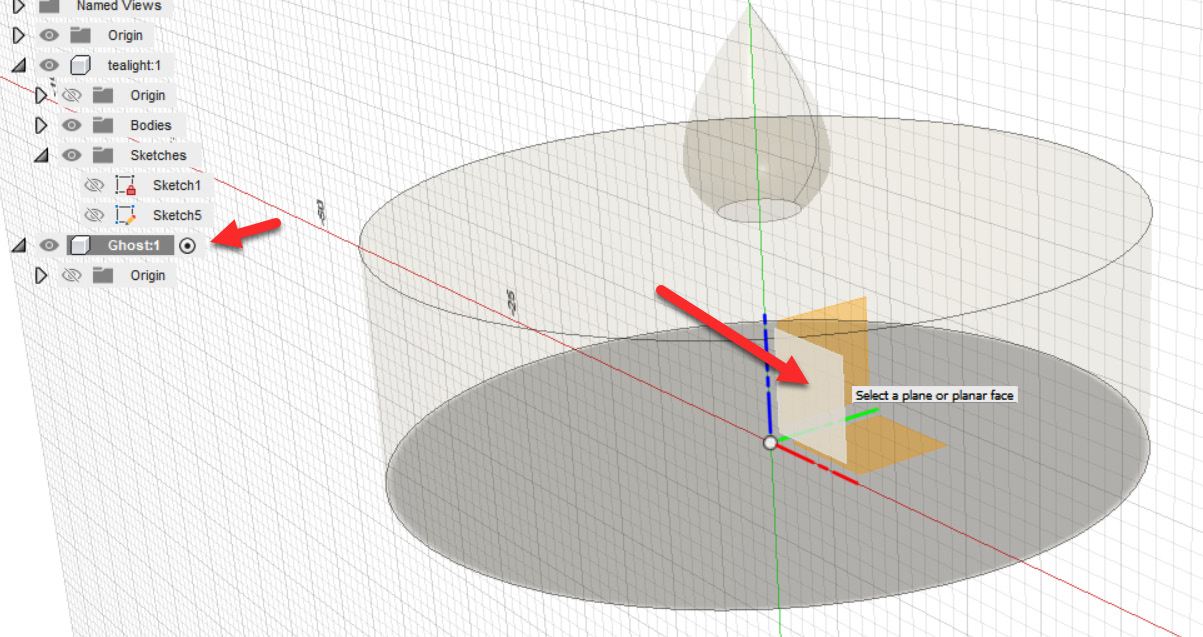
Figure 12.9 – Creating a new sketch on the front plane
- Create another construction line from the midpoint vertically and horizontally, and then click on the Fit Point Spline tool once again, creating a shape that is similar to the one shown in Figure 12.10. ...