

Using surfaces to create the tealight
We will start out with a simple tealight candle for reference. We will create a component first to stick to Rule #1 (see Chapter 3) and then create the surface body, with a simple circle extrusion and a revolve for the candlelight. Let’s get started:
- Start a new design file, open the Data panel, and create a folder named
Ch12 Tealight Ghost. Then, within theChapter 12folder, create a file and name itTealight Ghost, and then set the units to millimeters. - Create a component named
tealight, then create a sketch on the XY plane, and add a circle with a diameter of37.5mm.
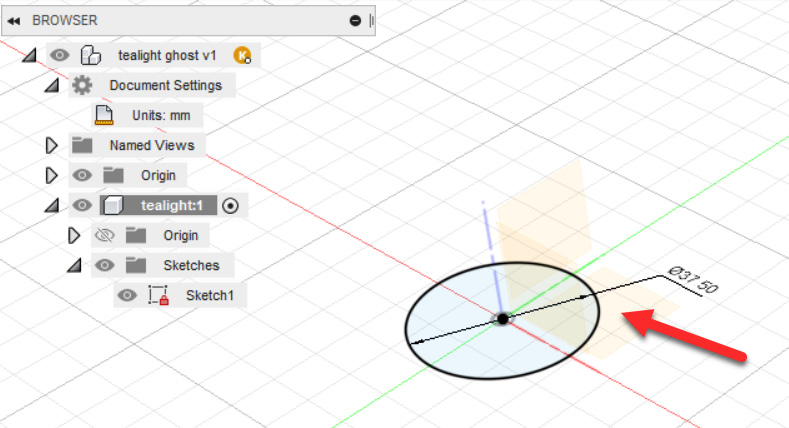
Figure 12.2 – Creating a tealight component and sketch