

Creating an S-Hook using the Arc and Sweep tools
We will start with a new component within the existing S-Hook file that we’ve worked on. Be sure that this new component is started on the top level of the assembly (the red arrow in Figure 4.35) and not within the other S-hook. You can do this by moving the mouse over the top of the browser project name and clicking on the dot that appears at the end. The dot shows the active component.
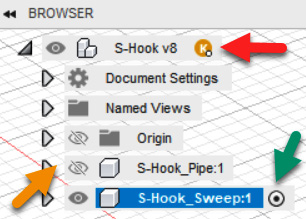
Figure 4.35 – The green arrow showing the active level dot
- Start a new component by left-clicking on the Component icon (
 ) and naming it
 S-Hook_Sweep. The active dot will now be moved from the top level to the new component to show that this is now the active level. Click on the eyeball icon and turn off theS-Hook_Pipecomponent as indicated by the orange arrow in Figure 4.35. - Start a new sketch in the XY plane as was done in the previous example.
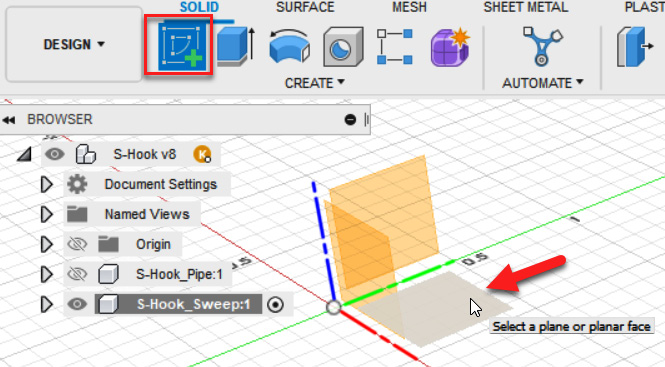
Figure 4.36 –...